![見出し画像](https://assets.st-note.com/production/uploads/images/82864554/rectangle_large_type_2_76494bd80e5c058cf9dc13e159a93c02.png?width=800)
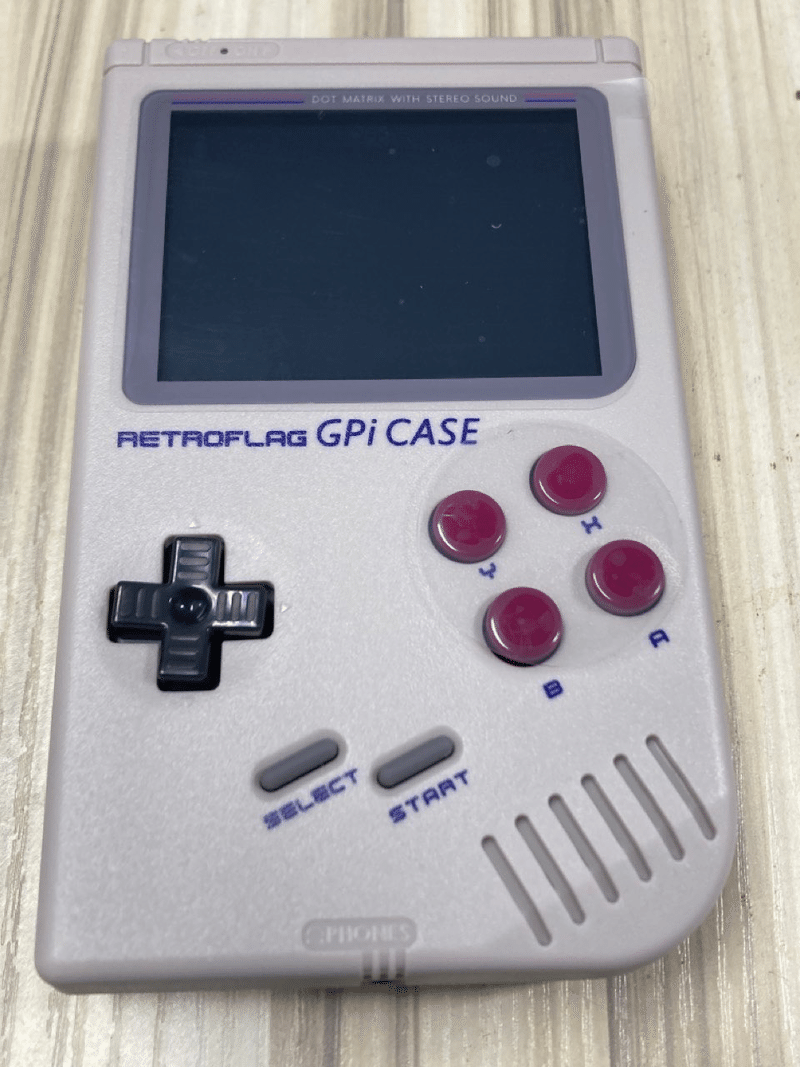
レトロゲームをエミュレータ機で楽しむ 〜 かんたんな組立てGPi CASE
英国RETROFLAG社から販売されているGPiケースの
かんたんな組立て方法について説明します。
ちなみに、
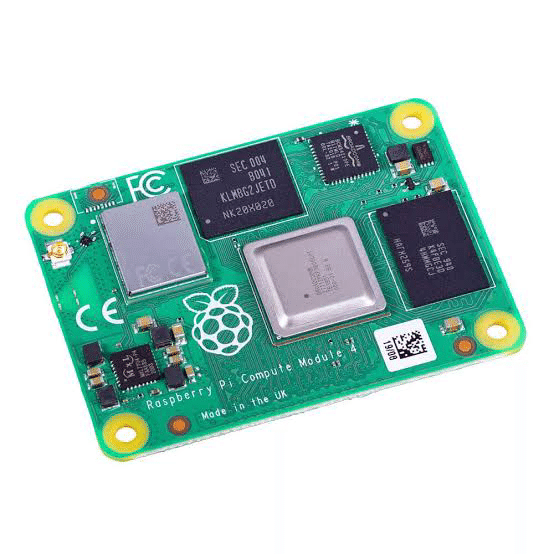
Raspberry Pi Zero / Zero2を使用するのがGPi CASE
Raspberry Pi Compute Module 4を使用するのがGPi CASE2です。
コレ間違えると規格が合わないため、接続できませんので注意しましょう。
また上記以外のRaspberry Piの種類も使用できませんので、気を付けましょう。
![](https://assets.st-note.com/production/uploads/images/82864606/picture_pc_40787bd47f29420ad7a347074cce5db9.png?width=800)
ーーーーーーー
![](https://assets.st-note.com/production/uploads/images/82864623/picture_pc_0a2ff8431f6cbebd98a8030629030dd3.png?width=800)
![](https://assets.st-note.com/production/uploads/images/82864624/picture_pc_5c36dac8cd76c6c3cc97da67f54c5c8a.png?width=800)
![](https://assets.st-note.com/production/uploads/images/82864672/picture_pc_02717e489616903d072d8d389e91e94c.png?width=800)
ーーーーーーー
実際の組立てをGPi CASEでやってみると
![](https://assets.st-note.com/production/uploads/images/82864715/picture_pc_844305344fe19f675e51a1791dcedaf5.png?width=800)
![](https://assets.st-note.com/production/uploads/images/82864718/picture_pc_785a3d800670f30bef8b99353cdb4e6d.png?width=800)
![](https://assets.st-note.com/production/uploads/images/82864716/picture_pc_ccc3875d3e97771bc103e7e956f4d279.png?width=800)
![](https://assets.st-note.com/production/uploads/images/82864719/picture_pc_0719fc4269b239ade7af2dfbffbf78ff.png?width=800)
カートリッジ部を開けて、基盤に合わせRaspberry Pi Zero / Zero2を
入れるだけw あとはコネクタを挿すくらい。
ハンダとかそういうのは何にも要りませんw
小さなネジを締めるくらい。
ーーーーーーー
カートリッジを戻したところ。
単3電池3本で遊べます。
またUSB電源から外部電力で動作することもできます (充電とかはできません)
![](https://assets.st-note.com/production/uploads/images/82864794/picture_pc_09c3b411866a5281502298ce41855f47.png?width=800)
ACアダプタ (USB電源)でも動作可能です。
この記事が気に入ったらサポートをしてみませんか?