
[laravel8] マイグレーションの基礎

TablePlus
MySQLを操作するときはもちろんコマンドから操作しても良いのですが、便利なのでTablePlusというデータベース管理のGUIアプリケーションを使用しています。
有料ですがWindowsとMacの両方で動きます。
このアプリケーションを使って進めていくので、まず前回作ったデータベースを設定していきます。
TablePlusを起動したらCreate a New Connectionより新しいデータベースを追加します。
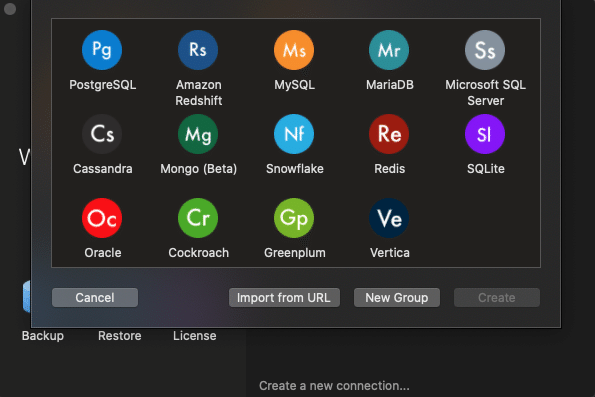
Mysqlを選択し、
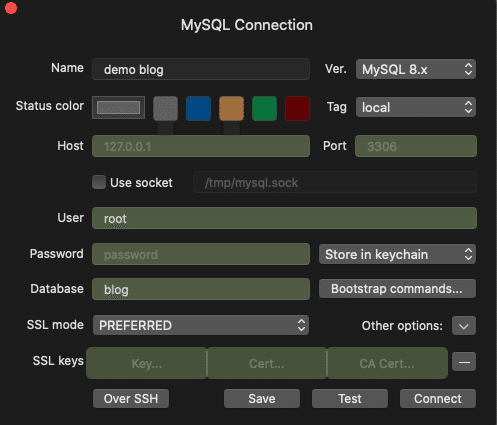
Nameは自分の好きなように入力。
Hostはローカルなのでそのまま。
Userはroot
Passwordはブランクなのでそのまま。
Databaseはblog。
『Test』をクリックして緑色になればOK.
そのままConnectをして進みます。
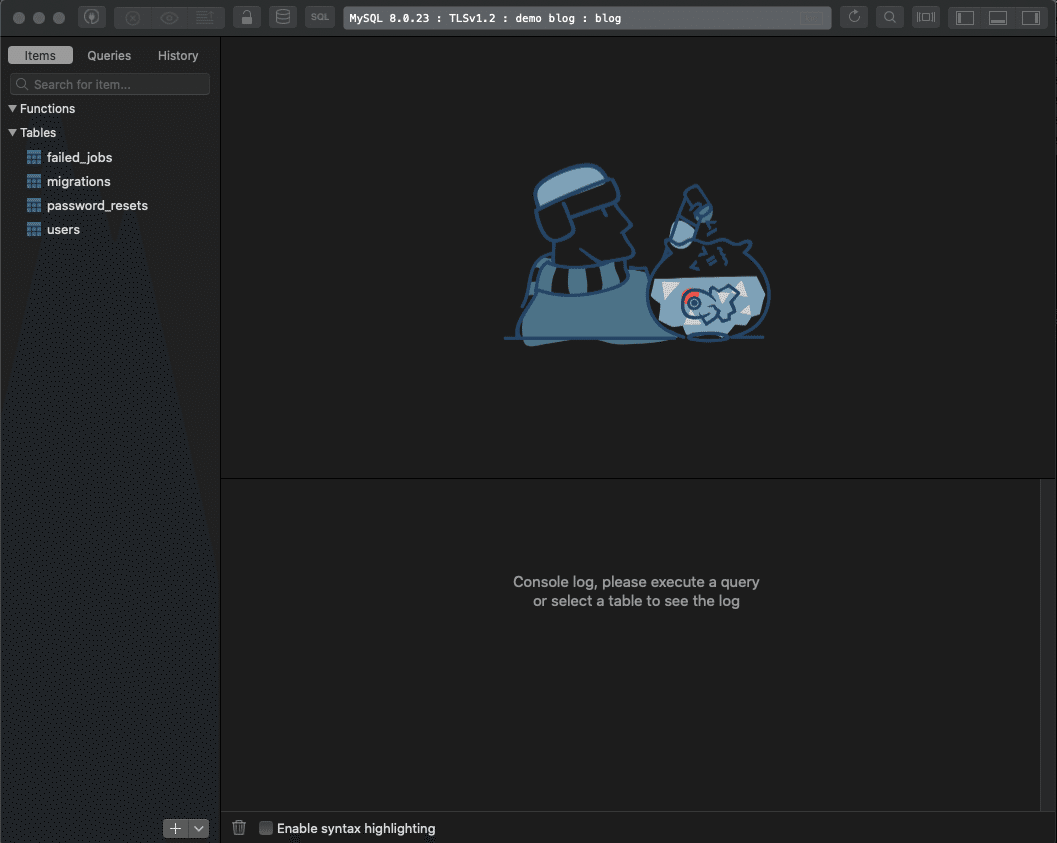
すると上の画面に進めばOK。
マイグレーションのファイル
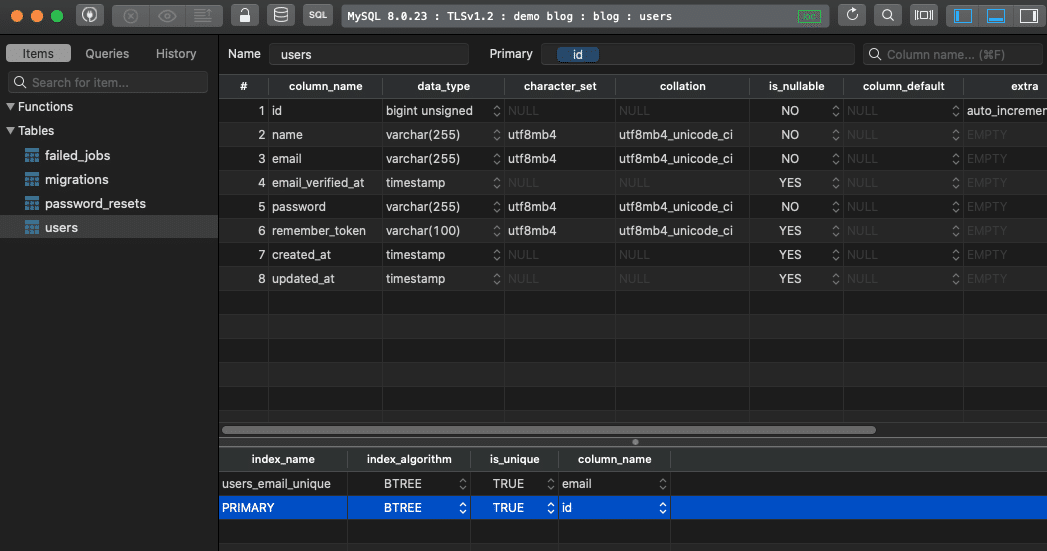
そのままTablePlusでusersテーブルを選択します。
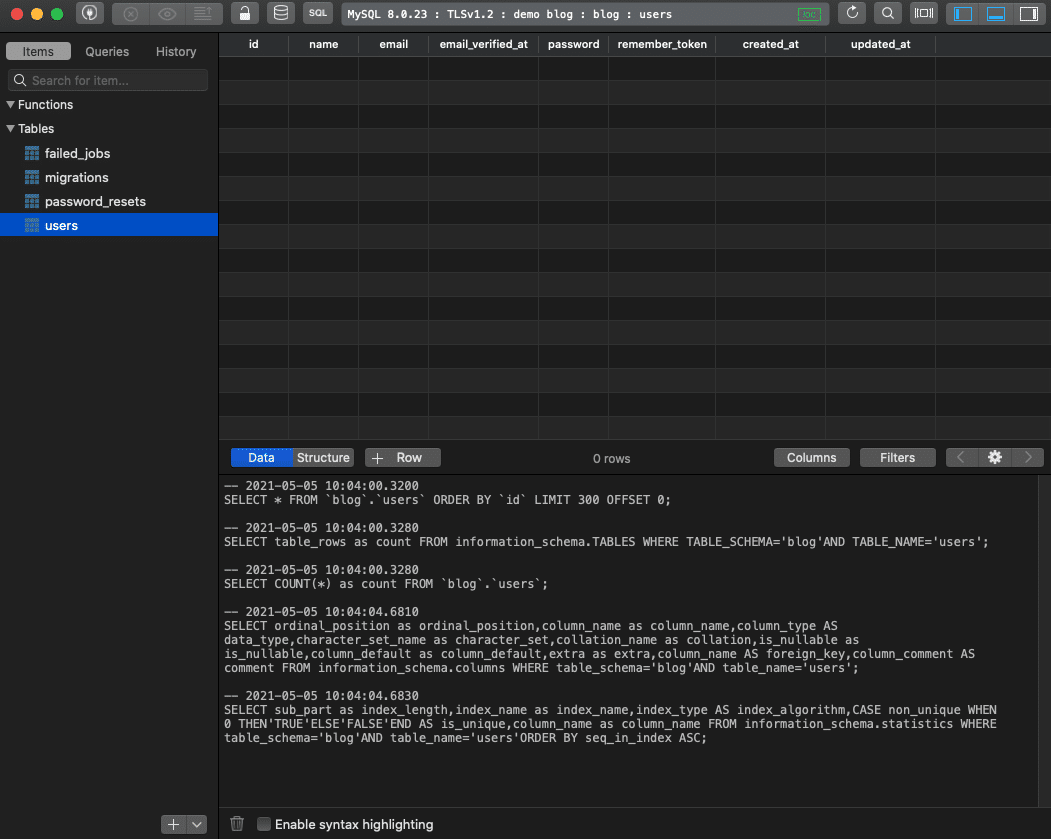
データは入っていないがテーブルの構造は確認することができます。
このテーブル構造はどのようにして作られたのでしょうか?
マイグレーションのファイルは
database/migrations
のディレクトリ下にあります。
usersテーブルの関しては
database/migrations/2014_10_12_000000_create_users_table.php
<?php

use Illuminate\Database\Migrations\Migration;
use Illuminate\Database\Schema\Blueprint;
use Illuminate\Support\Facades\Schema;

class CreateUsersTable extends Migration
{
   /**
    * Run the migrations.
    *
    * @return void
    */
   public function up()
   {
       Schema::create('users', function (Blueprint $table) {
           $table->id();
           $table->string('name');
           $table->string('email')->unique();
           $table->timestamp('email_verified_at')->nullable();
           $table->string('password');
           $table->rememberToken();
           $table->timestamps();
       });
   }

   /**
    * Reverse the migrations.
    *
    * @return void
    */
   public function down()
   {
       Schema::dropIfExists('users');
   }
}
このクラスはupとdownのメソッドがあり、upはマイグレーションが実行された時に実行され、downはマイグレーションを巻き戻すときに実行されます。
upメソッド
public function up()
   {
       Schema::create('users', function (Blueprint $table) {
           $table->id();
           $table->string('name');
           $table->string('email')->unique();
           $table->timestamp('email_verified_at')->nullable();
           $table->string('password');
           $table->rememberToken();
           $table->timestamps();
       });
   }
作られたテーブル構造
とテーブルの構造を比較してみてもそのままだとわかりますね。
カラムの作成方法も直感的で例えば文字列のカラムを作成したい場合は
$table->string('name');のようにカラム名を設定してあげれば(この場合だとカラム名はnameになります。)作成してあげることができます。
カラム名変更
ではマイグレーションの仕組みを理解するためにもカラム名を変更してみましょう。
database/migrations/2014_10_12_000000_create_users_table.php
のカラム名nameをusernameに変更してみます。
<?php

use Illuminate\Database\Migrations\Migration;
use Illuminate\Database\Schema\Blueprint;
use Illuminate\Support\Facades\Schema;

class CreateUsersTable extends Migration
{
   /**
    * Run the migrations.
    *
    * @return void
    */
   public function up()
   {
       Schema::create('users', function (Blueprint $table) {
           $table->id();
           $table->string('username'); // name -> usernameに変更
           $table->string('email')->unique();
           $table->timestamp('email_verified_at')->nullable();
           $table->string('password');
           $table->rememberToken();
           $table->timestamps();
       });
   }

   /**
    * Reverse the migrations.
    *
    * @return void
    */
   public function down()
   {
       Schema::dropIfExists('users');
   }
}
PHPのファイルを変更しましたが、自動的にデータベースのテーブルのカラムが変更されるわけではありません。
マイグレーションを更新するにはコマンドを実行する必要があります。
プロジェクトのディレクトリからターミナルで次のコマンドを実行
$php artisanコマンドのリストを取得できるが、ここではmigrationに注目
migrate
 migrate:fresh        Drop all tables and re-run all migrations
 migrate:install      Create the migration repository
 migrate:refresh      Reset and re-run all migrations
 migrate:reset        Rollback all database migrations
 migrate:rollback     Rollback the last database migration
migrate:status Show the status of each migration migrate:rollback Rollback the last database migrationデータベースマイグレーションの巻き戻し。
どうやらこれを実行すれば先ほどみたマイグレーションファイルのdownメソッドを実行できそうですね。
というわけで、実行していきます。
$php artisan migrate:rollback
Rolling back: 2019_08_19_000000_create_failed_jobs_table
Rolled back:  2019_08_19_000000_create_failed_jobs_table (22.05ms)
Rolling back: 2014_10_12_100000_create_password_resets_table
Rolled back:  2014_10_12_100000_create_password_resets_table (5.13ms)
Rolling back: 2014_10_12_000000_create_users_table
Rolled back:  2014_10_12_000000_create_users_table (6.01ms)
実行結果からもわかるように、usersテーブルだけが巻き戻されたわけではなく、前回マイグレーションが実行された時の結果がすべて巻き戻されています。
tableplusで確認してみても、新規に作られた3つのテーブルが消えています。(laravelが使うmigrationsテーブルのみが残っています)
ここで再びマイグレーションのコマンドを実行
$php artisan migrate
Migrating: 2014_10_12_000000_create_users_table
Migrated:  2014_10_12_000000_create_users_table (22.06ms)
Migrating: 2014_10_12_100000_create_password_resets_table
Migrated:  2014_10_12_100000_create_password_resets_table (13.40ms)
Migrating: 2019_08_19_000000_create_failed_jobs_table
Migrated:  2019_08_19_000000_create_failed_jobs_table (14.26ms)
usersテーブルの構造を見てみると
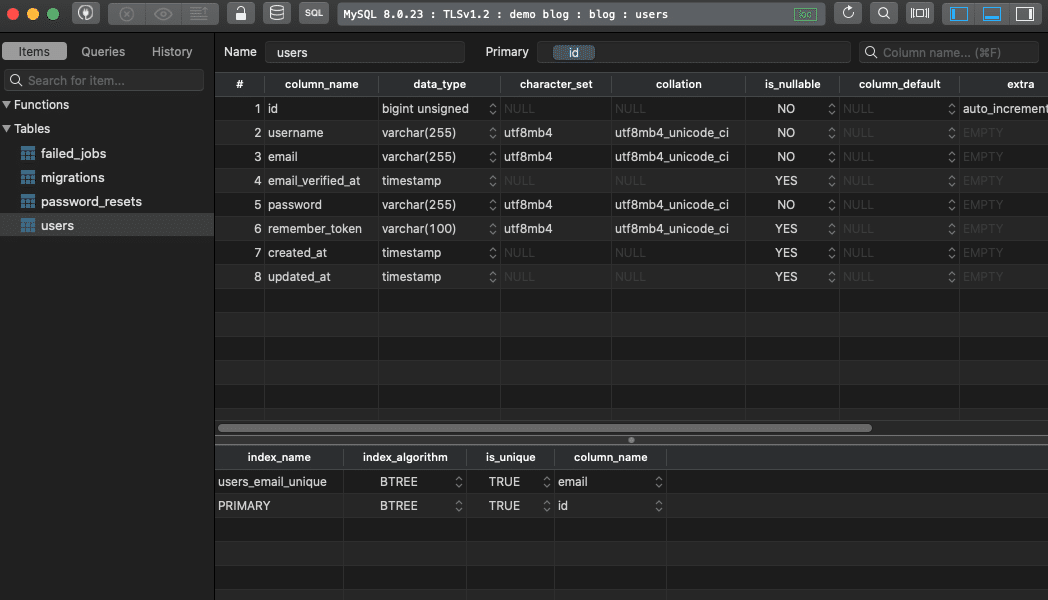
先ほど変更したカラム名がnameからusernameに変わっていますね。
migrate fresh
次にmigrate freshコマンドを見ていきたいと思います。
migrate:fresh Drop all tables and re-run all migrationsコマンドの説明では、
すべてのテーブルを削除し、すべてのマイグレーションを実行
となっています。
ターミナルでコマンドを実行します。
$php artisan migrate:fresh
Dropped all tables successfully.
Migration table created successfully.
Migrating: 2014_10_12_000000_create_users_table
Migrated:  2014_10_12_000000_create_users_table (14.97ms)
Migrating: 2014_10_12_100000_create_password_resets_table
Migrated:  2014_10_12_100000_create_password_resets_table (12.52ms)
Migrating: 2019_08_19_000000_create_failed_jobs_table
Migrated:  2019_08_19_000000_create_failed_jobs_table (16.65ms)
出力の1行目
Dropped all tables successfully. すべてのテーブルの削除に成功
このコマンドは一度すべてのテーブルを削除するので、開発の初期の段階では便利に使うことができるが、すでに動いているサービスで使う事はまずありません。というより、プロダクションで行わないでください。
laravelでも間違ってproduction環境での実行を防ぐために対策が行われています。
上の記事でも紹介した.envファイル
.env
APP_ENV=localを
APP_ENV=productionに変更し、同じコマンドを実行してみます。
$php artisan migrate:fresh
**************************************
*     Application In Production!     *
**************************************

Do you really wish to run this command? (yes/no) [no]:
>
プロダクション環境です。本当このコマンドを実行しますか?
と質問してくれ、間違って本番環境でデータがすべて消えてしまうことを防いでくれています。
最後に
今回はコマンドでマイグレーションを操作する基礎的なところを勉強しました。
次回は実際にユーザーを作成して進めていきます。
この記事が気に入ったらサポートをしてみませんか?