
[laravel8] ブロガーごとの記事を表示

今回の記事ではブロガー(筆者)ごとの記事をまとめて表示したいと思います。
一覧での表示順変更
ブロガーごとの記事の表示に取り掛かる前に、TOPページの記事一覧の表示順を確認します。
まずはTinkerで1つ記事を追加してみます。
$php artisan tinker
Psy Shell v0.10.8 (PHP 8.0.3 — cli) by Justin Hileman
>>> App\Models\Post::factory()->create();
=> App\Models\Post {#3447
    user_id: 2,
    category_id: 6,
    title: "Quaerat deleniti necessitatibus et eum assumenda incidunt.",
    slug: "officiis-quas-fugiat-ut-asperiores-sint-aut-recusandae",
    excerpt: "Libero dolore quia et eos.",
    body: "Ex tenetur natus repudiandae omnis. Culpa rerum quasi velit accusamus. Esse ex nam perferendis qui. Sunt dolorem dignissimos reprehenderit rerum eum adipisci porro.",
    updated_at: "2021-06-20 01:08:58",
    created_at: "2021-06-20 01:08:58",
    id: 6,
  }
タイトルが"Quaerat deleniti necessitatibus et eum assumenda incidunt."という記事が新しく追加されました。
ここでTOPページを見てみると
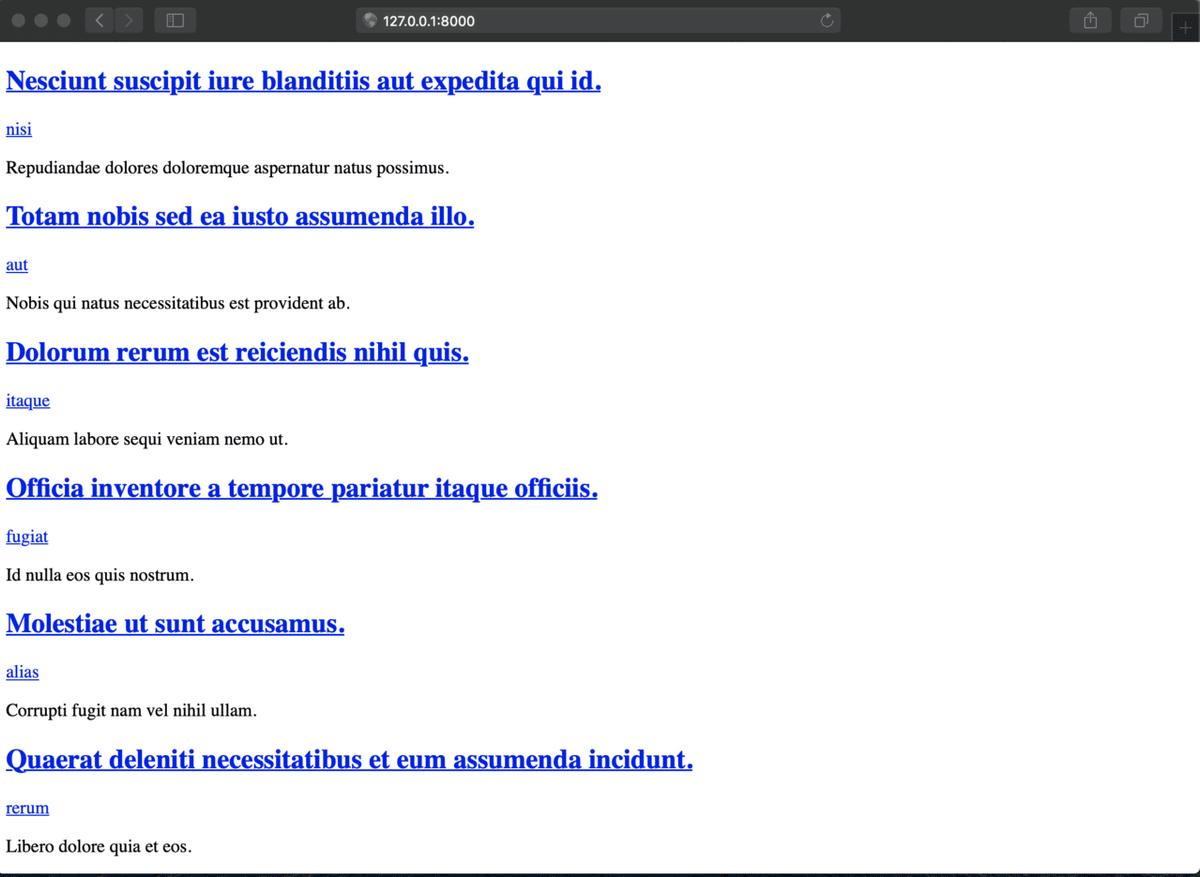
今追加したばかりの記事が一番下に表示されています。ブログなら最新の記事から表示されるべきなので変更していきます。
ルーティングを確認
routes/web.php
Route::get('/', function () {
   // すべての記事を取得
   $posts = Post::with('category')->get();

   // $posts(すべての記事のコレクション)をpostsとしてviewに送る
   return view('posts', [
       'posts' => $posts
   ]);
});
$posts = Post::with('category')->get();
記事を取得するときに表示順が指定されていないので、latestメソッドを使い最新順に記事を取得します。
↓
$posts = Post::latest()->with('category')->get();
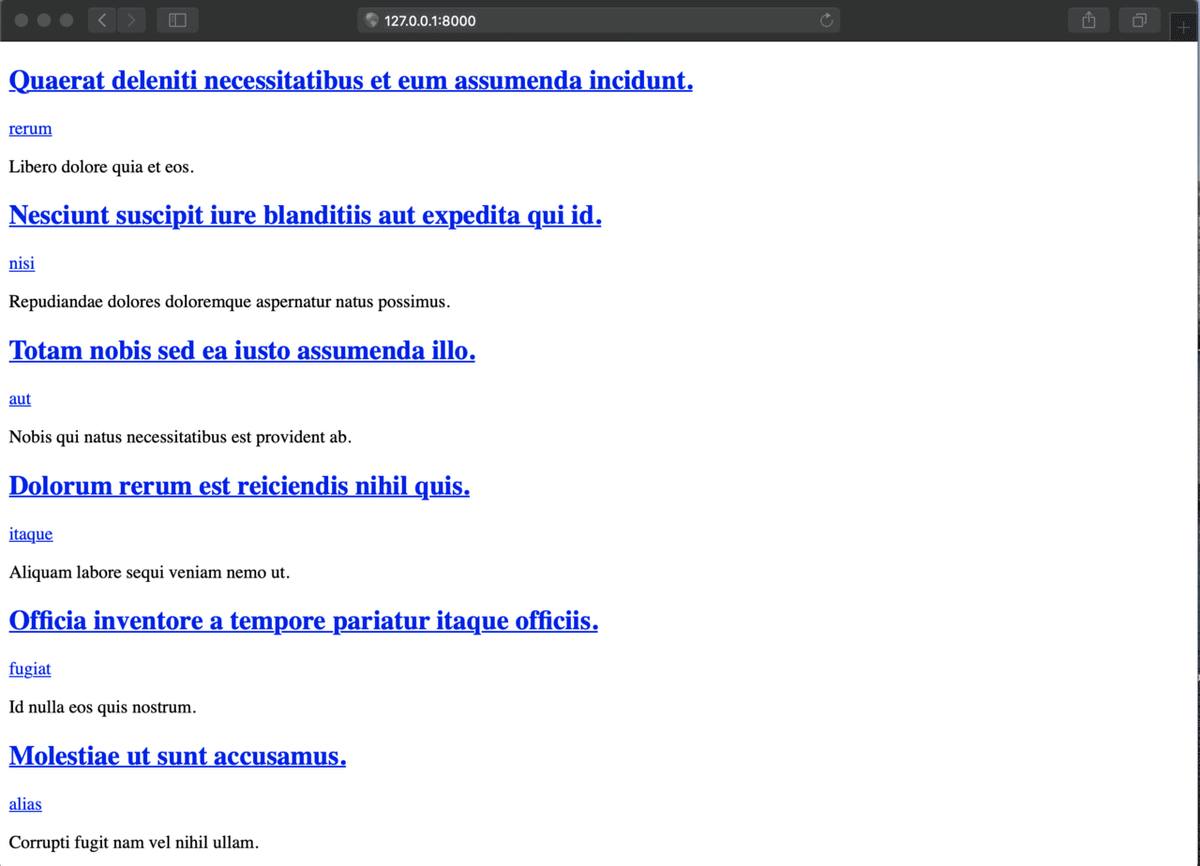
変更後にTOPページを確認すると先ほど一番下にあった記事が一番上に表示されているのがわかります。
ちなみに今回はPostモデルのcreated_atカラムの順番で表示させていますが、もし違うカラム、例えばpublished_atなどで表示順を変更したい場合は
$posts = Post::latest('publushed_at')->with('category')->get();
とカラムを指定することもできます。
ブロガーのrelationship追加
記事モデル(Postモデル)にブロガー(筆者)のrelashionshipを追加して
$post->author->name
のように記事からその筆者の情報を取得できるようにしたいと思います。
Postモデルにauthorメソッドを追加します。
記事に筆者(author)にBelongsToの関係なので
app/Models/Post.php
   public function author(){
       return $this->belongsTo(User::class);
   }
となります。
しかし、Laravelはメソッドの名前を'author'にするとデフォルトでFOREIGN KEY(外部キー)がauthor_idだと仮定します。しかし実際はどうでしょうか?postsテーブルを見てみます。
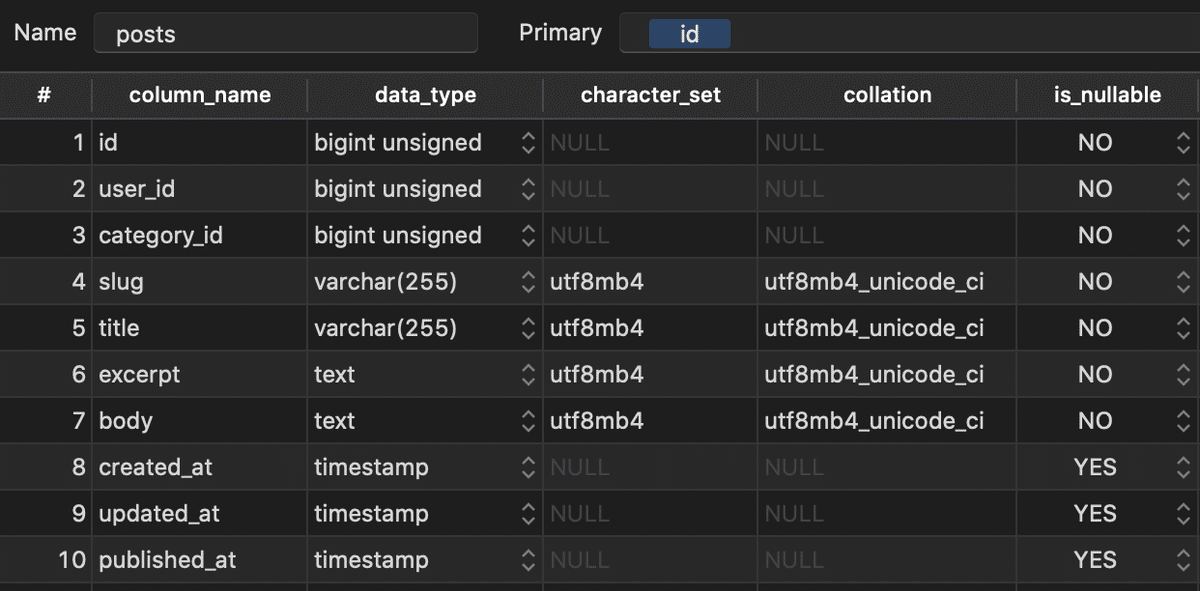
author_idではなくuser_idですね。なので次のようにして設定を上書きしなくてはなりません。
   public function author(){
       return $this->belongsTo(User::class, 'user_id'); // user_idを指定
   }
Tinkerを使って実際に使用できるか見てみます。
$php artisan tinker

Psy Shell v0.10.8 (PHP 8.0.3 — cli) by Justin Hileman
>>>
>>> $post = App\Models\Post::first();
=> App\Models\Post {#4110
    id: 1,
    user_id: 1,
    category_id: 1,
    slug: "perspiciatis-est-velit-quasi-tempora-magnam-cumque-officiis",
    title: "Nesciunt suscipit iure blanditiis aut expedita qui id.",
    excerpt: "Repudiandae dolores doloremque aspernatur natus possimus.",
    body: "Consequatur saepe rerum vitae corrupti omnis. Quae est fuga dolor consequatur. Incidunt totam voluptate perferendis itaque et. Incidunt maiores nulla dolorum aliquam iusto molestias. Voluptates et non ipsum suscipit repellendus quaerat officiis molestiae.",
    created_at: "2021-06-16 13:45:24",
    updated_at: "2021-06-16 13:45:24",
    published_at: null,
  }
>>> $post->author->name;
=> "john"
>>>
$post->author->name
しっかりauthorを使って筆者の名前が取得できています。
もちろんauthorメソッドではなくuserメソッドとすれば
$post->user->name
として筆者の名前を取得することは可能ですが、コードの読みやすさを考えると、$post->userだと意味がわかりづらいので$post->authorとしています。
ブロガーごとの記事を表示するページ作成
ブロガー(筆者)ごとの記事の一覧を表示するページを作成するためにルーティングを追加します。
routes/web.php
// ワイルドカードが {author}なのでパラメータも$authorにする必要がある
Route::get('/authors/{author}', function (User $author){
   return view('posts', [
       'posts' => $author->posts
   ]);
});
Userモデルにもpostsメソッドを追加します。
一人のブロガー(author)は複数の記事を持つことができるので『1対多』のhasManyを使います。
app/Models/User.php
public function posts(){
return $this->hasMany(Post::class);
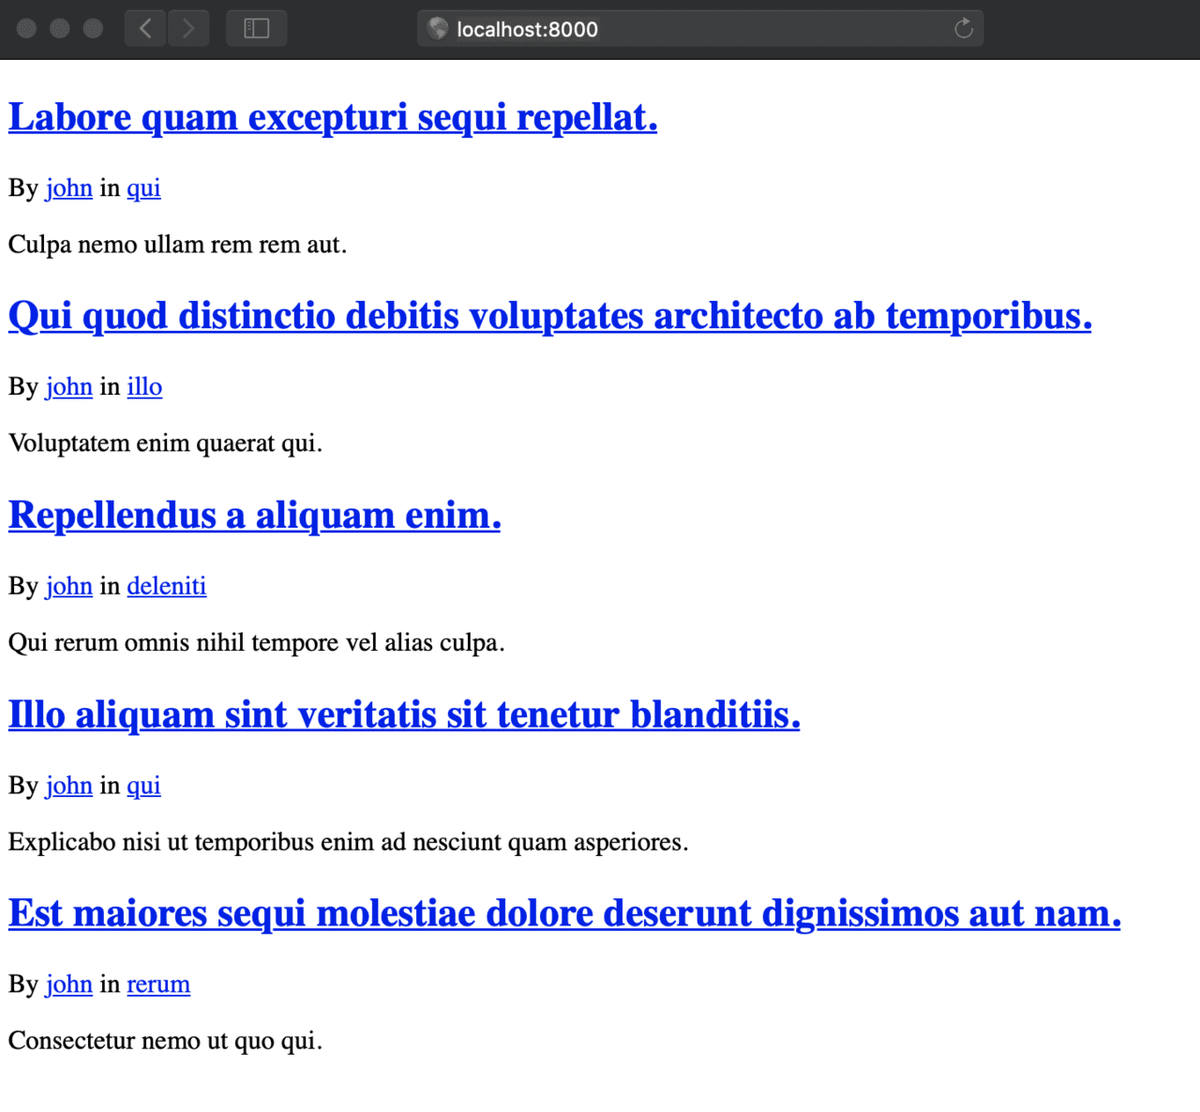
}ブラウザで /authors/1 (http://localhost:8000/authors/1)を確認してみると
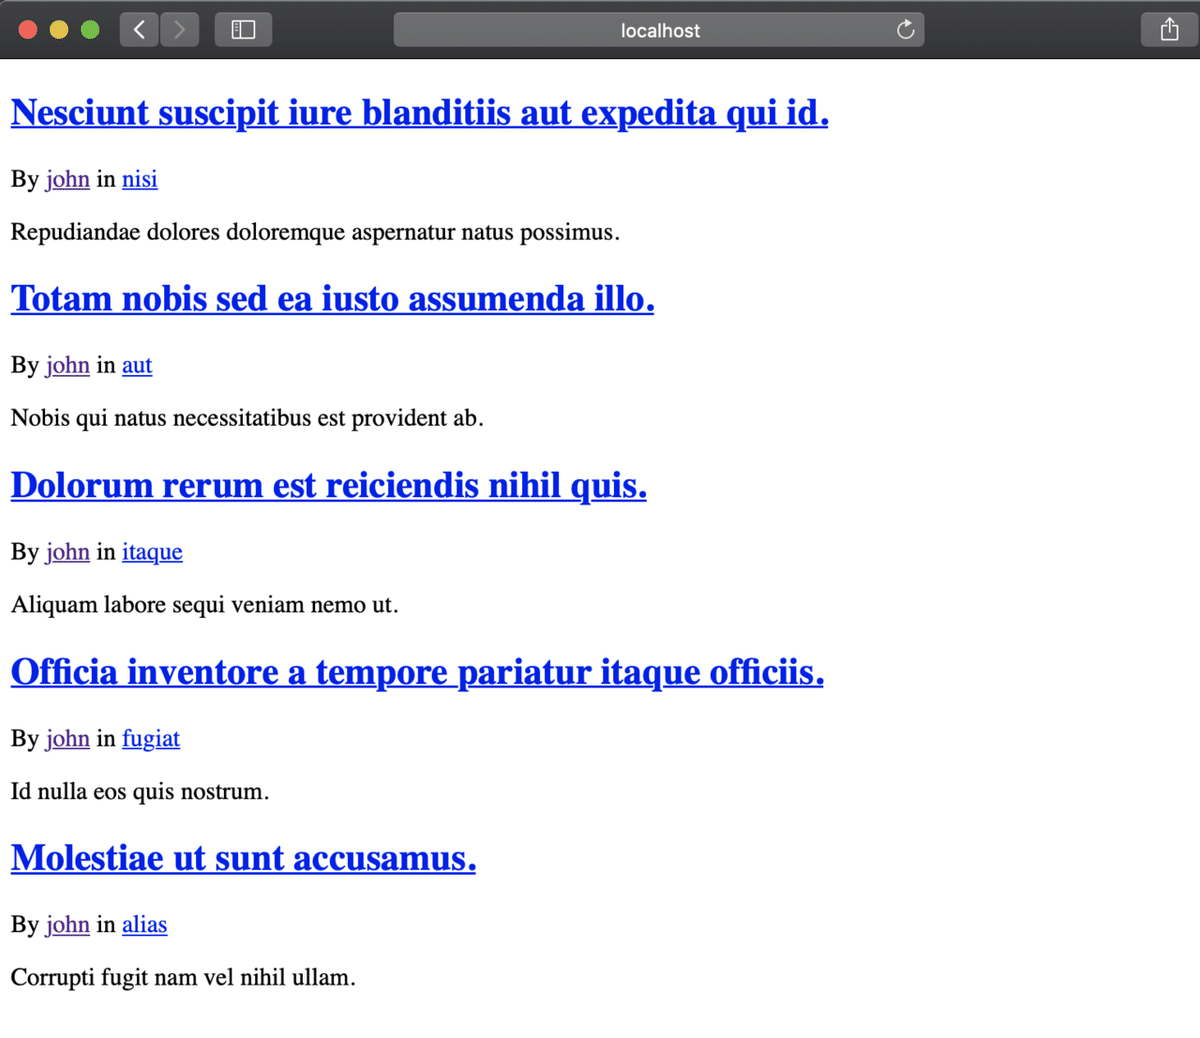
user_id が1のjohnの記事の一覧が表示されました。
URLの変更
ユーザーIDをURIに使用する代わりにusernameを追加し、それをURIの一部にします。
例
/authors/1 -> /authors/john
usersテーブルにusernameカラムを追加します。
database/migrations/2014_10_12_000000_create_users_table.php
Schema::create('users', function (Blueprint $table) {
           $table->id();
           $table->string('username')->unique(); // 新たに追加
           $table->string('name');
           $table->string('email')->unique();
           $table->timestamp('email_verified_at')->nullable();
           $table->string('password');
           $table->rememberToken();
           $table->timestamps();
       });
usernameはuniqueである必要があります。下の記事でも話しています。
ついでにUserモデルのfactoryも変更を加えます。
fakerはuniqueメソッドも使えるので、ここで使用します。
database/factories/UserFactory.php
    public function definition()
   {
       return [
           'name' => $this->faker->name(),
           'username' => $this->faker->unique()->userName, // 追加
           'email' => $this->faker->unique()->safeEmail(),
           'email_verified_at' => now(),
           'password' => '$2y$10$92IXUNpkjO0rOQ5byMi.Ye4oKoEa3Ro9llC/.og/at2.uheWG/igi', // password
           'remember_token' => Str::random(10),
       ];
   }
前回の記事で紹介したseedを使いデータベースをリフレッシュします。
php artisan migrate:fresh --seed
コマンド実行後にusersテーブルを確認すると

データが入っていることが確認できるかと思います。
あとはviewのリンク先を変更し、
resources/views/posts.blade.php
<p>
   By <a href="/authors/{{ $post->author->username }}">{{ $post->author->name}}</a> in <a href="/categories/{{$post->category->slug}}">{{ $post->category->name }}</a>
</p>
ルーティングの設定もusernameを使用することを明示します。
routes/web.php
Route::get('/authors/{author:username}', function (User $author){
   return view('posts', [
       'posts' => $author->posts
   ]);
});
これでTOPページのリンク先も変更されるので、
johnをクリックするとjohnの記事の一覧が問題なく表示されます。
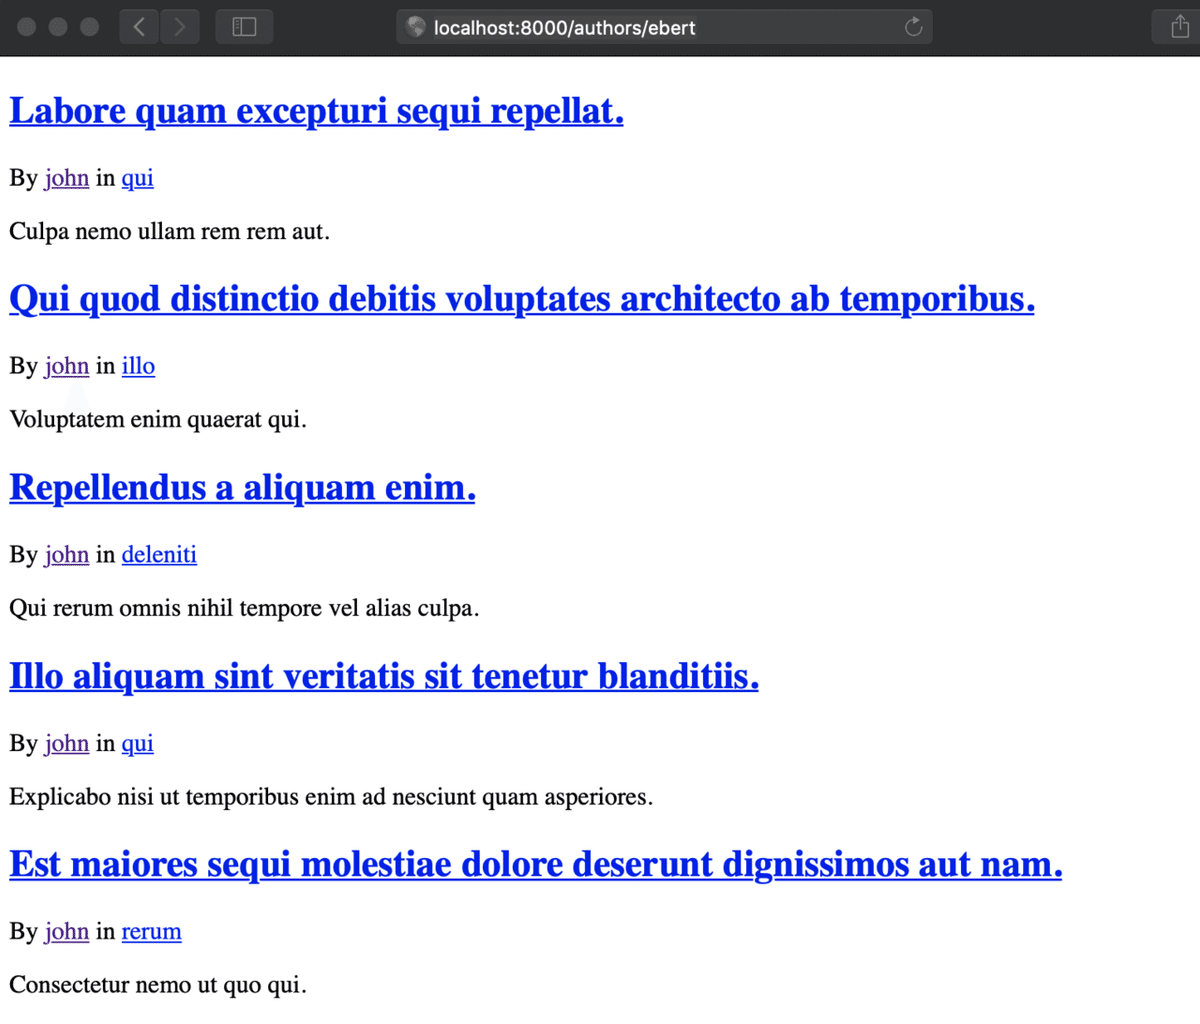
/authors/ebert (ebertはusersテーブルのusernameの値)
最後に
今回はブロガーごとの記事の一覧を作ることができました。
しかし、このままだとまたN+1問題が起きているので、それを次の記事で解決していきます。
今回のソースコード
この記事が気に入ったらサポートをしてみませんか?