
[laravel] meilisearchを試してみました

laravel news にlaravel scoutがmeilisearchに対応したと書いてあったので、今回試したみました。
meilisearchとは?
オープンソースで高速な全文検索できるサーチエンジン。サーチ時のタイポにも対応している。
Laravelインストールしてからデータ挿入
laravel インストール
$laravel new meilisearch-test
プロジェクトのディレクトリに移動
$cd meilisearch-test
データベースを作成するためにmysql にログイン(ここは環境に依存)
$mysql -uroot -p
データベースを作成 (.envファイルのDB_DATABASEと同じにするとスムーズ)
mysql> create database meilisearch_test;
データベースを作ったらmysqlからexit
mysql> exit
migrateでデフォルトのテーブルを作成します。
$php artisan migrate
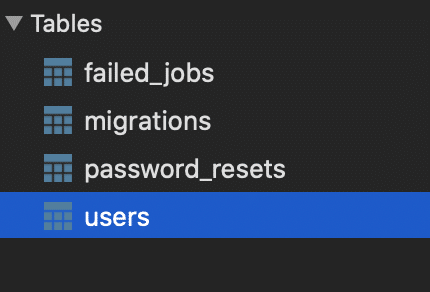
4つのテーブルができています。
usersテーブルで確認していきたいので、usersテーブルに300行のデータを挿入します。
database/seeders/DatabaseSeeder.php
<?php

namespace Database\Seeders;

use Illuminate\Database\Seeder;

class DatabaseSeeder extends Seeder
{
   /**
    * Seed the application's database.
    *
    * @return void
    */
   public function run()
   {
       \App\Models\User::factory(300)->create();
   }
}
以下のコマンドで挿入の実行
$php artisan db:seed
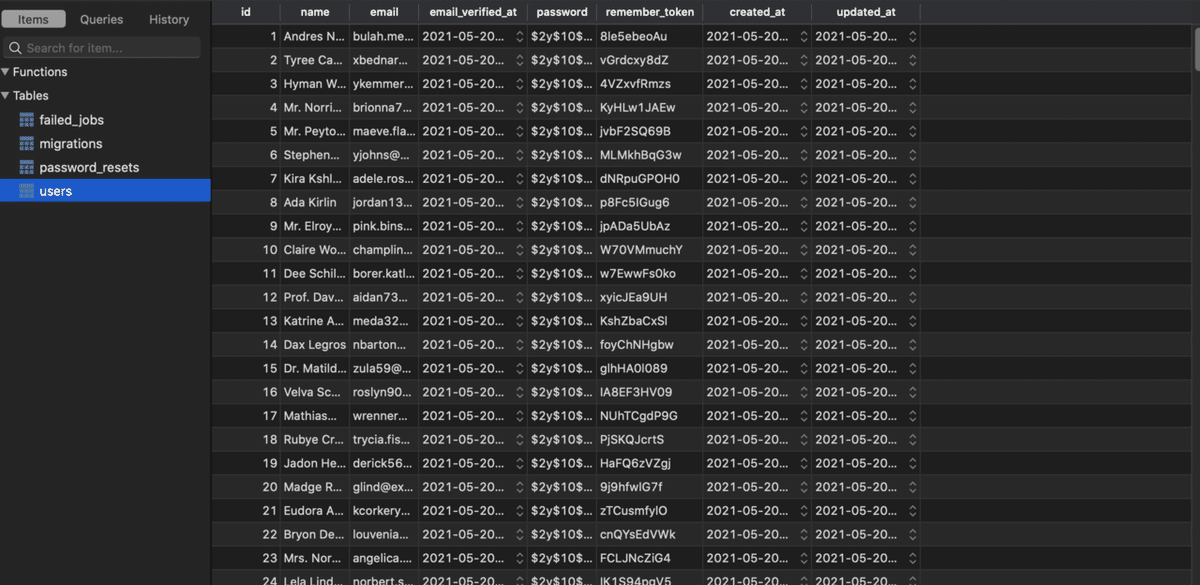
tableplusでもデータが入っていることを確認。
meilisearchインストール
macにインストール
$brew update && brew install meilisearch
起動
$meilisearch
Server listening on: "http://127.0.0.1:7700"
laravel scoutの設定
プロジェクトのディレクトリにて。
scoutインストール
$composer require laravel/scout
scoutのコンフィグファイルをpublish
$php artisan vendor:publish --provider="Laravel\Scout\ScoutServiceProvider"今回はUserモデルを使うのでUserモデルに
Laravel\Scout\Searchable traitを追加しSearchableもuseする。
app/Models/User.php
<?php

namespace App\Models;

use Illuminate\Contracts\Auth\MustVerifyEmail;
use Illuminate\Database\Eloquent\Factories\HasFactory;
use Illuminate\Foundation\Auth\User as Authenticatable;
use Illuminate\Notifications\Notifiable;
use Laravel\Scout\Searchable;

class User extends Authenticatable
{
   use HasFactory, Notifiable, Searchable;
meilisearchドライバーを使う時に必要なパッケージをインストール
$composer require meilisearch/meilisearch-php http-interop/http-factory-guzzle
.envファイルに以下を追加
SCOUT_DRIVER=meilisearch
MEILISEARCH_HOST=http://127.0.0.1:7700
検索できるデータを制限
Userモデルにはすでにhiddenプロパティでpasswordとremember_tokenが定義されているのでインデックスされません。
protected $hidden = [
       'password',
       'remember_token',
   ];
今回はusersテーブルのupdated_atカラムをインデックスさせないようにすることにします。そのためにUserモデルにtoSearchableArrayメソッドを追加します。
app/Models/User.php
public function toSearchableArray()
{
       $array = $this->toArray();

       unset($array['updated_at']);

       return $array;
}
unsetを使ってupdated_atを除きました。
インポート
今回のように既に存在するテーブルをインデックスする場合はデータをインポートする必要があります。
次のコマンドでインポート
php artisan scout:import "App\Models\User"
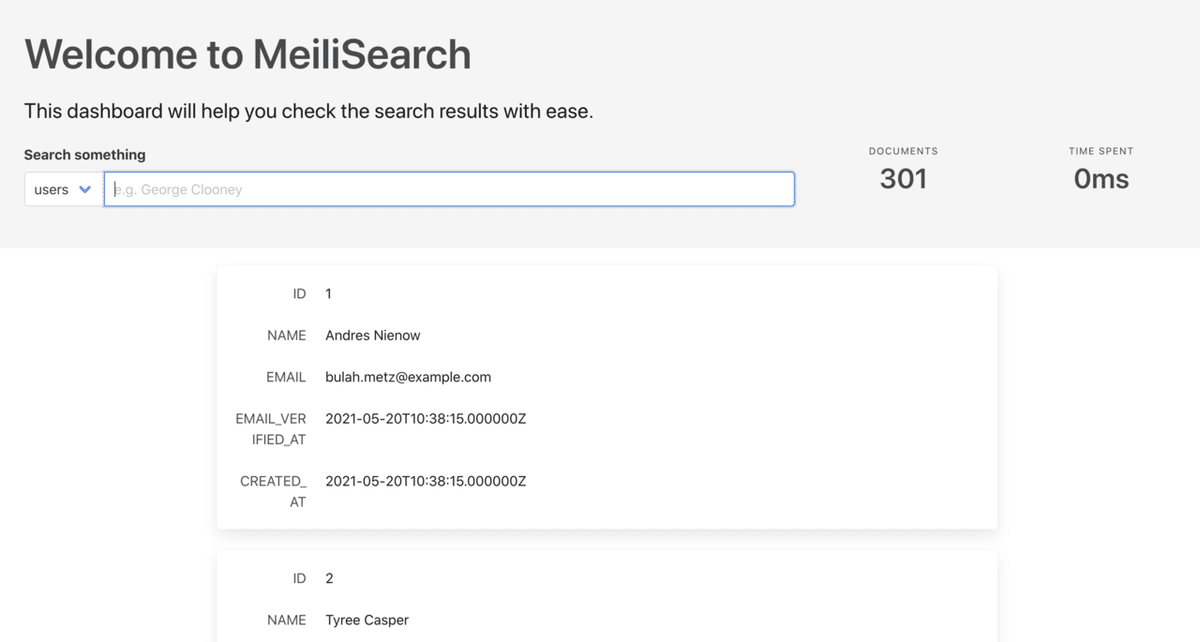
ブラウザで確認

tinkerでデータ追加
日本語データを追加してみる。
$php artisan tinker
Psy Shell v0.10.8 (PHP 8.0.3 — cli) by Justin Hileman
>>> $user = new User;
[!] Aliasing 'User' to 'App\Models\User' for this Tinker session.
=> App\Models\User {#3385}
>>> $user->name = "たなかたろう";
=> "たなかたろう"
>>> $user->email = "tanaka@test.com";
=> "tanaka@test.com"
>>> $user->password = bcrypt('tanaka_password');
=> "$2y$10$Op0Eb0FkY5c67Gs.6IZPTeSOfvdLplFqTCJHf6a0GXNEXaOPQmfdG"
>>> $user->save();
=> true
追加直後にすぐ更新されています。(300から301になっている)
javascriptで実際に使ってみる
サーバーを立ててサイトを表示。
$php artisan serve
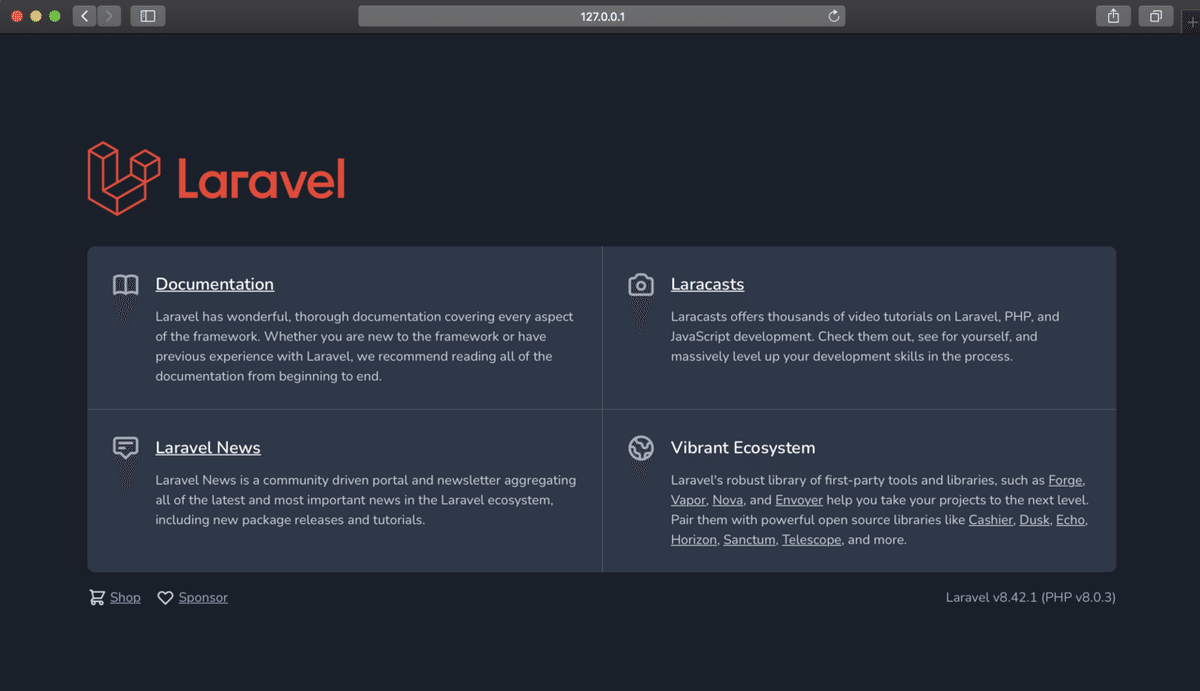
laravelをインストールしたばかりでwelcomeページが出ているのでこのページ(welcome.blade.php)を変更していきます。
参考ページ
検索フォームを作成
   <div>
       <input type="text" id="search">
       <div id="results" style="margin-top:50px"></div>
   </div>
CDNを使用します。
<script src='https://cdn.jsdelivr.net/npm/meilisearch@latest/dist/bundles/meilisearch.umd.js'></script> そのあとindexを取得し、
   <script>
       const client = new MeiliSearch({
           host: 'http://127.0.0.1:7700',
       })
       const index = client.index('users')

   </script>
検索フォームのインプットのkeyupイベントを使い、入力した文字列で検索します。
           const input = document.querySelector('#search')

           input.addEventListener('keyup', event => {
               index.search(event.target.value)
               .then(response => {
                       let nodes = response.hits.map(user => {
                           let div = document.createElement('div');
                           div.textContent = user.name;
                           return div;
                       });
                       let results = document.querySelector('#results');
                       results.innerHTML = '';
                       results.append(...nodes);
                   })
})試してみます
見た目はフォームのみ
このフォームに入力してみると
日本語を入力しても
タイポにも対応している。
完成形のファイルはこちら
この記事が気に入ったらサポートをしてみませんか?