
Androidアプリ開発入門 (8) - 通知

Androidアプリの「通知」の実装方法についてまとめました。
・API 29: Android 10 (Q)
前回
1. 通知
「通知」は、アプリのUIの外でAndroidが表示するメッセージで、リマインダー、他の人からのメッセージ、アプリからのタイムリーな情報などを、ユーザーに提供します。
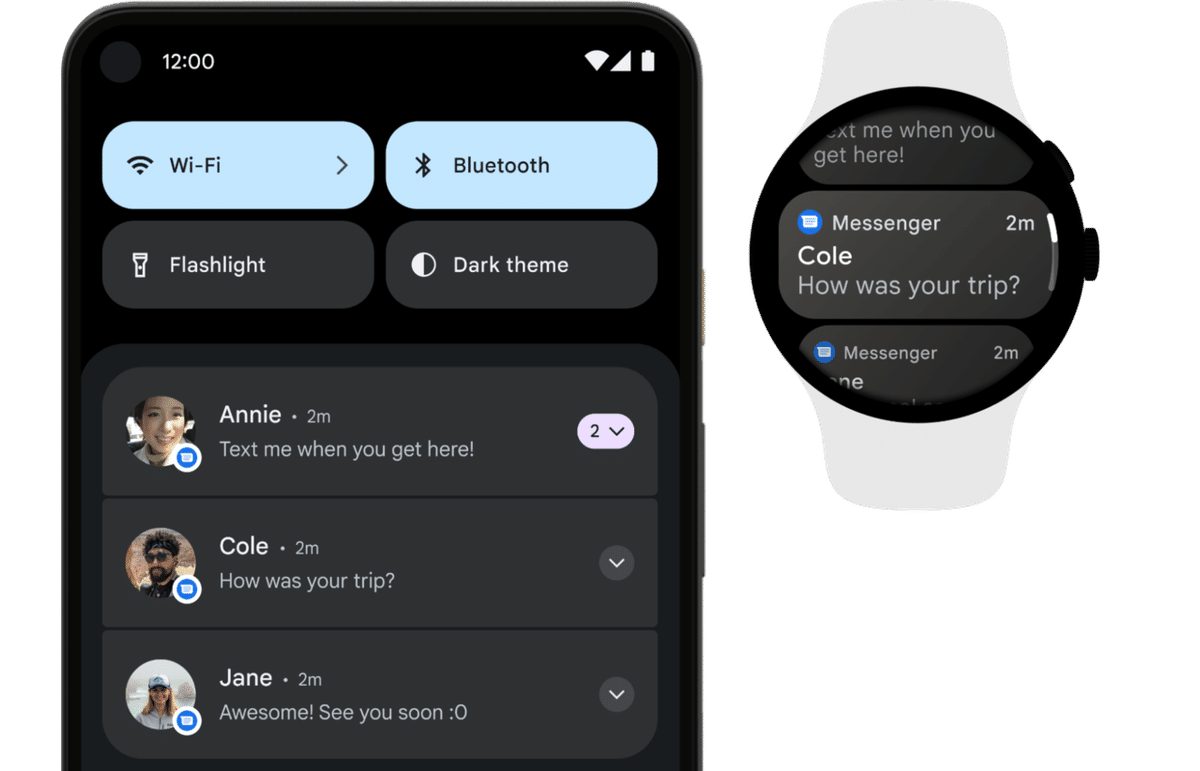
2. 通知の表示場所
「通知」はAndroidの様々な場所に表示されます。
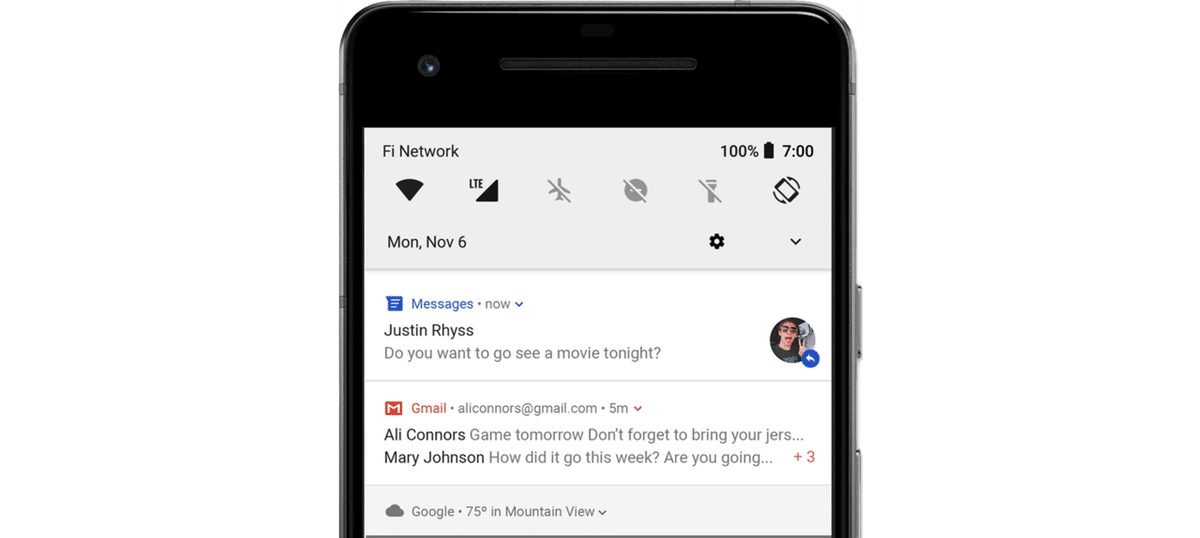
・ステータスバー
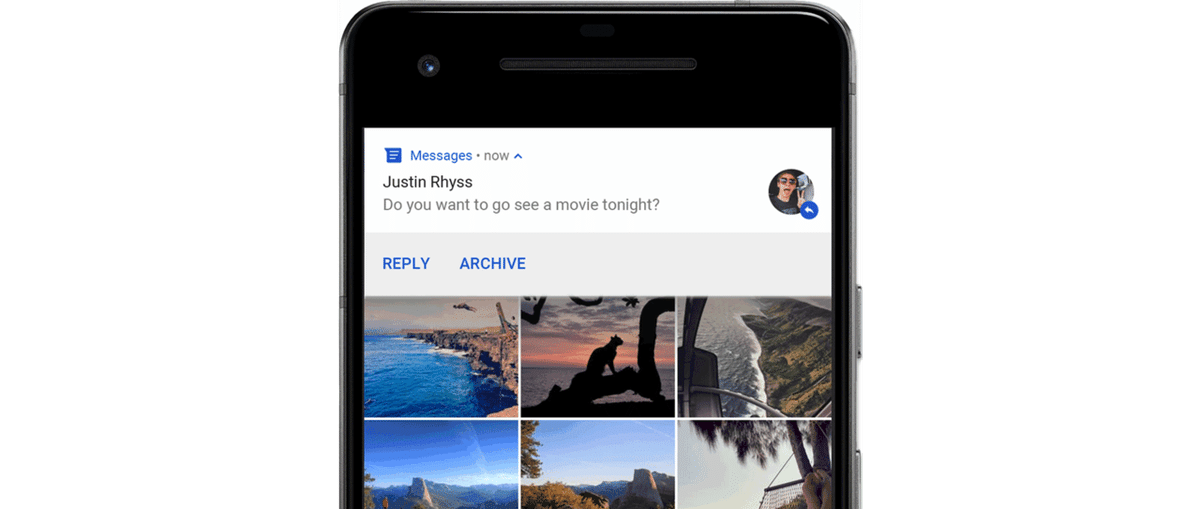
・ヘッドアップ
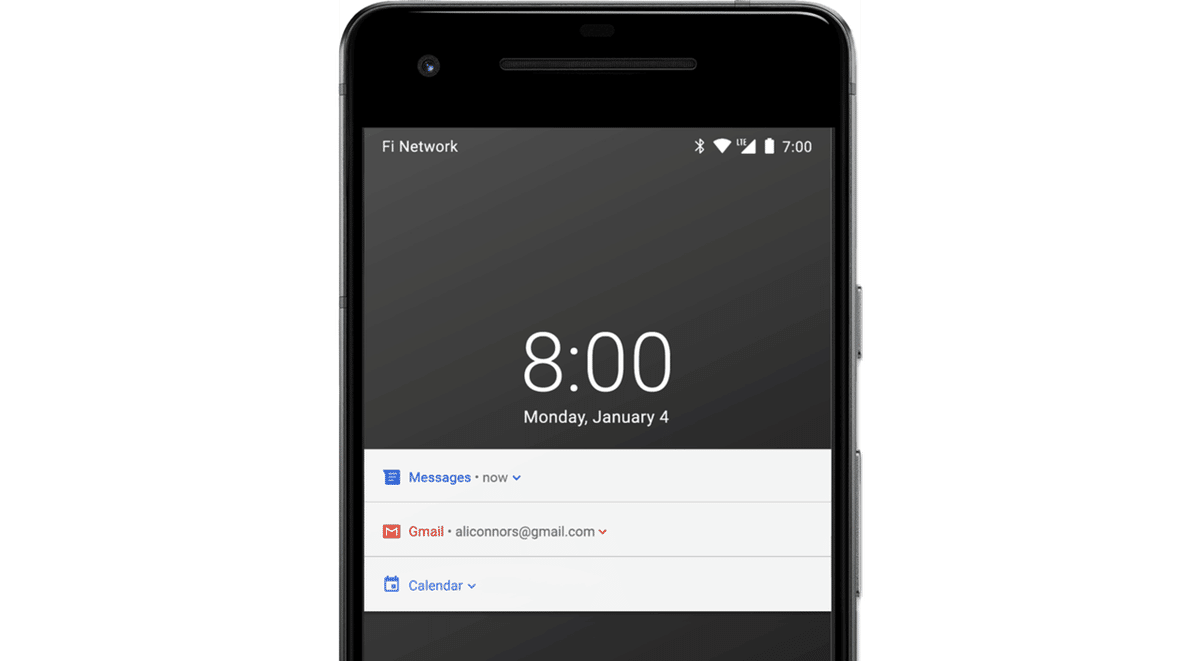
・ロック画面
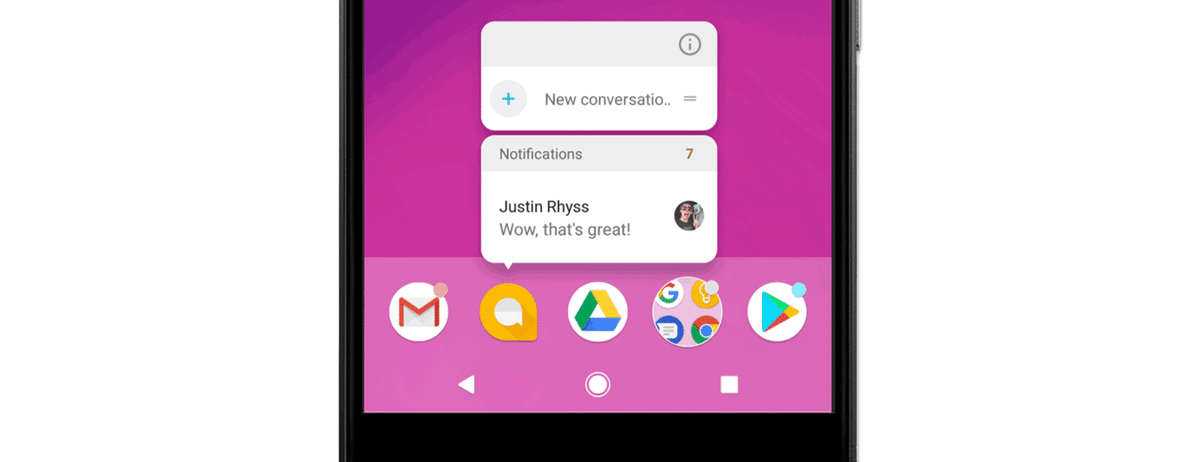
・アプリアイコンのバッジ
・Wear OSデバイス
◎ ステータスバー
ステータスバーにアイコンとして表示します。ステータスバーを下にスワイプすると、詳細確認ができます。

◎ ヘッドアップ
フォアグラウンドアプリの画面上部に一定時間だけ表示します。
◎ ロック画面
ロック画面に表示します。表示内容の詳細レベルを設定できます。
◎ アプリアイコンのバッジ
アプリアイコンのバッジとして表示します。アプリアイコンを長押で詳細を確認できます。
◎ Wear OSデバイス
ペア設定したWear OSデバイスに表示します。
3. 通知の構造
通知の構造は、次のとおりです。
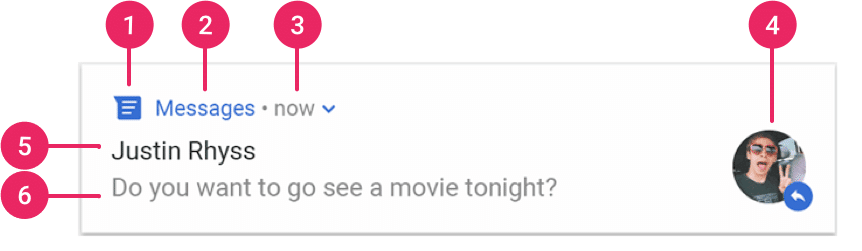
1. 小アイコン (必須) : setSmallIcon()
2. アプリ名 : システム
3. タイムスタンプ : システム
4. 大アイコン : setLargeIcon()
5. タイトル : setContentTitle()
6. テキスト : setContentText()
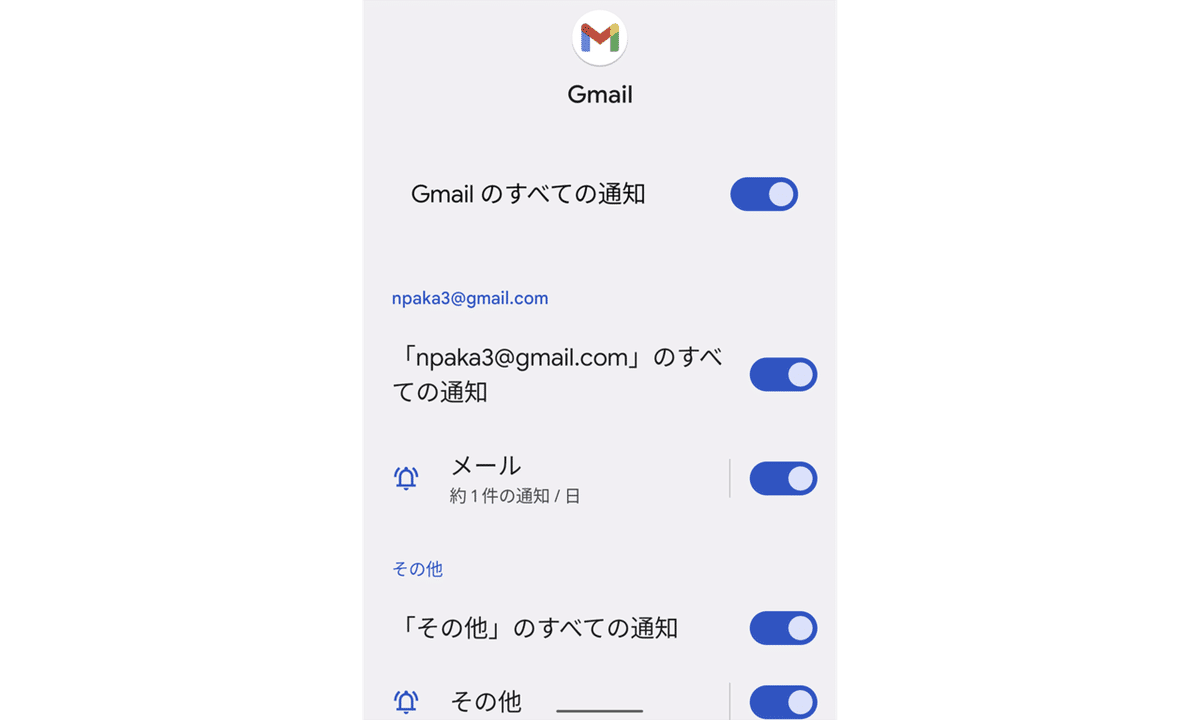
4. 通知チャンネル
すべての「通知」は「通知チャンネル」に割り当てられています。設定で、「通知チャンネル」ごとに「ON/OFF」や「通知音」などを設定できます。
5. 通知ライブラリのインストール
モジュールの「build.gradle」に以下を追加します。
dependencies {
    implementation "com.android.support:support-compat:28.0.0"
}
6. 通知のコード
通知の送信を行うのコードは、次のとおりです。
package net.npaka.notificationex
import android.app.NotificationChannel
import android.app.NotificationManager
import android.content.Context
import androidx.appcompat.app.AppCompatActivity
import android.os.Bundle
import android.app.Notification
import androidx.core.app.NotificationCompat
import androidx.core.app.NotificationManagerCompat
class MainActivity : AppCompatActivity() {
override fun onCreate(savedInstanceState: Bundle?) {
super.onCreate(savedInstanceState)
setContentView(R.layout.activity_main)
// 通知チャンネルの生成
createNotificationChannel()
// 通知の送信
sendNotification()
}
// 通知チャンネルの生成
private fun createNotificationChannel() {
// 通知チャンネルの生成
val channel = NotificationChannel(
"TEST_CHANNEL_ID", // チャンネルID
"テスト", // チャンネル名
NotificationManager.IMPORTANCE_DEFAULT) // 重要度
// システムに通知チャンネルを登録
val notificationManager: NotificationManager =
getSystemService(Context.NOTIFICATION_SERVICE) as NotificationManager
notificationManager.createNotificationChannel(channel)
}
// 通知の送信
private fun sendNotification() {
// 通知の生成
val notification: Notification = NotificationCompat.Builder(this, "TEST_CHANNEL_ID")
.setSmallIcon(R.drawable.ic_launcher_foreground) // 小アイコン
.setContentTitle("テスト") // タイトル
.setContentText("通知のテストの説明文です。") // テキスト
.setPriority(NotificationCompat.PRIORITY_DEFAULT) // 重要度
.build()
// 通知の送信
with (NotificationManagerCompat.from(this)) {
notify(1234, notification) // 通知ID (更新、削除で利用)
}
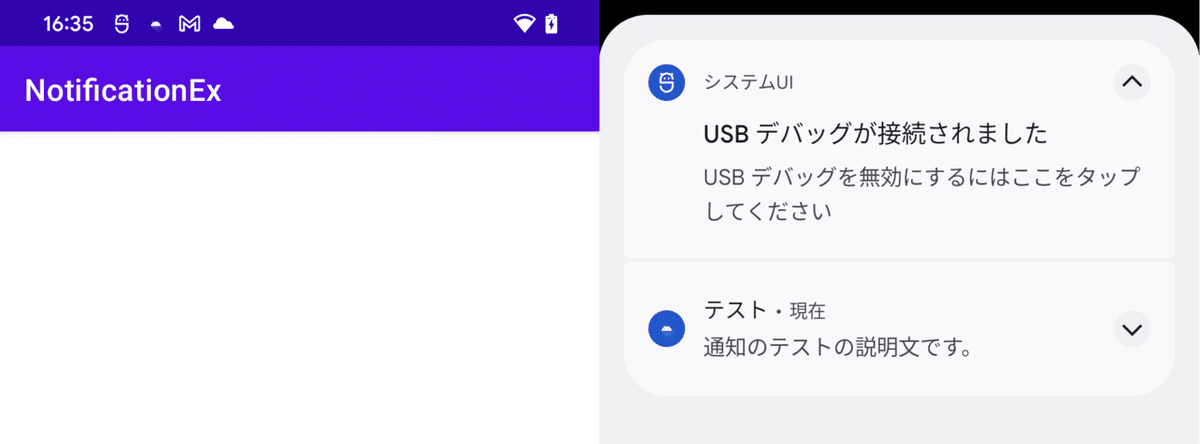
}
}アプリを起動すると、通知が送られてきます。
ステータスバーに届いた通知のアイコンと詳細は、次のとおりです。
ロック画面でも表示されます。

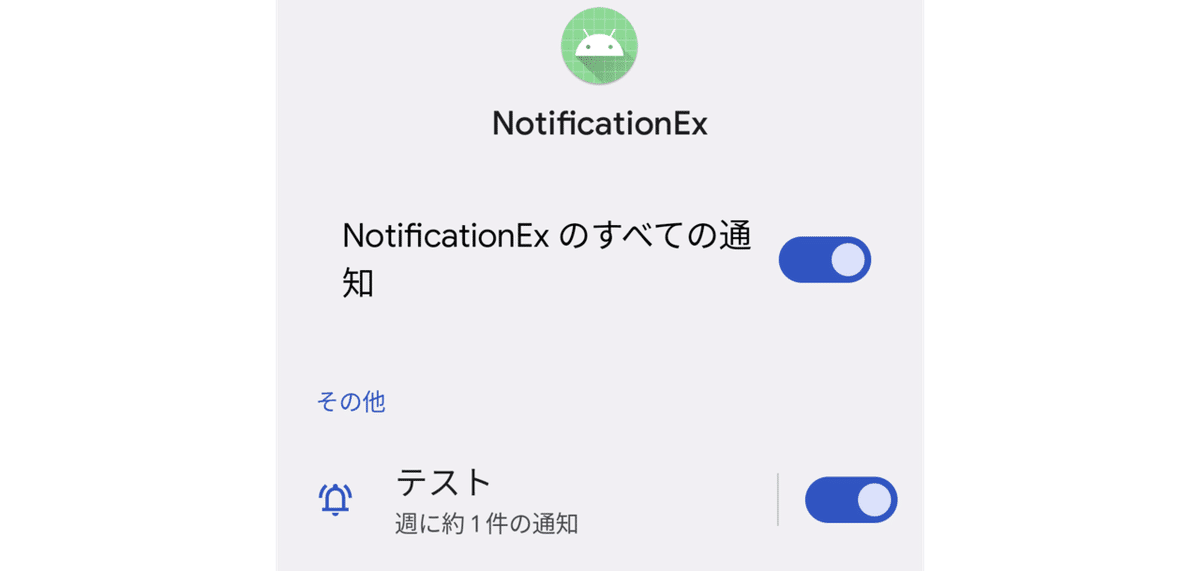
設定で通知チャンネルがあることも確認できます。
7. 通知からのアクティビティ起動
通知からアクティビティ起動を行うには、ペンディングインテントを作成して、Notification#setContentIntent()で指定します。
// ペンディングインテントの生成
val intent = Intent(this, MainActivity::class.java).apply {
    flags = Intent.FLAG_ACTIVITY_NEW_TASK or Intent.FLAG_ACTIVITY_CLEAR_TASK
}
val pendingIntent: PendingIntent = PendingIntent.getActivity(this, 0, intent, 0)

// 通知の生成
val notification: Notification = NotificationCompat.Builder(this, "TEST_CHANNEL_ID")
    .setSmallIcon(R.drawable.ic_launcher_foreground)
    .setContentTitle("テスト")
    .setContentText("通知のテストの説明文です。")
    .setPriority(NotificationCompat.PRIORITY_DEFAULT)
    .setContentIntent(pendingIntent) // ペンディングインテント
    .build()
次回
この記事が気に入ったらサポートをしてみませんか?