
Unityのバーチャルパッドの追加

1. はじめに
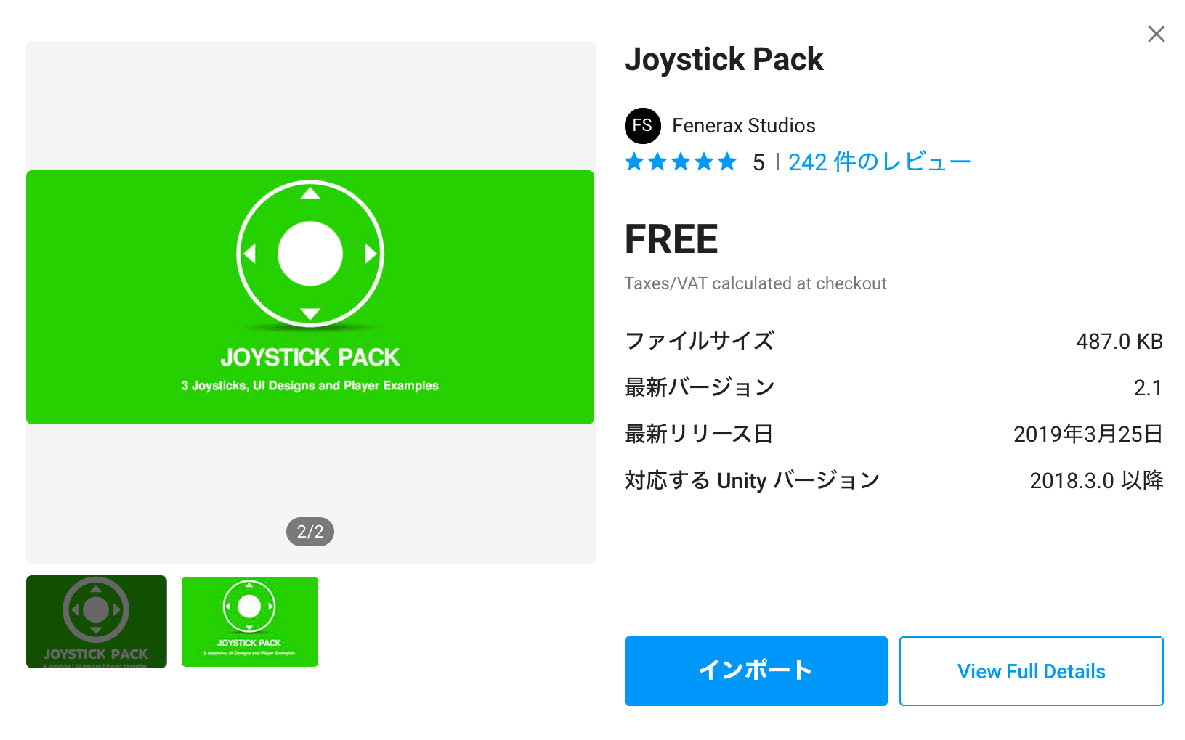
「JOYSTICK PACK」を使ってモバイル用のバーチャルパッドを追加する手順をまとめました。
・Unity 2018.4.17f11
2. ジョイスティックの種類
「JOYSTICK PACK」には、次の4種類のジョイスティックが用意されています。今回は、「Fixed Joystick」を使います。
・Fixed Joystick : 固定位置にとどまるジョイスティック。
・Floating Joystick : ユーザーがタッチした場所から始まり、タッチが解除されるまで固定されたままになるジョイスティック。
・Dynamic Joystick : ユーザーがタッチしたところから始まり、画面の周りをタッチして移動するジョイスティック。
・Variable Joystick : これら3つのモードを切り替えることができるジョイスティック。
3. Unityでのバーチャルパッドの追加
Unityでのバーチャルパッドの作成手順は、次のとおりです。
(1) AssetStoreから「JOYSTICK PACK」をダウンロードしてインポート。
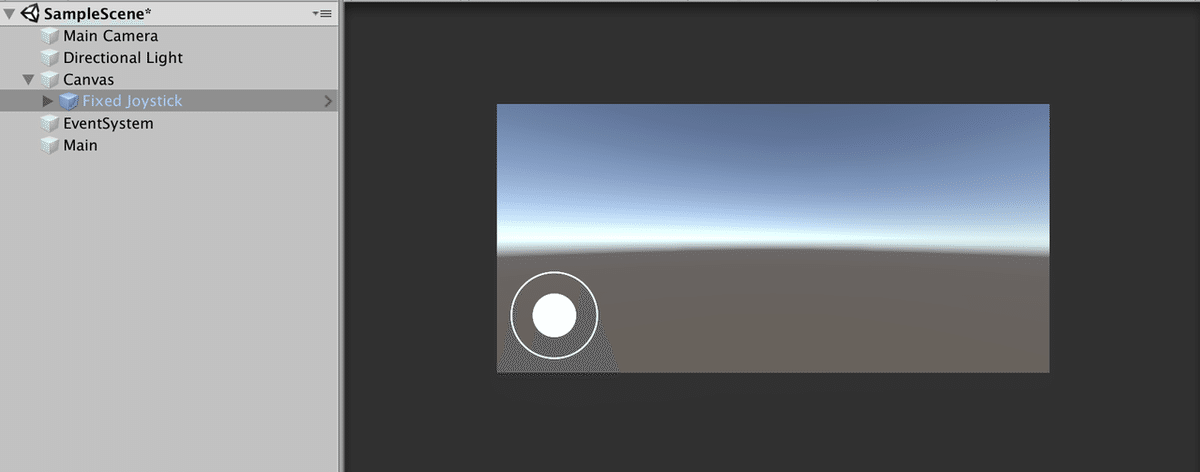
(2) 「Joystick Pack/Prefabs」にある「Fixed Joystick」をHierarchyウィンドウのCanvasにドラッグ&ドロップし、「Rect Transform」でサイズと位置を調整。
(3) 動作テストのため、Hierarchyウィンドウに空のGameObjectを追加し、名前に「Main」を指定し、スクリプト「Main」を追加。
using System.Collections;
using System.Collections.Generic;
using UnityEngine;

// メイン
public class Main : MonoBehaviour {
   public FixedJoystick joystick;

   // 更新時に呼ばれる
   void Update() {
       // ジョイスティックの状態表示
       print("Horizontal: "+joystick.Horizontal);
       print("Vertical: "+joystick.Vertical);
   }
}
(4) 「Fixed Joystick」を「Main」の「joystick」にドラッグ&ドロップ。
(5) 実行し、バーチャルパッドを操作して動作確認。
4. Unityでのバーチャルボタンの追加
おまけでボタンも追加します。
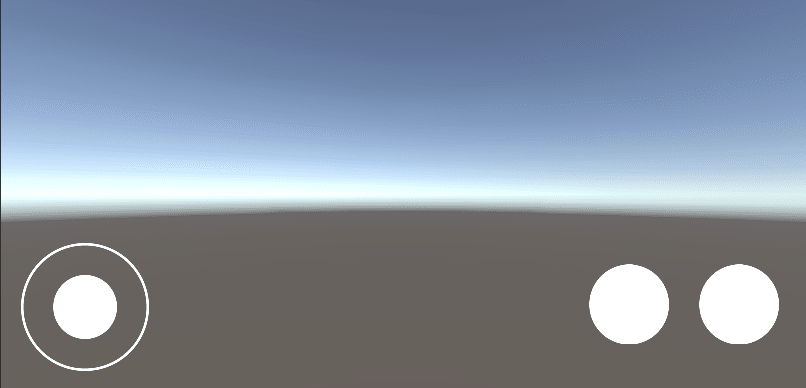
(1) HierarchyウィンドウのCanvasに「UI → Button」でButtonを2つ追加し、名前に「ButtonA」「ButtonB」を指定。

(2) 「Button」の「Image → Source Image」に「Joystick Pack/Sprites/Handles/Handle_Plain」をドラッグ&ドロップし、「Button」の子ノードのTextのTextを空にし、位置とサイズを調整。
(3) 「ButtonA」「ButtonB」にスクリプト「ButtonState」を追加。
using System.Collections;
using System.Collections.Generic;
using UnityEngine;

// ボタン状態
public class ButtonState : MonoBehaviour {
    bool pressed = false;
    bool down = false;
    bool up = false;

    // ポインタダウン時に呼ばれる
    public void OnPointerDown() {
        if (this.pressed == false) {
            this.down = true;
        }
        this.pressed = true;
    }

    // ポインタアップ時に呼ばれる
    public void OnPointerUp() {
        if (this.pressed == true) {
            this.up = true;
        }
        this.pressed = false;
    }

    // ボタン押下の取得
    public bool IsPressed() {
        return this.pressed;
    }

    // ボタンダウンの取得
    public bool IsDown() {
        bool result = this.down;
        this.down = false;
        return result;
    }

    // ボタンアップの取得
    public bool IsUp() {
        bool result = this.up;
        this.up = false;
        return result;
    }
}
(4) 「ButtonA」「ButtonB」に「Event Trigger」を追加し、各ボタンのメソッドに関連づける。
・Pointer Down : ButtonA/B.OnOointerDown()
・Pointer Up : ButtonA/B.OnOointerUp()
・Pointer Exit : ButtonA/B.OnOointerUp()

(5) スクリプト「Main」にボタン押下時の処理を追加。
using System.Collections;
using System.Collections.Generic;
using UnityEngine;

// メイン
public class Main : MonoBehaviour {
   public FixedJoystick joystick;
   public ButtonState buttonA;
   public ButtonState buttonB;

   // 更新時に呼ばれる
   void Update() {
       // ボタンの状態表示
       print("ButtonA Pressed: "+buttonA.IsPressed());
       print("ButtonB Pressed: "+buttonB.IsPressed());
       print("ButtonA Down: "+buttonA.IsDown());
       print("ButtonB Down: "+buttonB.IsDown());
       print("ButtonA Up: "+buttonA.IsUp());
       print("ButtonB Up: "+buttonB.IsUp());
   }
}
(6) 「ButtonA」「ButtonB」を「Main」の「buttonA」「buttonB」にドラッグ&ドロップ。
(7) 実行し、バーチャルボタンを操作して動作確認。
この記事が気に入ったらサポートをしてみませんか?