
Weights & Biases の使い方

1. Weights & Biases
「Weights&Biases」(W&B)は、機械学習の実験の追跡、ハイパーパラメータの最適化、モデルとデータセットのバージョン管理を行うためのサービスです。
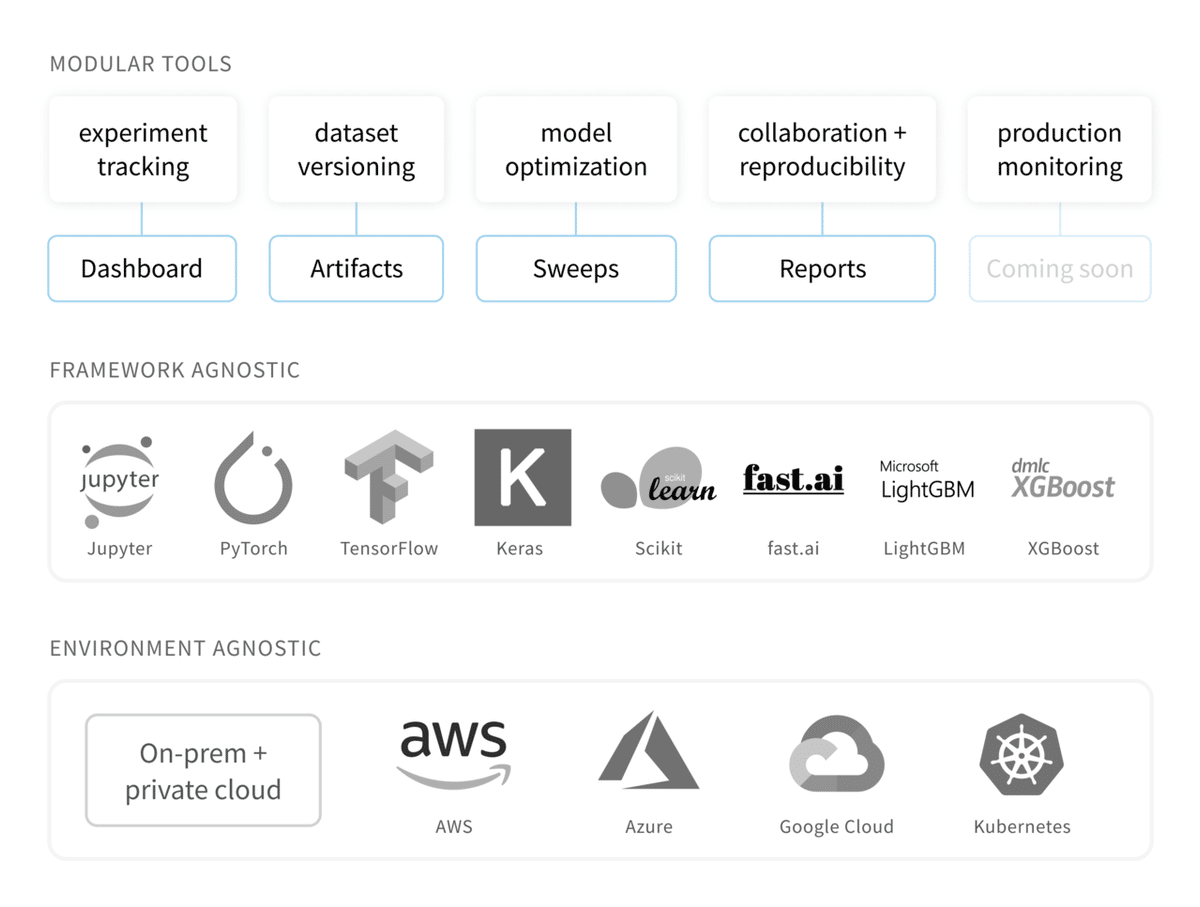
「W&B」のツールは、次のとおりです。
・Dashboard : 実験を追跡と視覚化。
・Reports : 再現可能な結果を保存して共有。
・Sweeps : ハイパーパラメータの最適化。
・Artifacts : データセットとモデルのバージョン管理、パイプライン追跡。
「W&B」のサイトでアカウントを作成してください。個人利用は無料になります(「Pricing」を参照)。
2. 実験の追跡と視覚化
自分の機械学習スクリプトにコードを数行追加するだけで、実験の追跡と視覚化を行うことができます。
(1) 「wandb」のインストール。
「wandb」は、「W&B」のPythonパッケージです。Python3の環境にインストールしてください。
!pip install wandb(2) 「W&B」のサイトの「Settings → API keys」で「API keys」を確認し、以下のコマンドで「W&B」にログイン。
!wandb login <API keysを記述>(3) 以下のコマンドでサンプルプログラムを実行
!git clone http://github.com/wandb/tutorial
%cd tutorial
!pip install --upgrade -r requirements.txt;
!python tutorial.py
コードは、次のとおりです。
"""
Weights&Biasesサンプルスクリプト。
基本的なCNN(Fashion-MNIST)の学習を行っています。
"""

from keras.datasets import fashion_mnist
from keras.models import Sequential
from keras.layers import Conv2D, MaxPooling2D, Dropout, Dense, Flatten
from keras.utils import np_utils
from keras.optimizers import SGD
from keras.callbacks import TensorBoard
import random

# wandbのインポート
import wandb
from wandb.keras import WandbCallback

# wandbを初期化し、ハイパーパラメータを保持
wandb.init(
    project="sample-project",
    config={
        "dropout": 0.2,
        "hidden_layer_size": 128,
        "layer_1_size": 16,
        "layer_2_size": 32,
        "learn_rate": 0.01,
        "decay": 1e-6,
        "momentum": 0.9,
        "epochs": 8 }
)
config = wandb.config

(X_train_orig, y_train_orig), (X_test, y_test) = fashion_mnist.load_data()

# データセットを10,000件に減らして、学習時間を短縮
true = list(map(lambda x: True if random.random() < 0.167 else False, range(60000)))
ind = []
for i, x in enumerate(true):
    if x == True: ind.append(i)

X_train = X_train_orig[ind, :, :]
y_train = y_train_orig[ind]

img_width=28
img_height=28
labels =["T-shirt/top","Trouser","Pullover","Dress",
    "Coat","Sandal","Shirt","Sneaker","Bag","Ankle boot"]

X_train = X_train.astype('float32')
X_train /= 255.
X_test = X_test.astype('float32')
X_test /= 255.

# 入力データのりシェイプ
X_train = X_train.reshape(X_train.shape[0], img_width, img_height, 1)
X_test = X_test.reshape(X_test.shape[0], img_width, img_height, 1)

# One-Hotエンコード出力
y_train = np_utils.to_categorical(y_train)
y_test = np_utils.to_categorical(y_test)
num_classes = y_test.shape[1]

sgd = SGD(lr=config.learn_rate, decay=config.decay,
    momentum=config.momentum, nesterov=True)

# モデルのビルド
model = Sequential()
model.add(Conv2D(config.layer_1_size, (5, 5), activation='relu',
    input_shape=(img_width, img_height,1)))
model.add(MaxPooling2D(pool_size=(2, 2)))
model.add(Conv2D(config.layer_2_size, (5, 5), activation='relu'))
model.add(MaxPooling2D(pool_size=(2, 2)))
model.add(Dropout(config.dropout))
model.add(Flatten())
model.add(Dense(config.hidden_layer_size, activation='relu'))
model.add(Dense(num_classes, activation='softmax'))

# KerasWandbCallbackの追加
model.compile(loss='categorical_crossentropy', optimizer=sgd, metrics=['accuracy'])
model.fit(X_train, y_train,  validation_data=(X_test, y_test), epochs=config.epochs,
    callbacks=[WandbCallback(data_type="image", labels=labels)])
◎ Wandbの初期化
インポート直後にwandb.init()で初期化します。引数は「プロジェクト名」です。
import wandb
wandb.init(project="<プロジェクト名>")「プロジェクト」が存在しない場合は、自動的に作成されます。詳しくは、ドキュメントを参照してください。
◎ ハイパーパラメータの宣言
ハイパーパラメータは、wandb.configに登録します。
wandb.config.dropout = 0.2
wandb.config.hidden_layer_size = 128
◎ ログの保存
wandb.log()を使うことで、モデルの学習中の損失や精度などのログを保存することができます。
def my_train_loop():
    for epoch in range(10):
        loss = 0 # change as appropriate :)
wandb.log({'epoch': epoch, 'loss': loss})ヒストグラム、グラフ、画像などのログの保存も可能です。詳しくは、ドキュメントを参照してください。
◎ ファイルの保存
wandb.run.dirディレクトリに保存されたものは全て、「W&B」のサイトにアップロードされます。これは、重みとバイアスを保存するのに便利です。
# wandb.run.dir(デフォルトは./wandb)に保存される
wandb.save("mymodel.h5")
# KerasモデルAPIへのフルパスを渡すことができる
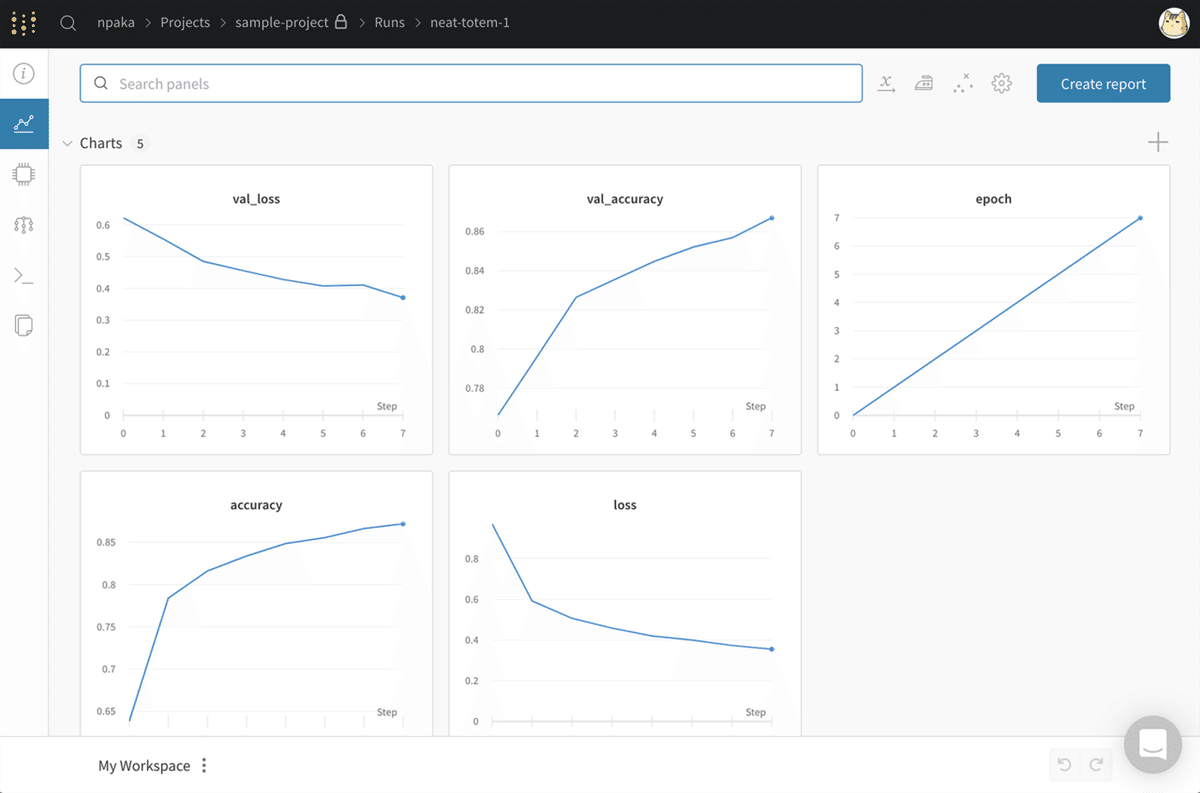
model.save(os.path.join(wandb.run.dir, "mymodel.h5"))(4) 「W&B」のサイトの「Projects」で結果を確認。
この記事が気に入ったらサポートをしてみませんか?