
OpenCV 入門 (7) - 画像上に別の画像を描画

OpenCVで、背景画像上に透過画像をオーバーレイさせるのは、意外と面倒なので備忘録的に残します。
前回
1. Python版のソースコード
import cv2
import numpy as np
from PIL import Image
# 画像のオーバーレイ
def overlayImage(src, overlay, location):
overlay_height, overlay_width = overlay.shape[:2]
# 背景をPIL形式に変換
src = cv2.cvtColor(src, cv2.COLOR_BGR2RGB)
pil_src = Image.fromarray(src)
pil_src = pil_src.convert('RGBA')
# オーバーレイをPIL形式に変換
overlay = cv2.cvtColor(overlay, cv2.COLOR_BGRA2RGBA)
pil_overlay = Image.fromarray(overlay)
pil_overlay = pil_overlay.convert('RGBA')
# 画像を合成
pil_tmp = Image.new('RGBA', pil_src.size, (255, 255, 255, 0))
pil_tmp.paste(pil_overlay, location, pil_overlay)
result_image = Image.alpha_composite(pil_src, pil_tmp)
# OpenCV形式に変換
return cv2.cvtColor(np.asarray(result_image), cv2.COLOR_RGBA2BGRA)
# 画像の読み込み
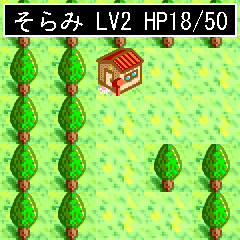
img_map = cv2.imread("map.png")
img_sorami = cv2.imread("sorami.png", cv2.IMREAD_UNCHANGED)
# 画像のオーバーレイ
image = overlayImage(img_map, img_sorami, (96, 96))
# ウィンドウ表示
cv2.namedWindow("image", cv2.WINDOW_AUTOSIZE)
cv2.imshow("image", image)
cv2.waitKey(0)2. C++版のソースコード
#include <stdio.h>
#include <opencv2/opencv.hpp>
#include <opencv2/core.hpp>
using namespace cv;

//画像のオーバーレイ
void overlayImage(Mat* src, Mat* overlay, const Point& location) {
    for (int y = max(location.y, 0); y < src->rows; ++y) {
        int fY = y - location.y;
        if (fY >= overlay->rows)
            break;
        for (int x = max(location.x, 0); x < src->cols; ++x) {
            int fX = x - location.x;
            if (fX >= overlay->cols)
                break;
            double opacity = ((double)overlay->data[fY * overlay->step + fX * overlay->channels() + 3])/255;
            for (int c = 0; opacity > 0 && c < src->channels(); ++c) {
                unsigned char overlayPx = overlay->data[fY * overlay->step + fX * overlay->channels() + c];
                unsigned char srcPx = src->data[y * src->step + x * src->channels() + c];
                src->data[y * src->step + src->channels() * x + c] = srcPx * (1. - opacity) + overlayPx * opacity;
            }
        }
    }
}

//メイン
int main(int argc, char** argv) {
    //画像の読み込み
    Mat img_map = imread("map.png");
    Mat img_sorami = imread("sorami.png", CV_LOAD_IMAGE_UNCHANGED);

    //画像のオーバーレイ
    overlayImage( &img_map, &img_sorami, Point(96, 96));

    //ウィンドウ表示
    namedWindow("image", WINDOW_AUTOSIZE);
    imshow("image", img_map);
    waitKey(0);
    return 0;
}
3. リソース
![]()
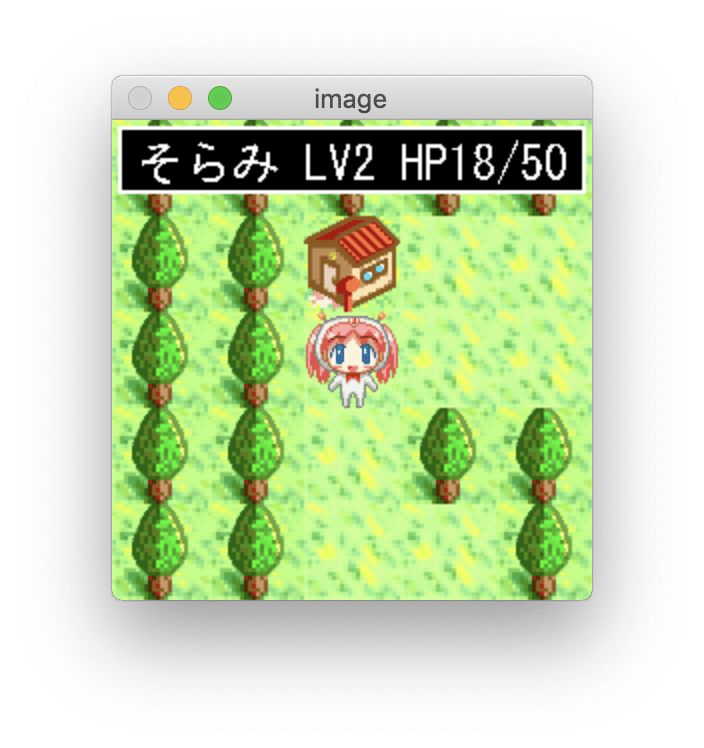
4. 実行結果
次回
この記事が気に入ったらサポートをしてみませんか?