
Google Colab で Flux のLoRAファインチューニングを試す

「Google Colab」で「Flux」のLoRAファインチューニングを試したのでまとめました。
【注意】Google Colab Pro/Pro+のA100で動作確認しています。
1. AI Toolkit by Ostris
今回は「AI Toolkit by Ostris」で「Flux」のLoRAファインチューニングを行いました。
Did a lot of testing on my LoRA training script for @bfl_ml FLUX.1 dev model. Amazing model! I think it is finally ready. Running smooth on a single 4090. Posting a guide tomorrow. Special thanks to @araminta_k for helping me test on her amazing original character and artwork. pic.twitter.com/YS8qJ69oox
— Ostris (@ostrisai) August 9, 2024
2. 学習データの準備
今回は、「東北ずんこ・ずんだもんプロジェクト」で提供されている「画像学習用データ」を使います。
(1) 「東北ずんこ・ずんだもんプロジェクト」のサイトを開いて、「AI画像モデル用学習データ」をクリック。
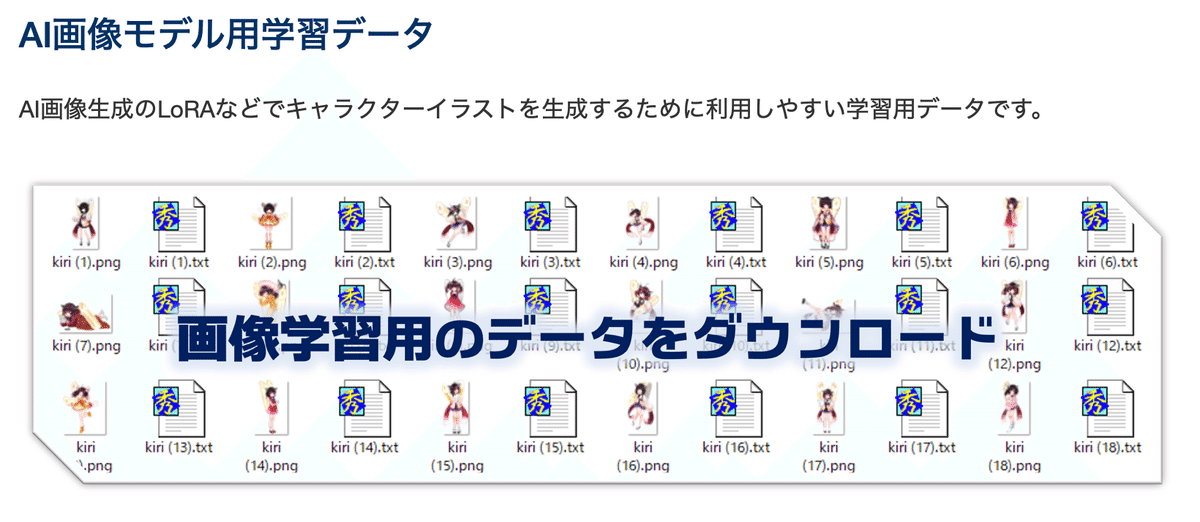
(2) Googleドライブが開くので、「01_LoRA学習用データ_A氏提供版_背景白 → zunko」をダウンロード。
「zunko」フォルダには、画像とキャプションのペアが連番で入ってます。
3. Colabでの学習
Colabでの学習手順は、次のとおりです。
(1) パッケージのインストール。
# パッケージのインストール
!git clone https://github.com/ostris/ai-toolkit.git
%cd ai-toolkit
!git submodule update --init --recursive
!pip install -r requirements.txt
(2) 左のフォルダアイコンから「ai-toolkit」フォルダに「zunko.zip」をアップロード。
(3) 「zunko.zip」を解凍。
!unzip zunko.zip(4) 「Flux」のモデルカードで「Agree and access repository」をクリック。

(5) HuggingFaceのログイン。
!huggingface-cli login指示に従って次の情報を入力します。
・Enter your token (input will not be visible) : HuggingFaceのトークン
・Add token as git credential? (Y/n) : n (認証情報として保存するか)
(6) 「config/examples/train_lora_flux_24gb.yaml」を編集して「zunko.yaml」を作成して「ai-toolkit」フォルダに配置。
・zunko.yaml
---
job: extension
config:
  # this name will be the folder and filename name
  name: "zunko_flux_lora_v1"
  process:
    - type: 'sd_trainer'
      # root folder to save training sessions/samples/weights
      training_folder: "output"
      # uncomment to see performance stats in the terminal every N steps
#      performance_log_every: 1000
      device: cuda:0
      # if a trigger word is specified, it will be added to captions of training data if it does not already exist
      # alternatively, in your captions you can add [trigger] and it will be replaced with the trigger word
#      trigger_word: "p3r5on"
      network:
        type: "lora"
        linear: 16
        linear_alpha: 16
      save:
        dtype: float16 # precision to save
        save_every: 250 # save every this many steps
        max_step_saves_to_keep: 4 # how many intermittent saves to keep
      datasets:
        # datasets are a folder of images. captions need to be txt files with the same name as the image
        # for instance image2.jpg and image2.txt. Only jpg, jpeg, and png are supported currently
        # images will automatically be resized and bucketed into the resolution specified
        - folder_path: "./zunko"
#       - folder_path: "/path/to/images/folder"
          caption_ext: "txt"
          caption_dropout_rate: 0.05  # will drop out the caption 5% of time
          shuffle_tokens: false  # shuffle caption order, split by commas
          cache_latents_to_disk: true  # leave this true unless you know what you're doing
          resolution: [ 512, 768, 1024 ]  # flux enjoys multiple resolutions
      train:
        batch_size: 1
        steps: 3 # 4000  # total number of steps to train
        gradient_accumulation_steps: 1
        train_unet: true
        train_text_encoder: false  # probably won't work with flux
        content_or_style: balanced  # content, style, balanced
        gradient_checkpointing: true  # need the on unless you have a ton of vram
        noise_scheduler: "flowmatch" # for training only
        optimizer: "adamw8bit"
        lr: 4e-4

        # ema will smooth out learning, but could slow it down. Recommended to leave on.
        ema_config:
          use_ema: true
          ema_decay: 0.99

        # will probably need this if gpu supports it for flux, other dtypes may not work correctly
        dtype: bf16
      model:
        # huggingface model name or path
        name_or_path: "black-forest-labs/FLUX.1-dev"
        is_flux: true
        quantize: true  # run 8bit mixed precision
      sample:
        sampler: "flowmatch" # must match train.noise_scheduler
        sample_every: 250 # sample every this many steps
        width: 512
        height: 512
        prompts:
          # you can add [trigger] to the prompts here and it will be replaced with the trigger word
#          - "[trigger] holding a sign that says 'I LOVE PROMPTS!'"\
          - "zunko, 1girl, solo, skirt, one eye closed, thighhighs, standing on one leg, sailor collar, hairband, green skirt, school uniform, pleated skirt, green sailor collar, very long hair, shirt, black thighhighs, arm up, white shirt, white background, full body, smile, bangs, long sleeves, standing, shoes, brown footwear, simple background, serafuku, loafers, open mouth, looking at viewer, blush, ribbon, neck ribbon, ;d, zettai ryouiki, leg up, sailor shirt, blunt bangs"
        neg: ""  # not used on flux
        seed: 42
        walk_seed: true
        guidance_scale: 4
        sample_steps: 20
# you can add any additional meta info here. [name] is replaced with config name at top
meta:
  name: "[name]"
  version: '1.0'
変更箇所は次のとおりです。
name: "zunko_flux_lora_v1"
出力フォルダ名・ファイル名
datasets:
- folder_path: "./zunko"
データセットフォルダに./zunkoを指定
sample:
- "zunko, 1girl, solo, skirt, one eye closed, thighhighs, standing on one leg, sailor collar, hairband, green skirt, school uniform, pleated skirt, green sailor collar, very long hair, shirt, black thighhighs, arm up, white shirt, white background, full body, smile, bangs, long sleeves, standing, shoes, brown footwear, simple background, serafuku, loafers, open mouth, looking at viewer, blush, ribbon, neck ribbon, ;d, zettai ryouiki, leg up, sailor shirt, blunt bangs"
サンプル画像のプロンプトの指定
(7) 学習の実行。
!python run.py zunko.yaml結果は「output/zunko_flux_lora_v1/」に出力されます。250ステップ毎に、「samples」にサンプル画像、「zunko_flux_lora_v1_XXX.safetensors」にLoRAモデルが出力されます。デフォルトで4000ステップまで学習しますが、今回は500ステップで完了としました。
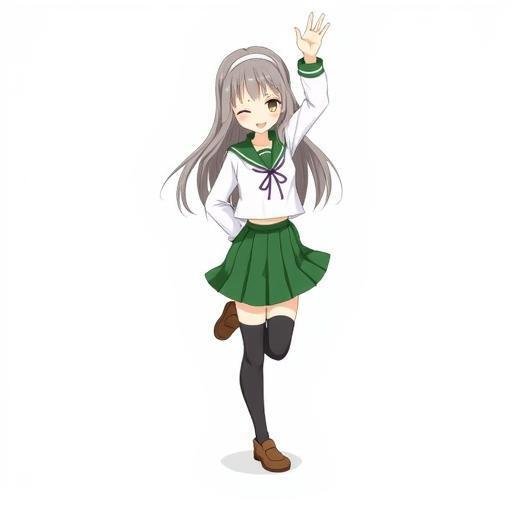
・学習前
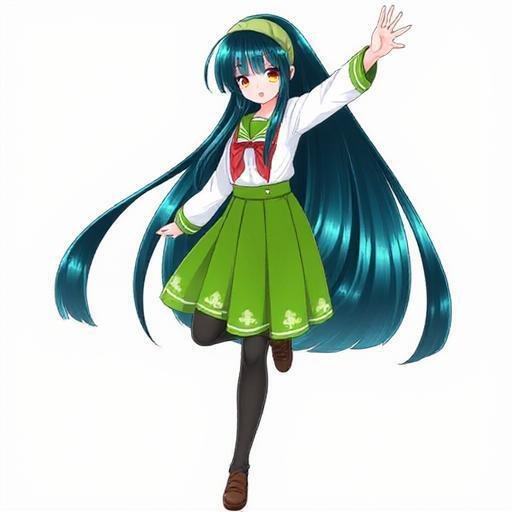
・250ステップ

・500ステップ
4. Colabでの推論
Colabでの推論手順は、次のとおりです。
(1) パッケージのインストール。
# パッケージのインストール
!pip install peft
(2) パイプラインの準備。
import torch
from diffusers import  FluxPipeline

# パイプラインの準備
pipe = FluxPipeline.from_pretrained(
    "black-forest-labs/FLUX.1-dev",
    torch_dtype=torch.bfloat16
)
pipe.enable_model_cpu_offload()
(3) LoRAモデルの読み込み。
# LoRAモデルの読み込み
pipe.load_lora_weights("./output/zunko_flux_lora_v1/zunko_flux_lora_v1_000000500.safetensors")
(5) 推論の実行。
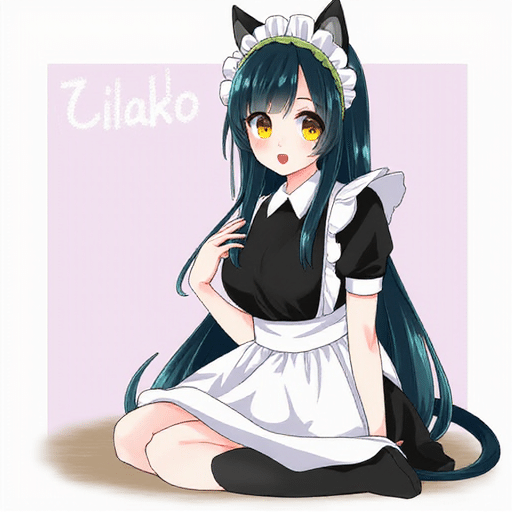
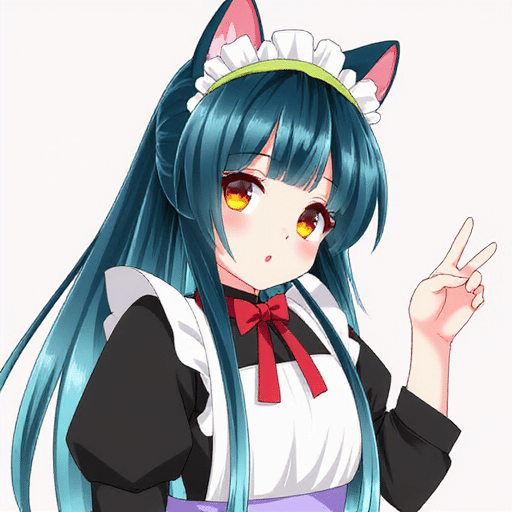
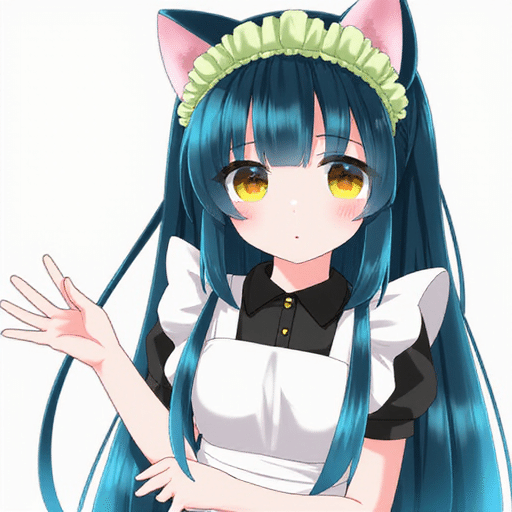
今回は「zunko, 1girl, cute cat ear maid」で画像を生成しました。
# プロンプトの準備
prompt = "zunko, 1girl, cute cat ear maid"

# 画像生成の実行
out = pipe(
    prompt=prompt,
    guidance_scale=3.5,
    width=512,
    height=512,
    num_inference_steps=50,
).images[0]
out.save("image.png")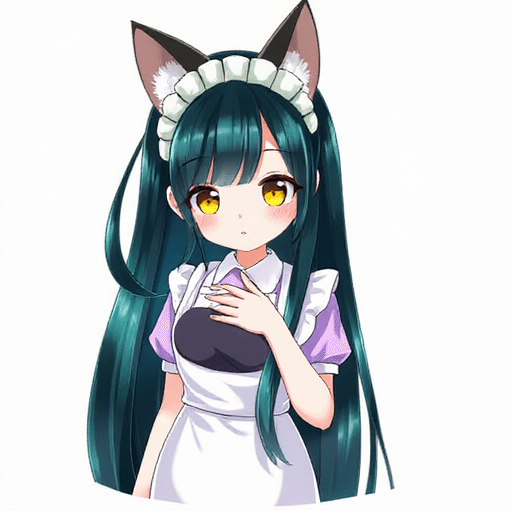
この記事が気に入ったらサポートをしてみませんか?