
Androidアプリ開発入門 (5) - Porcupine

Androidアプリでの「Porcupine」による「ウェイクワード検出」の実装方法をまとめました。
・API 29: Android 10 (Q)
前回
1. Porcupine
「Porcupine」は、「Picovoice」によって開発された、高精度かつ軽量なウェイクワードエンジンです。これにより、GoogleホームやAlexaのような、常に音声を聞くことができるアプリケーションを構築することができます。
2. Porcupineのインストール
Porcupineのインストールの手順は、次のとおりです。
(1) プロジェクトのbuild.gradleにMavenCentraの参照があることを確認。
    repositories {
       mavenCentral()
    }
(2) モジュールのbuild.gradleに次の参照を追加。
「Purcupineパッケージ」と「通知パッケージ」を追加しています。
dependencies {
   implementation 'ai.picovoice:porcupine-android:1.9.0'
   implementation "com.android.support:support-compat:28.0.0"
}
3. AndroidManifest.xml
「AndroidManifest.xml」に以下の項目を設定します。
・android.permission.FOREGROUND_SERVICE : フォアグラウンドサービスのパーミッション
・android.permission.RECORD_AUDIO : マイクのパーミッション
<uses-permission android:name="android.permission.FOREGROUND_SERVICE"/>
<uses-permission android:name="android.permission.RECORD_AUDIO" />これから作成する「PorcupineService」の定義も追加します。
<service android:name=".PorcupineService" android:exported="false" />ユーザー権限の許可には「PermissionsDispatcher」を使っています。
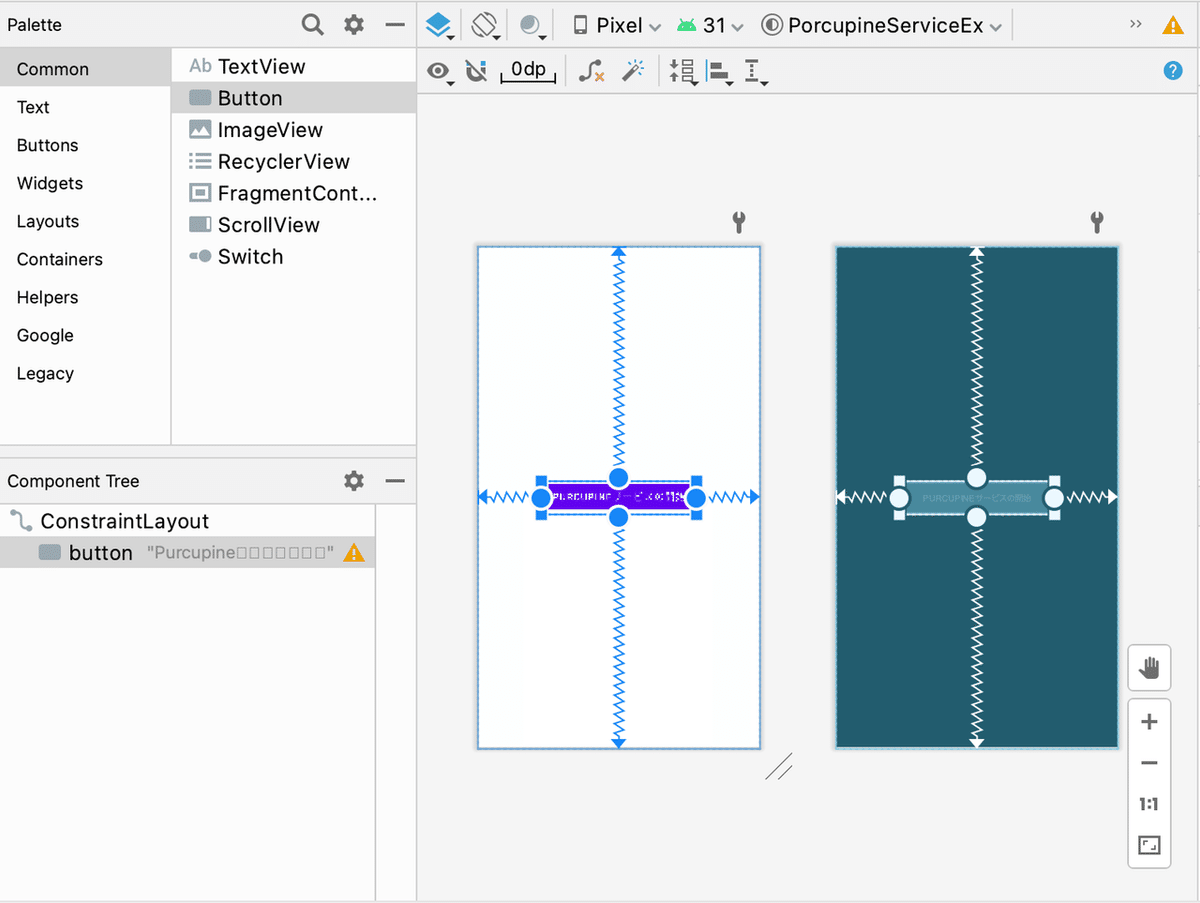
4. UI
今回は、「Button」(id@button)を1つ配置します。
5. サービスを開始するアクティビティ
サービスを開始するアクティビティのコードは、次のとおりです。
常駐したいので、「フォアグラウンドサービス」として実装しています。
package net.npaka.porcupineserviceex
import android.Manifest
import android.app.AlertDialog
import androidx.appcompat.app.AppCompatActivity
import android.os.Bundle
import android.widget.Toast
import android.widget.Button
import android.content.Intent
import android.view.View
import permissions.dispatcher.*

@RuntimePermissions
class MainActivity : AppCompatActivity(), View.OnClickListener {
    private var button: Button? = null

//====================
// ライフサイクル
//====================
    // 起動時に呼ばれる
    override fun onCreate(savedInstanceState: Bundle?) {
        super.onCreate(savedInstanceState)
        setContentView(R.layout.activity_main)

        // 参照
        this.button = findViewById(R.id.button)
        this.button!!.setOnClickListener(this)
        this.button!!.text = "Purcupineサービスの開始"
    }


//====================
// パーミッション
//====================
    // 許可された時に呼ばれる
    @NeedsPermission(Manifest.permission.RECORD_AUDIO)
    fun setupRecognizer() {
        startService()
    }

    // 説明が必要な時に呼ばれる
    @OnShowRationale(Manifest.permission.RECORD_AUDIO)
    fun onCameraShowRationale(request: PermissionRequest) {
        AlertDialog.Builder(this)
            .setPositiveButton("許可") { _, _ -> request.proceed() }
            .setNegativeButton("許可しない") { _, _ -> request.cancel() }
            .setCancelable(false)
            .setMessage("マイクを利用します")
            .show()
    }

    // 拒否された時に呼ばれる
    @OnPermissionDenied(Manifest.permission.RECORD_AUDIO)
    fun onCameraPermissionDenied() {
        Toast.makeText(this, "拒否されました", Toast.LENGTH_SHORT).show()
    }

    // 「今後表示しない」が選択された時に呼ばれる
    @OnNeverAskAgain(Manifest.permission.RECORD_AUDIO)
    fun onCameraNeverAskAgain() {
        Toast.makeText(this, "「今後表示しない」が選択されました", Toast.LENGTH_SHORT).show()
    }


//====================
// 操作
//====================
    // クリック時に呼ばれる
    override fun onClick(v: View) {
        if (this.button!!.text == "Purcupineサービスの開始") {
            this.button!!.text = "Purcupineサービスの停止"
            setupRecognizerWithPermissionCheck()
        } else {
            this.button!!.text = "Purcupineサービスの開始"
            stopService()
        }
    }

    // サービスの開始
    private fun startService() {
        val intent = Intent(this, PorcupineService::class.java)
        this.startForegroundService(intent)
    }

    // サービスの停止
    private fun stopService() {
        val intent = Intent(this, PorcupineService::class.java)
        stopService(intent)
    }
}
6. サービス
サービスのコードは、次のとおりです。
package net.npaka.porcupineserviceex
import android.app.Notification
import android.app.NotificationChannel
import android.app.NotificationManager
import android.app.Service
import android.content.Context
import android.content.Intent
import android.os.IBinder
import androidx.annotation.Nullable
import ai.picovoice.porcupine.PorcupineManager
import ai.picovoice.porcupine.PorcupineException
import ai.picovoice.porcupine.Porcupine
import android.util.Log
import androidx.core.app.NotificationManagerCompat

// Porcupineサービス
class PorcupineService : Service() {
    private var porcupineManager: PorcupineManager? = null

//====================
// ライフサイクル
//====================
    // 開始時に呼ばれる
    override fun onStartCommand(intent: Intent?, flags: Int, startId: Int): Int {
        // 通知チャンネルの生成
        createNotificationChannel()

        // 通知の生成
        val notification = createNotification("PorcupineService実行中")

        // フォアグラウンドの開始
        startForeground(1234, notification)

        // Purcupineの準備
        try {
            porcupineManager = PorcupineManager.Builder()
                .setKeyword(Porcupine.BuiltInKeyword.COMPUTER)
                .setSensitivity(0.7f)
                .build(
                    applicationContext
                ) { keywordIndex: Int -> onDetect() }
            porcupineManager!!.start()
        } catch (e: PorcupineException) {
            Log.d("debug", e.toString())
        }
        return START_STICKY
    }

    // バインド時に呼ばれる
    @Nullable
    override fun onBind(intent: Intent?): IBinder? {
        return null
    }

    // 破棄時に呼ばれる
    override fun onDestroy() {
        // Purcupineの破棄
        try {
            porcupineManager!!.stop()
            porcupineManager!!.delete()
        } catch (e: PorcupineException) {
            Log.d("debug", e.toString())
        }
        super.onDestroy()
    }

    // 検出時に呼ばれる
    fun onDetect() {
        sendNotification("Wake Up!", 1234)
    }


//====================
// 通知
//====================
    // 通知チャンネルの生成
    private fun createNotificationChannel() {
        // 通知チャンネルの生成
        val channel = NotificationChannel(
            "Purcupine",
            "Purcupine",
            NotificationManager.IMPORTANCE_DEFAULT)

        // システムに通知チャンネルを登録
        val notificationManager: NotificationManager =
            getSystemService(Context.NOTIFICATION_SERVICE) as NotificationManager
        notificationManager.createNotificationChannel(channel)
    }

    // 通知の生成
    private fun createNotification(text: String) : Notification {
        return Notification.Builder(this, "Purcupine")
            .setSmallIcon(R.drawable.ic_launcher_foreground)
            .setContentText(text)
            .build()
    }

    // 通知の送信
    private fun sendNotification(text: String, notifId: Int) {
        var notification = Notification.Builder(this, "Purcupine")
            .setSmallIcon(R.drawable.ic_launcher_foreground)
            .setContentText(text)
            .build()
        with (NotificationManagerCompat.from(this)) {
            notify(notifId, notification)
        }
    }
}
7. 実行
サービスを開始すると、ステータスバーの右端にマイクマークが表示されます。「Computer」と発話すると、通知に「Wake UP!」と表示されます。

ロック画面でも表示されます。

8. 関連
次回
この記事が気に入ったらサポートをしてみませんか?