UnityでのWebカメラの使い方
UnityでのWebカメラの使い方をまとめました。
1. Webカメラの利用
(1) Hierarchyウィンドウに「RawImage」を追加。
RawImageでWebカメラのテクスチャを表示します。
(2) スクリプト「WebCam」を作成し、「RawImage」に追加。
using System.Collections;
using System.Collections.Generic;
using UnityEngine;
using UnityEngine.UI;

// Webカメラ
public class WebCam : MonoBehaviour
{
    private static int INPUT_SIZE = 256;
    private static int FPS = 30;

    // UI
    RawImage rawImage;
    WebCamTexture webCamTexture;

    // スタート時に呼ばれる
    void Start ()
    {
        // Webカメラの開始
        this.rawImage = GetComponent<RawImage>();
        this.webCamTexture = new WebCamTexture(INPUT_SIZE, INPUT_SIZE, FPS);
        this.rawImage.texture = this.webCamTexture;
        this.webCamTexture.Play();
    }
}
Webカメラを利用するには、「WebCamTexture」で生成します。
コンストラクタは次のとおりです。画像サイズ、FPS、カメラ名を指定します。
WebCamTexture(int x,int y)
WebCamTexture(int x,int y,int fps)
WebCamTexture(string name,int x,int y,int fps)
WebCamTextureのPlay()でカメラの再生を開始します。
(3) Webカメラのあるパソコン(またはスマートフォン)で、「Unity Editor」のPlayボタンを押して実行。
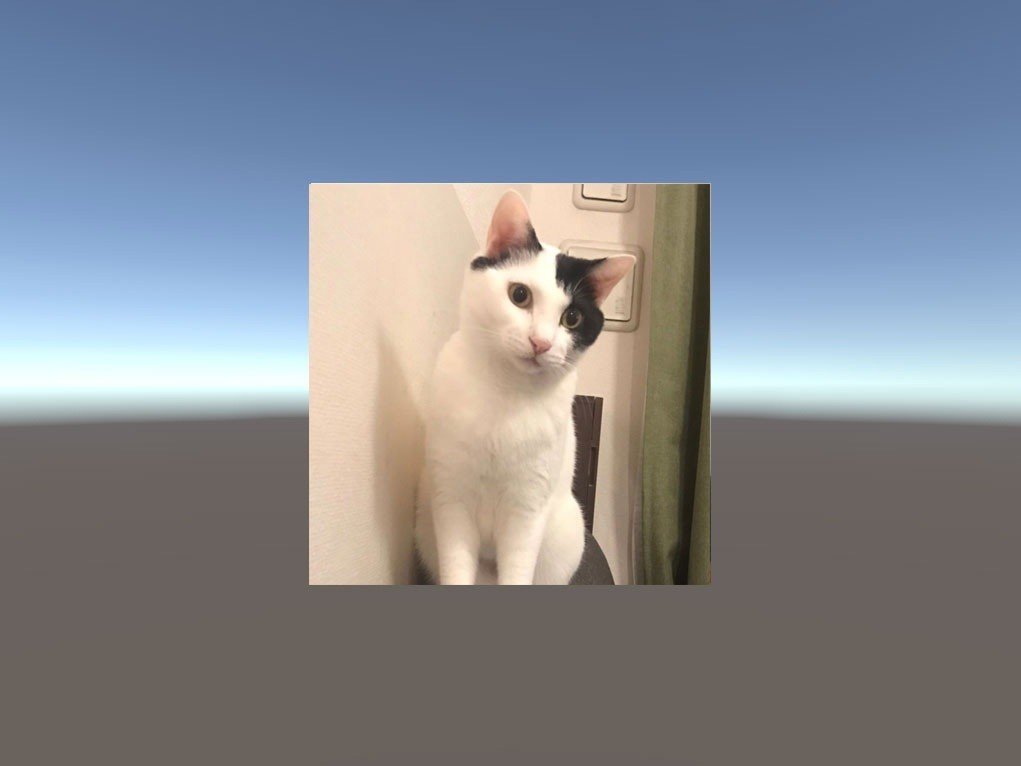
Unityのシーン内でWebカメラの映像が表示されます。

2. カメラの切り替え
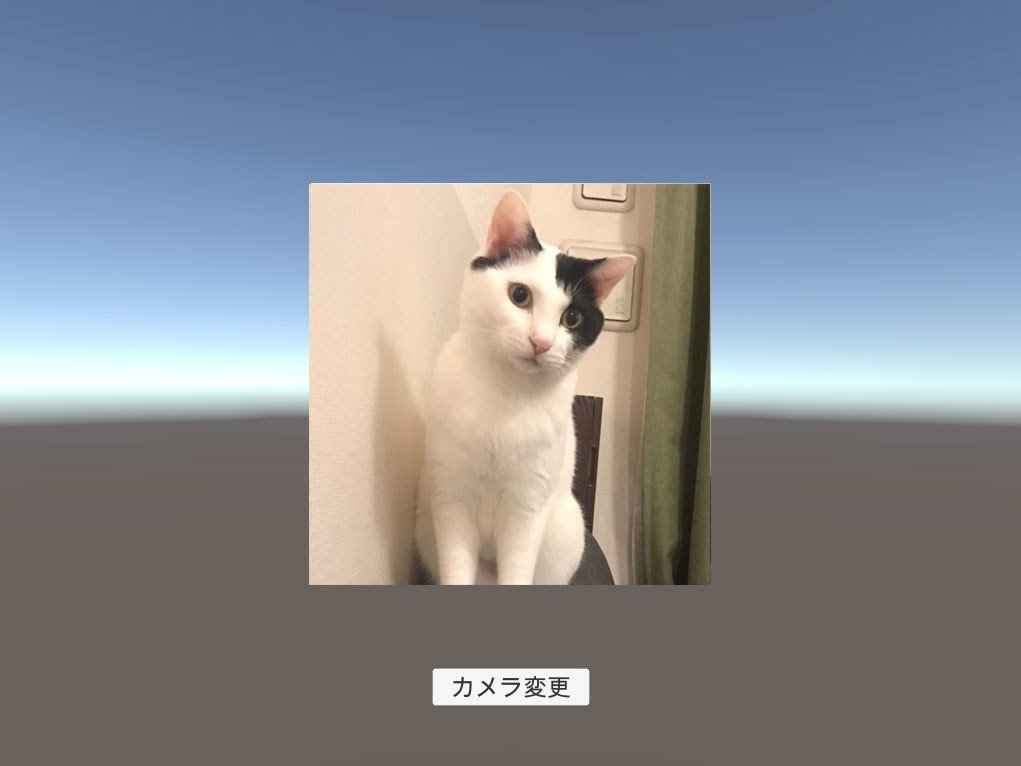
カメラの切り替えを行うボタンを追加します。
(1) スクリプト「WebCam」に以下のコードを追加。
    // カメラの選択
    int selectCamera = 0;

    // カメラの変更
    public void ChangeCamera()
    {
        // カメラの取得
        WebCamDevice[] webCamDevice = WebCamTexture.devices;

        // カメラが1個の時は無処理
        if (webCamDevice.Length <= 1) return;

        // カメラの切り替え
        selectCamera++;
        if (selectCamera >= webCamDevice.Length) selectCamera = 0;
        this.webCamTexture.Stop();
        this.webCamTexture = new WebCamTexture(webCamDevice[selectCamera].name,
            INPUT_SIZE, INPUT_SIZE, FPS);
        this.rawImage.texture = this.webCamTexture;
        this.webCamTexture.Play();
    }
(2) HierarchyウィンドウにButtonを追加。
(3) ButtonのOnClick()にChangeCamera()を関連づける。

(4) Webカメラのあるパソコン(またはスマートフォン)で、「Unity Editor」のPlayボタンを押して実行。
ボタンを押すことでカメラを切り替えることができます。

3. アプリで実行
アプリで実行するには、「許可ダイアログ」のメッセージを指定する必要があります。ビルド前に、「Player Settings → Other Settings → Camera Usage Description」に「推論のためにカメラを使います」などのメッセージを追加してください。
