
Unity Project Tiny 0.26 のチュートリアル

Unityの「Project Tiny 0.26」のチュートリアルとして、立方体を回転させるアプリを作成します。
・Unity 2019.3.14f1
・Project Tiny Full 0.26.0
1.プロジェクトの準備
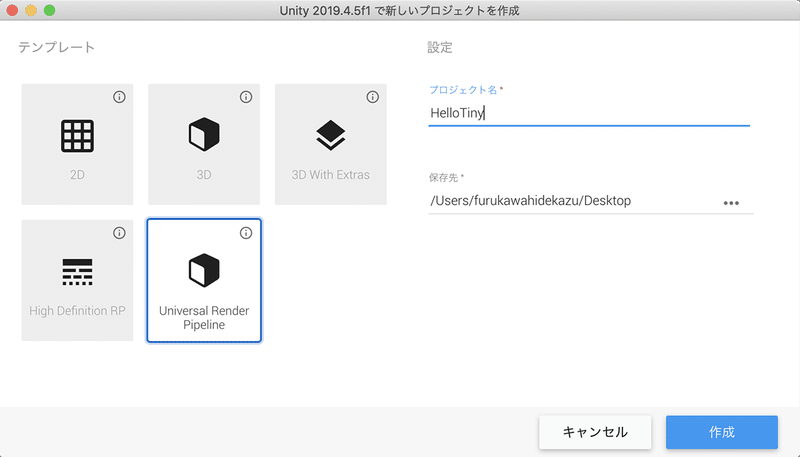
(1) Unityプロジェクトを「Universal Render Pipeline」テンプレートで作成。
(2) メニュー「Window → Package Manager」でPackage Managerを開く。
(3) ウィンドウ上部の「Advances → show preview packages」をチェック。
(4) 「Project Tiny Full」(0.26.0)を検索してインストール。
2. Assembly Definitionの準備
(1) 「Assets」に「GameSystems」という名前のフォルダを作成。
(2) 「GameSystemsフォルダ」内で右クリックし、「Create → Assembly Definition」で「Assembly Definition」を作成し、名前に「GameSystems」を指定。
(3) 「GameSystems」を選択し、Inspectorウィンドウの「Assembly Defenition References」に、以下のアセンブリ参照を追加。

・Unity.Entities
・Unity.Entities.Runtime
・Unity.Collections
・Unity.Transforms
・Unity.Mathematics
・Unity.Tiny.Core
・Unity.Tiny.Rendering
3. コードの準備
(1) 「GameSystemsフォルダ」内に、スクリプト「RotateComponent」を作成し、以下のように編集。
using Unity.Entities;

[GenerateAuthoringComponent]
public struct RotateComponent : IComponentData
{
    public float Speed;
}
(2) 「GameSystemsフォルダ」内に、スクリプト「RotateSystem」を作成し、以下のように編集。
using Unity.Entities;
using Unity.Transforms;
using Unity.Mathematics;

public class RotateSystem : SystemBase
{
    protected override void OnUpdate()
    {
        var dt = Time.DeltaTime;
        Entities.ForEach((ref Rotation rot, ref RotateComponent rc) => {
            rot.Value = math.mul(rot.Value, quaternion.RotateY(dt * rc.Speed));
        }).ScheduleParallel();
    }
}
4. シーンの準備
(1) メニュー「File → New Scene」で新規シーンを作成し、「Main」という名前で保存。
(2) Hierarchyウィンドウの「+ → Create Empty」で空のゲームオブジェクトを作成し、名前に「TinySubScene」を指定。

(3) 「Main Camera」「Directional Light」を「TinySubScene」下に移動。

(4) 「Main Camera」のコンポーネント「Audio Listener」を削除。
(5) 「TinySubScene」を右クリックし、「New Subscene → From Selection」で「サブシーン」を作成し、「TinySubScene」という名前で保存。

5. シーンに表示するコンテンツの準備
(1) 「Main Camera」で「Background Type」に「Solid Color」、「Background」に「水色」を指定。

(2) 「Directional Light」で「Shadow Type」に「No Shadows」を指定。

(3) 「TinySubScene」下に「+ → 3D Object → Cube」で「Cube」を追加。

(4) 「Cube」の「Box Collider」を削除。
(5) 「Cube」のTransformを以下のように設定。
Position = (0, 1, -4)
Rotation = (0, 0, 0)
Scale = (1, 1, 1)
(6) 「赤色」で「Universal Render Pipeline/Lit」なマテリアル「red」を作成し、「Cube」に追加。

(7) 「Cube」に「RotateComponent」を追加し、「Speed」に「0.2」を指定。

6. Build Configurationの準備
(1) 「GameSystemsフォルダ」内で右クリックし、「Create → Build → DOT Runtime Build Configuration」で、「DotsRuntimeBuildConfiguration」を作成。
(2) 「DotsRuntimeBuildConfiguration」を選択し、Inspectorウィンドウで「Scene List」に「Main」を追加し「Auto Load」をチェック。

(3) 「DotsRuntimeBuildConfiguration」を選択し、Inspectorウィンドウで「Dots Runtime Root Assembly」を追加し、「Root Assembly」に「Assembly Definition」の「GameSystems」を指定。
(4) DotsRuntimeBuildConfiguration」を選択し、Inspectorウィンドウで「Tiny Rendering Settings」を追加。

7. ビルドの実行
(1) Inspectorウィンドウの右上の「Build and Run」ボタンを押す。

この記事が気に入ったらサポートをしてみませんか?