
Apollo iOS チュートリアル (2)

前回、GraphQLサーバに対してクエリを実行できるようになったので、クエリの結果をUIに反映します。
1. マスタービューの編集
(1) MasterViewController.swift を以下のように編集。
・MasterViewController.swift
import UIKit

class MasterViewController: UITableViewController {
    // ランチ情報
    var launches = [LaunchListQuery.Data.Launch.Launch]()

    // セクション種別
    enum ListSection: Int, CaseIterable {
        case launches
    }

    // UI
    var detailViewController: DetailViewController? = nil

    // ビューロード時に呼ばれる
    override func viewDidLoad() {
        super.viewDidLoad()
        self.loadLaunches()
    }

    // ビュー表示時に呼ばれる
    override func viewWillAppear(_ animated: Bool) {
        clearsSelectionOnViewWillAppear = splitViewController!.isCollapsed
        super.viewWillAppear(animated)
    }

    // 画面遷移先にデータを渡す
    override func prepare(for segue: UIStoryboardSegue, sender: Any?) {
    }

    // セクション数の取得時に呼ばれる
    override func numberOfSections(in tableView: UITableView) -> Int {
        return ListSection.allCases.count
    }

    // セクション行数の取得時に呼ばれる
    override func tableView(_ tableView: UITableView, numberOfRowsInSection section: Int) -> Int {
        // セクション種別の取得
        guard let listSection = ListSection(rawValue: section) else {
            assertionFailure("Invalid section")
            return 0
        }

        switch listSection {
        // ランチ
        case .launches:
            return self.launches.count
        }
    }

    // セルの取得時に呼ばれる
    override func tableView(_ tableView: UITableView, cellForRowAt indexPath: IndexPath) -> UITableViewCell {
        // セルの取得
        let cell = tableView.dequeueReusableCell(withIdentifier: "Cell", for: indexPath)

        // セクション種別の取得
        guard let listSection = ListSection(rawValue: indexPath.section) else {
            assertionFailure("Invalid section")
            return cell
        }

        switch listSection {
        // ランチ
        case .launches:
            let launch = self.launches[indexPath.row]
            cell.textLabel?.text = launch.site // テキスト
        }
        return cell
    }

    // エラーアラートの表示
    private func showErrorAlert(title: String, message: String) {
        let alert = UIAlertController(title: title,
            message: message, preferredStyle: .alert)
        alert.addAction(UIAlertAction(title: "OK", style: .default))
        self.present(alert, animated: true)
    }

    // ランチ情報の読み込み
    private func loadLaunches() {
        Network.shared.apollo
            .fetch(query: LaunchListQuery()) { [weak self] result in

            // selfの準備
            guard let self = self else {
                return
            }

            // 後処理
            defer {
                self.tableView.reloadData()
            }

            switch result {
            // 成功時
            case .success(let graphQLResult):
                // ランチ情報の取得
                if let launchConnection = graphQLResult.data?.launches {
                    self.launches.append(contentsOf: launchConnection.launches.compactMap { $0 })
                }

                // エラー表示
                if let errors = graphQLResult.errors {
                    let message = errors
                        .map { $0.localizedDescription }
                        .joined(separator: "\n")
                    self.showErrorAlert(title: "GraphQL Error(s)", message: message)
                }
            // エラー時
            case .failure(let error):
                // エラー表示
                self.showErrorAlert(title: "Network Error", message: error.localizedDescription)
            }
        }
    }
}
(2) アプリをビルドして実行。
クエリが完了すると、起動サイトのリストが表示されます。

ただし、行をタップしてもランチ情報は表示されません。
2. 詳細ビューの編集
(1) DetailViewController.swift を以下のように編集。
・DetailViewController.swift
import UIKit
import Apollo

class DetailViewController: UIViewController {
    // ランチID
    var launchID: GraphQLID? {
        didSet {
            self.configureView()
        }
    }

    // UI
    @IBOutlet weak var detailDescriptionLabel: UILabel!

    // ビューの設定
    func configureView() {
        guard
            let label = self.detailDescriptionLabel,
            let id = self.launchID else {
            return
        }
        label.text = "Launch \(id)" // テキスト
    }

    // ビューロード時に呼ばれる
    override func viewDidLoad() {
        super.viewDidLoad()
        configureView()
    }
}
(2) MasterViewController.swift のprepare()を以下のように変更。
    // 画面遷移先にデータを渡す
    override func prepare(for segue: UIStoryboardSegue, sender: Any?) {
        // セクションインデックスの取得
        guard let selectedIndexPath = self.tableView.indexPathForSelectedRow else {
            // 未選択
            return
        }

        // セクション種別の取得
        guard let listSection = ListSection(rawValue: selectedIndexPath.section) else {
            assertionFailure("Invalid section")
            return
        }

        switch listSection {
        // ランチ
        case .launches:
            guard
                let destination = segue.destination as? UINavigationController,
                let detail = destination.topViewController as? DetailViewController else {
                    assertionFailure("Wrong kind of destination")
                    return
            }

            // データを渡す
            let launch = self.launches[selectedIndexPath.row]
            detail.launchID = launch.id // ランチID
            self.detailViewController = detail
        }
    }
(3) SceneDelegate.swift を以下のように変更。
if topAsDetailController.detailItem == nil {

↓

if topAsDetailController.launchID == nil {
(4) アプリをビルドして実行。

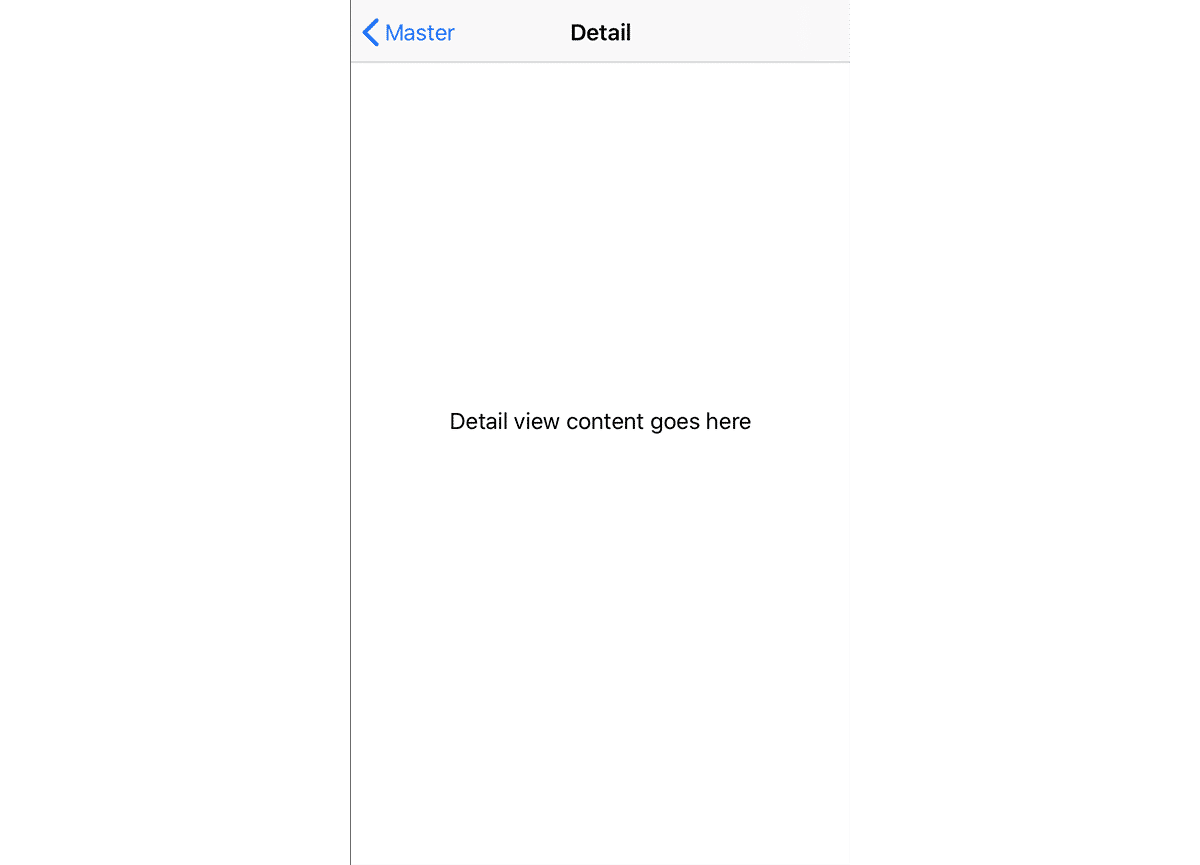
アプリが動作しています。しかしまだ、あまり有用なランチ情報は提供されていません。
3. ストーリーボードの編集
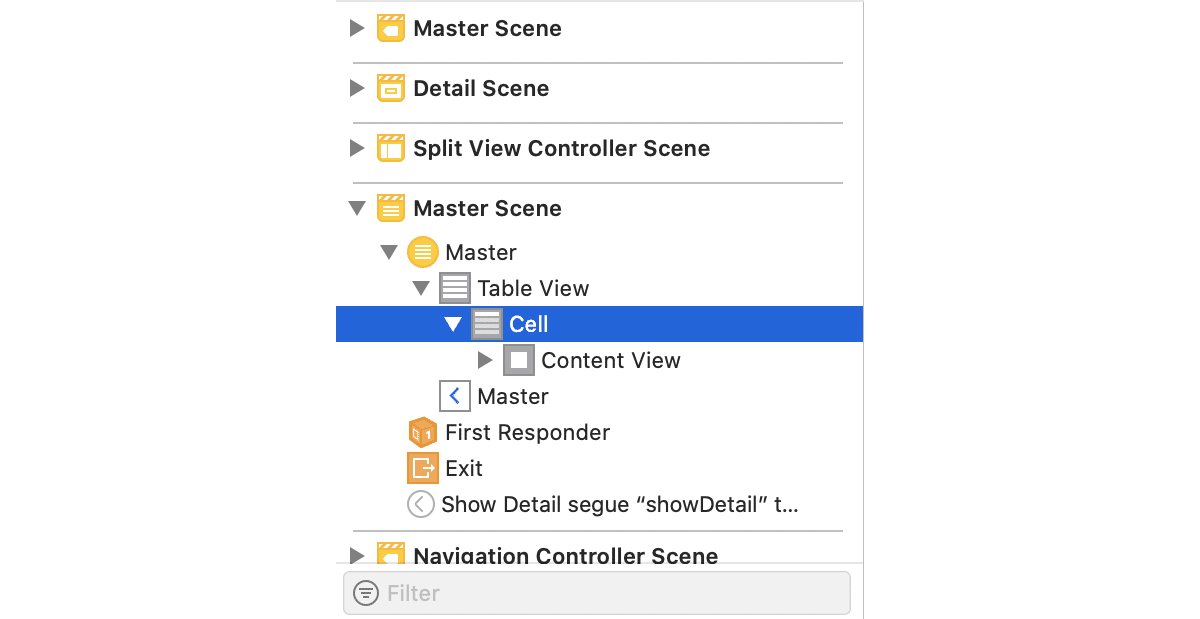
(1) 「Main.storyboard」の「Mastr Scene → Master → Table View → Cell」を選択。
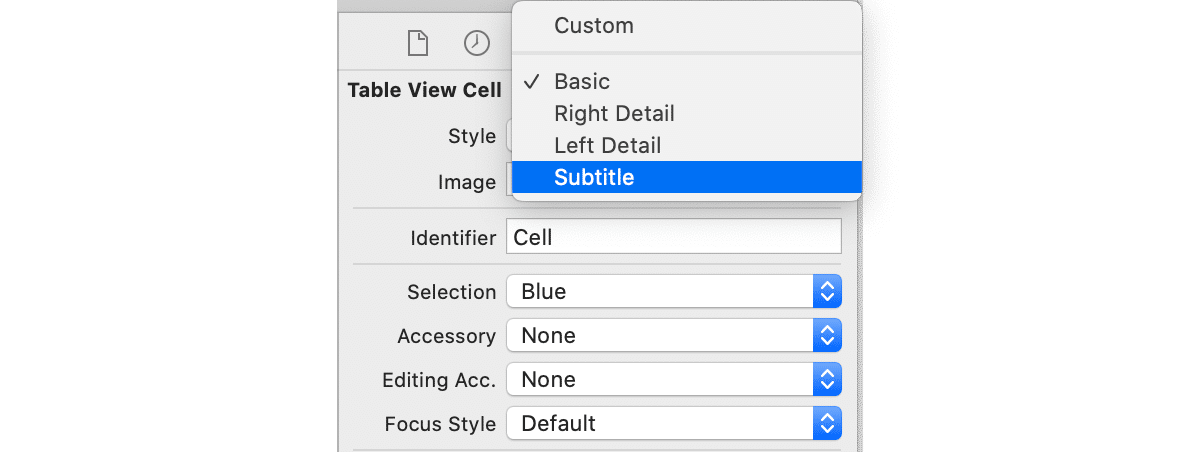
(2) Inspectorウィンドウの「Table View Cell → Style」で「Subtitle」を指定。
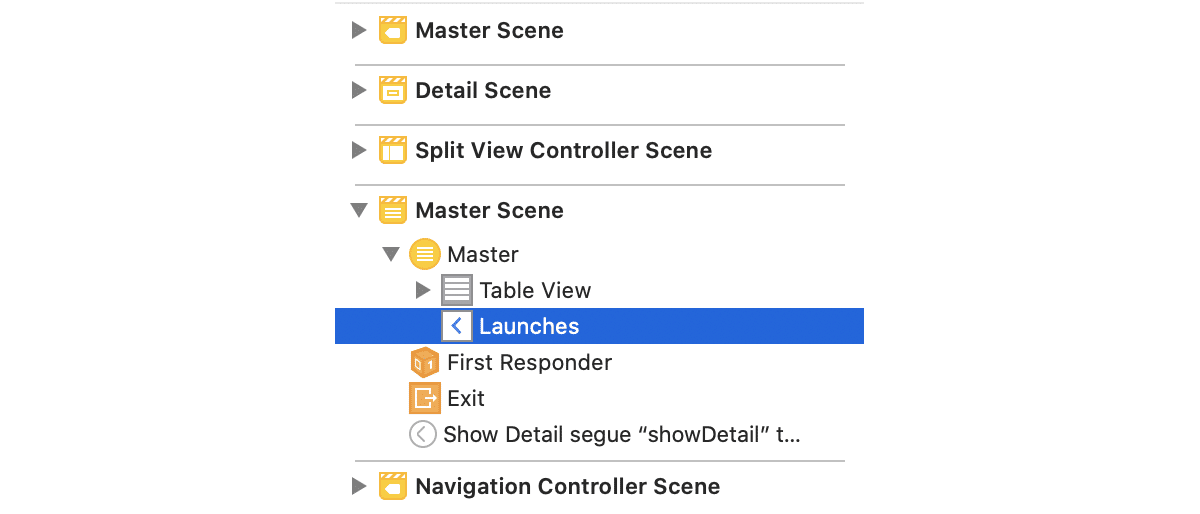
(3) 「Master」の名前を「Launches」に変更。
4. LaunchList.graphql の編集
クエリは表示したい情報のほとんどを既に取得していますが、「ミッション名」と「パッチ画像」が必要になります。
GraphiQLのスキーマを見ると、Launchにmissionがあり、ミッションの詳細を取得できることがわかります。 mission には name と missionPatch があり、missionPatch はオプションで、何かが必要なサイズに関するパラメーターを指定することができます。
(1) クエリを次のように更新。
・(GraphiQL)
query LaunchList {
  launches {
    hasMore
    cursor
    launches {
      id
      site
      mission {
        name
        missionPatch(size: SMALL)
      }
    }
  }
}
(2) 再ビルドして API.swift を確認。
missionが追加されています。
5. SDWebImageの追加
URL文字列を画像に変換するパッケージ SDWebImage をインストールします。
(1) Xcode のメニュー「File → Swift Packages → Add Package Dependencies 」を選択。
(2) https://github.com/SDWebImage/SDWebImage.git を指定し、Nextボタンを押す。
(3) SDWebImage を選択し、Nextボタンを押す。
6. リソースの準備
パッチ画像の読み込み中に表示する画像のリソースを用意します。
(1) 次の画像をダウンロード。
・placeholder@2x.png

(2) placeholder@2x.png をXcodeの Assets.xcassets にドラッグ&ドロップ。

7. マスタービューの編集
(1) MasterViewController.swift の先頭に、以下のインポートを追加。
import SDWebImage(2) MasterViewController.swift の tableView(_,:tableView,:cellForRowAt,:indexPath)を以下のように変更。
    // セルの取得時に呼ばれる
    override func tableView(_ tableView: UITableView, cellForRowAt indexPath: IndexPath) -> UITableViewCell {
        // セルの取得
        let cell = tableView.dequeueReusableCell(withIdentifier: "Cell", for: indexPath)

        // セルのクリア
        cell.imageView?.image = nil
        cell.textLabel?.text = nil
        cell.detailTextLabel?.text = nil

        // セクション種別の取得
        guard let listSection = ListSection(rawValue: indexPath.section) else {
            assertionFailure("Invalid section")
            return cell
        }

        switch listSection {
        // ランチ
        case .launches:
            let launch = self.launches[indexPath.row]
            cell.textLabel?.text = launch.mission?.name // 名前
            cell.detailTextLabel?.text = launch.site // サイト
            let placeholder = UIImage(named: "placeholder")!

            // パッチ画像
            if let missionPatch = launch.mission?.missionPatch {
                cell.imageView?.sd_setImage(
                with: URL(string: missionPatch)!, placeholderImage: placeholder)
            } else {
                cell.imageView?.image = placeholder
            }
       }
       return cell
   }
8. 実行
ビルドしてアプリを実行すると、次のようにランチ情報が表示されます。

この記事が気に入ったらサポートをしてみませんか?