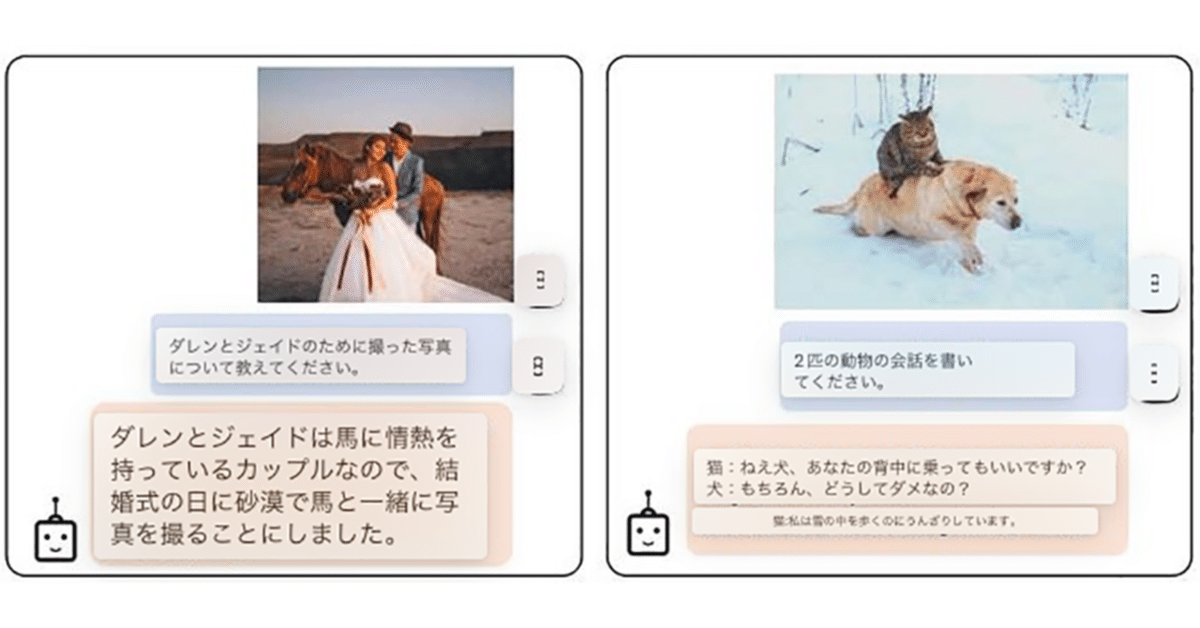
Google Colab で BLIP-2 による画像をお題にした人工知能との会話を試す
「Google Colab」で「BLIP-2」による画像をお題にした人工知能との会話を試したのでまとめました。
【注意】「BLIP-2」を動作させるには、「Google Colab Pro/Pro+」のプレミアム (A100 40GB) が必要です。
1. BLIP-2
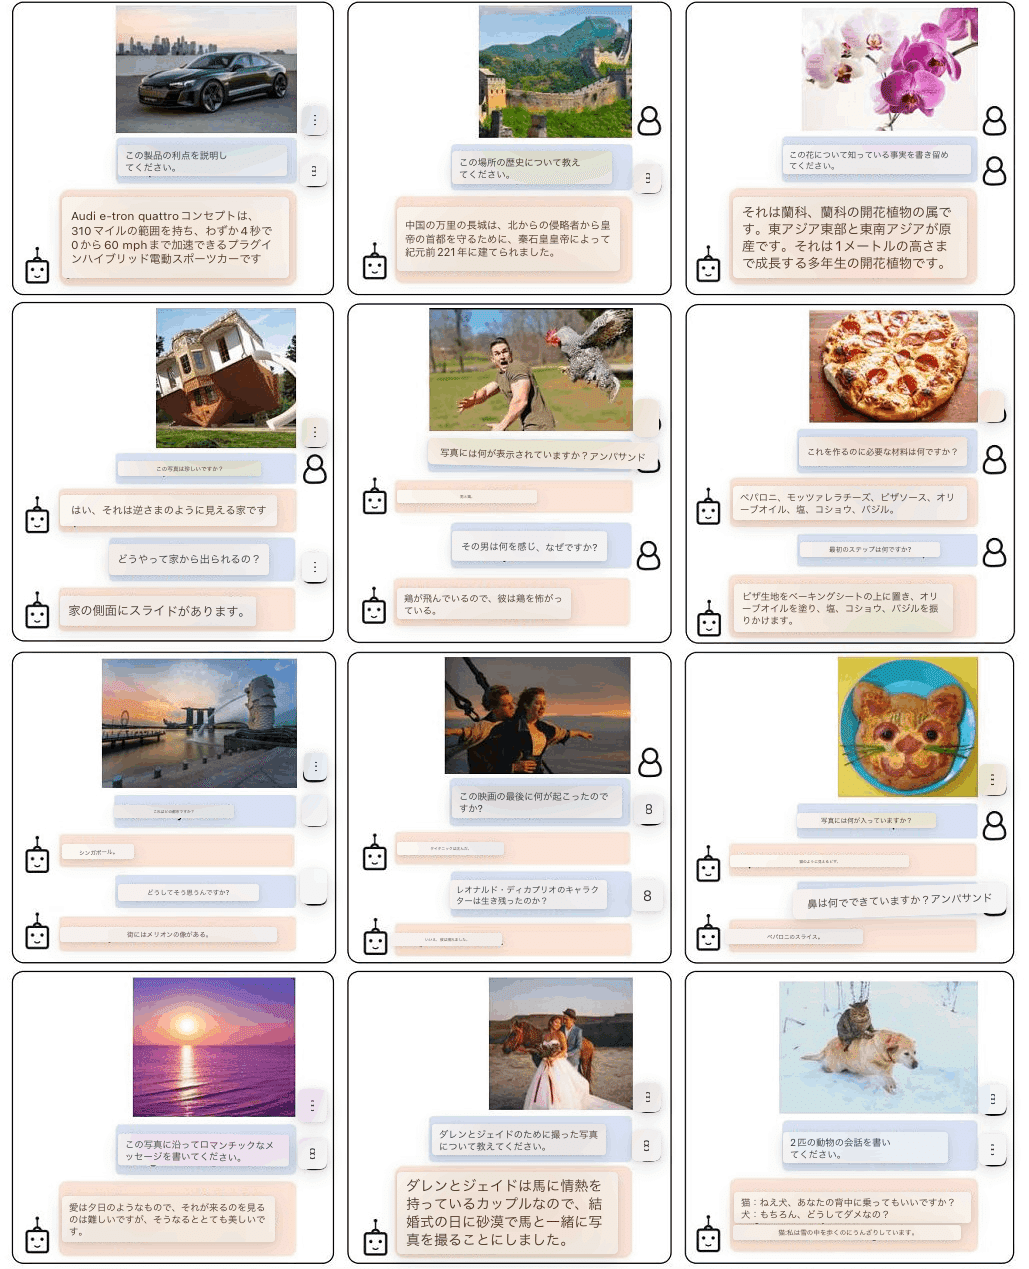
「BLIP-2」は、VisionモデルおよびVision大規模言語モデルの事前学習モデルを作成する手法です。Zero-Shotで画像からテキストを生成する新しい能力を解放します。これによって、画像をお題にした人工知能との会話も可能になります。
2. セットアップ
Google Colabでのセットアップの手順は、次のとおりです。
(1) 新規のColabのノートブックを開き、メニュー「編集 → ノートブックの設定」で「GPU」の「プレミアム」を選択。
(2) パッケージのインストール。
# パッケージのインストール
import sys
!git clone https://github.com/salesforce/LAVIS
%cd LAVIS
!pip install .
!pip3 install https://github.com/explosion/spacy-models/releases/download/en_core_web_sm-3.0.0/en_core_web_sm-3.0.0.tar.gz
%cd projects/img2prompt-vqa
(3) LLMの読み込み。
# パッケージのインポート
import torch
import requests
from PIL import Image
from matplotlib import pyplot as plt
import numpy as np
from lavis.common.gradcam import getAttMap
from lavis.models import load_model_and_preprocess
(4) LLMの読み込み。
今回は、「OPT-6.7B」を使います。
import torch
import requests
from PIL import Image
from matplotlib import pyplot as plt
import numpy as np
from lavis.common.gradcam import getAttMap
from lavis.models import load_model_and_preprocess
from transformers import AutoConfig, AutoModelForCausalLM, AutoTokenizer, AutoModelForSeq2SeqLM

# LLMの読み込み
def load_model(model_selection):
    model = AutoModelForCausalLM.from_pretrained(model_selection)
    tokenizer = AutoTokenizer.from_pretrained(model_selection, use_fast=False)
    return model,tokenizer

# 使用するLLMの選択 (OPT-6.7B/OPT-13B/OPT-30B/OPT-66B)
llm_model, tokenizer = load_model('facebook/opt-6.7b')  # ~13G (FP16)
# llm_model, tokenizer = load_model('facebook/opt-13b') # ~26G (FP16)
# llm_model, tokenizer = load_model('facebook/opt-30b') # ~60G (FP16)
# llm_model, tokenizer = load_model('facebook/opt-66b') # ~132G (FP16)

# OPT-175Bを使う場合は手動でインストール
# https://github.com/facebookresearch/metaseq/tree/main/projects/OPT
# llm_model, tokenizer = load_model('facebook/opt-175b')
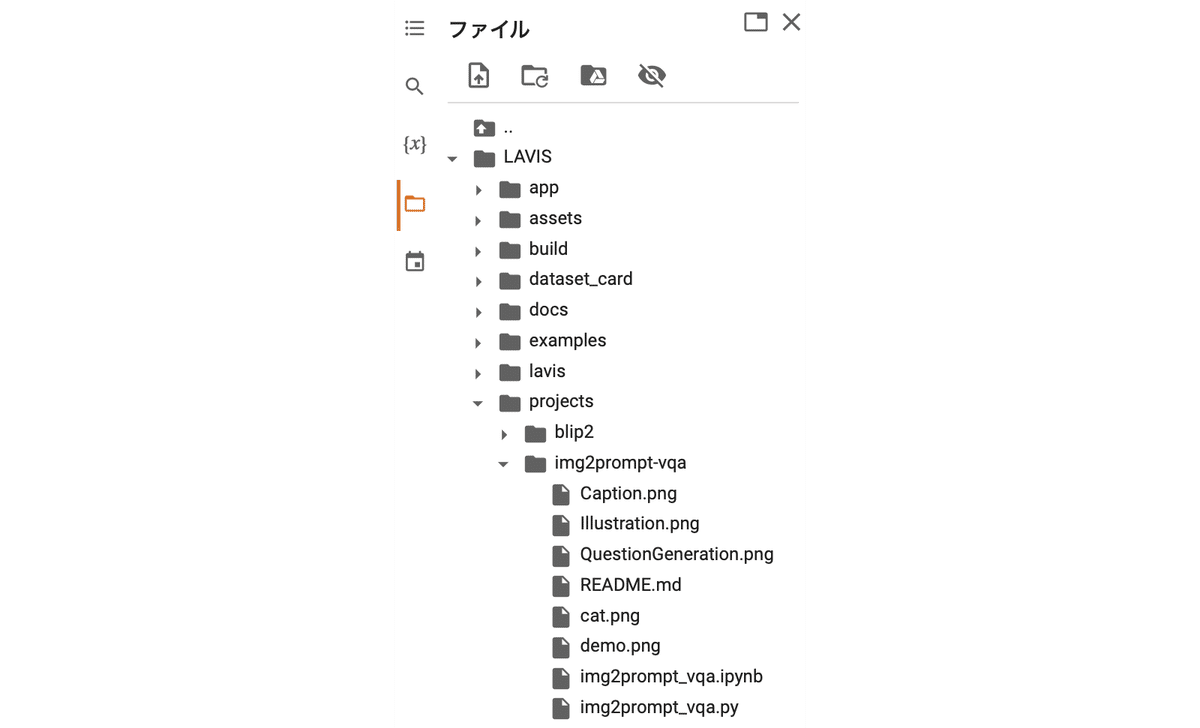
(5) 左端のフォルダアイコンでファイル一覧を表示し、「LAVIS/projects/img2prompt-vqa」に画像をアップロード。
・cat.png
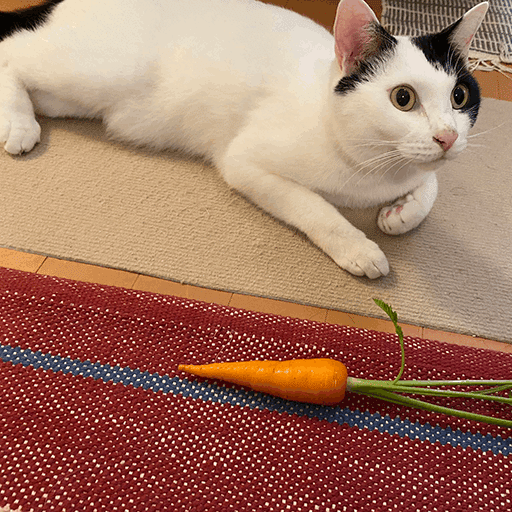
(6) 画像と質問の準備。
質問は、「What vegetables are near cats?」(猫の近くにある野菜は?)にしました。
# 画像と質問の準備
raw_image = Image.open("./cat.png").convert("RGB")
question = "What vegetables are near cats?"
(7) デバイスのセットアップ。
# デバイスのセットアップ
device = torch.device("cuda" if torch.cuda.is_available() else "cpu")
device
(8) モデルの読み込み
# Img2Prompt-VQAモデルの読み込み
model, vis_processors, txt_processors = load_model_and_preprocess(
    name="img2prompt_vqa",
    model_type="base",
    is_eval=True,
    device=device
)
(9) 入力の準備。
# 入力の準備
image = vis_processors["eval"](raw_image).unsqueeze(0).to(device)
question = txt_processors["eval"](question)
samples = {"image": image, "text_input": [question]}
Img2Prompt-VQAモデルは、4つのサブモデルを用いてVQAを行います。
3. 質問に対する画像の関連性スコアの計算
GradCAMを用いて、質問に対する画像の関連性スコアを計算します。
(1) 質問に対する画像の関連性スコアの計算。
# 質問に対する画像の関連性スコアの計算
samples = model.forward_itm(samples=samples)

dst_w = 720
w, h = raw_image.size
scaling_factor = dst_w / w

resized_img = raw_image.resize((int(w * scaling_factor), int(h * scaling_factor)))
norm_img = np.float32(resized_img) / 255
gradcam = samples['gradcams'].reshape(24,24)

avg_gradcam = getAttMap(norm_img, gradcam, blur=True)

fig, ax = plt.subplots(1, 1, figsize=(5, 5))
ax.imshow(avg_gradcam)
ax.set_yticks([])
ax.set_xticks([])
print('Question: {}'.format(question))
Question: what vegetables are near cats?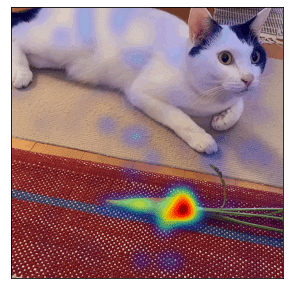
「猫の近くにある野菜は?」という質問に対して、ニンジンに関連性があると認識してることがわかります。
4. 画像キャプションの生成
関連性スコアをベースに、質問ガイド付きの画像キャプションの生成を行います。
(1) 画像キャプションの生成。
# 画像キャプションの生成
samples = model.forward_cap(samples=samples, num_captions=50, num_patches=20)
print('Examples of question-guided captions: ')
samples['captions'][0][:5]
Examples of question-guided captions:
[
'white cat lays around next to carrot and vegetables carrot',
'a carrot sits next to a carrot and a carrot',
'a cat with a carrot and a carrot next to a carrot',
'a cat looking up at a carrot and a carrot laying next to a carrot',
'a cat sniffing at the tip of a carrot on the floor'
]・ニンジンと野菜のニンジンの隣に横たわる白猫
・ニンジンはニンジンとニンジンの隣に座っています
・ニンジンとニンジンの隣ににんじんを持った猫
・ニンジンを見上げる猫とニンジンの隣に横たわるニンジン
・床に落ちたニンジンの先のにおいを嗅ぐ猫
正しいものもありますが、間違ってるものもあります。もっとパラメータ数の多いモデルを使えば精度は上がると思われます。
5. 質問の生成
キャプションをベースに、質問の生成を行います。
(1) 質問の生成。
# 質問の生成
samples = model.forward_qa_generation(samples)
print('Sample Question: {} \nSample Answer: {}'.format(samples['questions'][:5], samples['answers'][:5]))
Sample Question: ['what does a white cat lay around next to?', 'what does a white cat lay around next to?', 'who is looking at a carrot carrot and a carrot?', 'where does a cat lay next to a carrot and a carrot on the ground?', 'who is looking at a carrot carrot and a carrot on the ground?']
Sample Answer: ['carrot.', 'a carrot.', 'cat.', 'next.', 'a cat.']質問例
・白い猫は何の隣で寝そべっているのか?
・白い猫は隣で何を寝転がっているのだろう?
・誰がニンジンとニンジンを見ているのでしょうか?
・ニンジンとニンジンが地面に落ちている横で猫が寝ているのは?
・誰がニンジンニンジンと地面に落ちているニンジンを見ているのだろう?
回答例
・ニンジン
・ニンジン
・猫
・次
・猫
6. プロンプトの構築
プロンプトの構築を行います。
(1) LLMのプロンプトの準備。
# LLMのプロンプトの準備
Img2Prompt = model.prompts_construction(samples)
(2) LLMを読み込み回答を予測。
# 今回は、LLM推論にCPUのみを使用。
# GPUで推論する手順は、 https://github.com/CR-Gjx/Img2Prompt を参照。
device = "cpu"

def postprocess_Answer(text):
    for i, ans in enumerate(text):
        for j, w in enumerate(ans):
            if w == '.' or w == '\n':
                ans = ans[:j].lower()
                break
    return ans

Img2Prompt_input = tokenizer(Img2Prompt, padding='longest', truncation=True, return_tensors="pt").to(device)

assert (len(Img2Prompt_input.input_ids[0])+20) <=2048

outputs_list  = []
outputs = llm_model.generate(input_ids=Img2Prompt_input.input_ids,
    attention_mask=Img2Prompt_input.attention_mask,
    max_length=20+len(Img2Prompt_input.input_ids[0]),
    return_dict_in_generate=True,
    output_scores=True
)
outputs_list.append(outputs)
(3) 回答をデコード。
# 回答をデコード
pred_answer = tokenizer.batch_decode(outputs.sequences[:, len(Img2Prompt_input.input_ids[0]):])
pred_answer = postprocess_Answer(pred_answer)
print({"question": question, "answer": pred_answer}){'question': 'what vegetables are near cats?', 'answer': 'carrots'}質問 : 猫の近くにある野菜は?
回答 : ニンジン
