簡易掲示板の作成

掲示板は大まかに
・入力欄を作る
・データベースに保存する
・データを表示する
この3つのことができれば作ることができます。
まずフォルダを作ります。今回はフォルダの名前をaaaにしておきます。
$laravel new aaa
$cd aaa
以下のコマンドを実行します。
$touch database/database.sqliteするとdatabaseフォルダ内にdatabase.sqliteができます。
そして次に、コマンドで実行します。
$php artisan make:model -m PostこれでPostというモデルとマイグレーションを作ることができます。
databaseフォルダ内のmigrationsフォルダの中に作ったマイグレーションができ、作った後に以下のようになっているはずです。
<?php

use Illuminate\Support\Facades\Schema;
use Illuminate\Database\Schema\Blueprint;
use Illuminate\Database\Migrations\Migration;

class CreatePostsTable extends Migration
{
    /**
     * Run the migrations.
     *
     * @return void
     */
    public function up()
    {
        Schema::create('posts', function (Blueprint $table) {
            $table->increments('id');
            $table->timestamps();
        });
    }

    /**
     * Reverse the migrations.
     *
     * @return void
     */
    public function down()
    {
        Schema::dropIfExists('posts');
    }
}
以下を追加します。
$table->string('name');
$table->text('description');
そして、次のようなります。
<?php

use Illuminate\Support\Facades\Schema;
use Illuminate\Database\Schema\Blueprint;
use Illuminate\Database\Migrations\Migration;

class CreatePostsTable extends Migration
{
    /**
     * Run the migrations.
     *
     * @return void
     */
    public function up()
    {
        Schema::create('posts', function (Blueprint $table) {
            $table->increments('id');
            $table->string('name');
            $table->text('description');
            $table->timestamps();
        });
    }

    /**
     * Reverse the migrations.
     *
     * @return void
     */
    public function down()
    {
        Schema::dropIfExists('posts');
    }
}
そして、.envファイルを開きます。
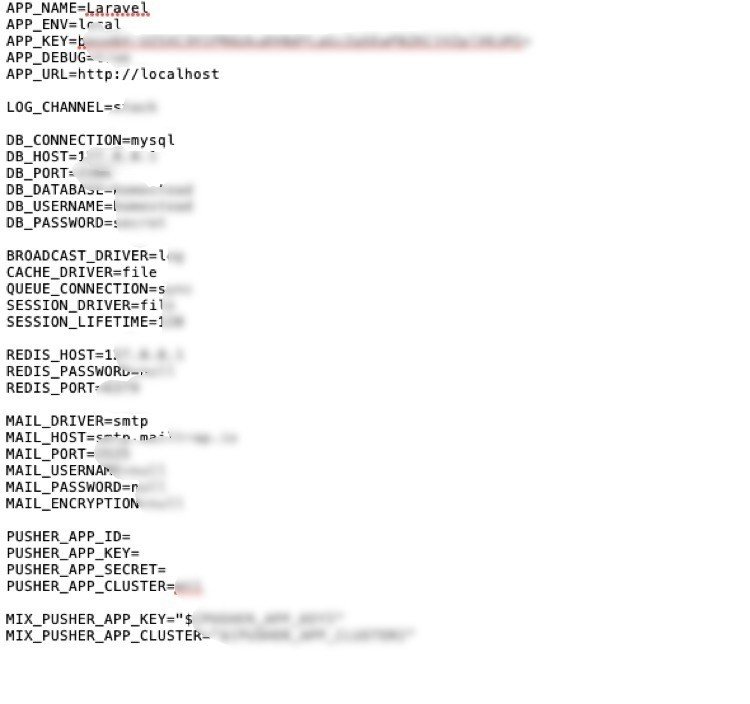
DB_CONNECTION=mysqlを DB_CONNECTION=sqlite に書き換え
DB_DATABASE=XXXXXに//をつけて //DB_DATABASE=XXXXX に
これを保存したら、コマンドで次のように実行する。
$php artisan migrateそうするとデータベースのテーブルにnameとcomという欄ができます。
次にPostというコントローラを作るのでコマンドを実行します。
$php artisan make:controller PostControllerするとappフォルダ内のHttpファルダのControllersフォルダにPostController.phpというファイルができているはずです。
<?php

namespace App\Http\Controllers;

use Illuminate\Http\Request;

class PostController extends Controller
{
    //
}
以下のコード2行を追加します。
<?php

namespace App\Http\Controllers;

use Illuminate\Http\Request;

use App\Post;

class PostController extends Controller
{
    public function index(){

        $posts=Post::OrderBy('created_at','desc')->paginate(10);

        return view('index',compact('posts'));
    }

    public function store(Request $request){

        $post=new Post;
        $post->name=$request->name;
        $post->com=$request->com;
        $post->save();

        return redirect()->back();
    }
}
次にroutesフォルダ内のweb.phpに2行を追加します。
<?php

/*
|--------------------------------------------------------------------------
| Web Routes
|--------------------------------------------------------------------------
|
| Here is where you can register web routes for your application. These
| routes are loaded by the RouteServiceProvider within a group which
| contains the "web" middleware group. Now create something great!
|
*/

Route::get('/', function () {
    return view('welcome');
});

    Route::get('/index','PostController@index')->name('view');

    Route::post('/post','PostController@store')->name('store');
次に、表示ページを作ります。
コマンドで以下を実行します。
$touch resources/views/index.blade.phpするとresourcesフォルダ内のviewsフォルダの中にindex.blade.phpが出来るのでこのようにします。
<!DCTYPE html>
<html la="ja">
<head>
    <mata charset="utf-8"></mata>
      <title>掲示板</title>
</head>
<body>
    <div class="write">
    <h1>掲示板</h1>
     @foreach($posts as $post)
     <p>
     名前: {{$post->name}}<small>{{$post->created_at}}</small><br>
     コメント: {{$post->com}}
     </p>
     @endforeach
    <br>

    <hr>

    <br>

    <form class="com" action="{{route('store')}}" method="post">
                {{csrf_field()}}
            <div class="md-form active-cyan-2 mb-3">
            <label>名前:</label>
            <input class="form-control" type="name" placeholder="名前" name="name"><br>
            <label>コメント:</label>
            <input class="form-control" type="text" placeholder="コメント" name="com">
            <input class="form-control" type="submit" value="送信">
            </div>
            </form>
    </div>
</body>
</html>

<style>
    h1{
        text-align:center;
        padding-bottom:25px;
    }

    .write{
     padding-top:45px;
     padding-left:150px;
     padding-right:150px;
    }
    small{
        padding-left:15px;
        color:gray;
    }
</style>
コマンドで
$php artisan serveを実行し、localhost:8000/indexをWebブラウザに入力します。

このように表示されればOKです。
最後にPOSTがちゃんと出来ているか確認します。

出来ていれば成功です。