
How to use nanakusa 3: How to use when logging in to nanakusa for the first time and setting of My Page

Introduction
For those who have logged in to nanakusa for the first time, we will explain how to log in to MetaMask, how to connect to MetaMask after that, how to set up My Page, and how to switch to the Matic network and Ethereum network.
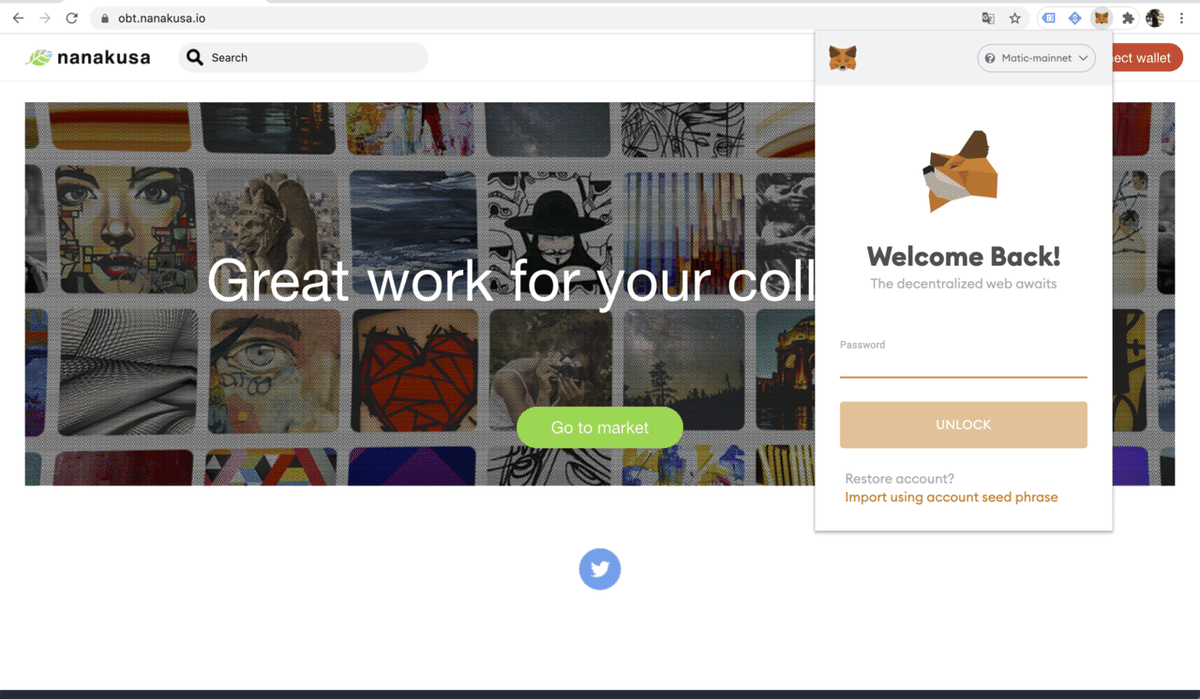
First, let's log in to MetaMask
① Press the button of MetaMask which is an extension of Google

② Enter your password to log in
Connect to MetaMask
① After logging in to MetaMask, press the Connect Wallet button.

② Please read and agree to the terms of use.

③ Select an account and press "Next"

④ Press Connect

⑤ Press the signature
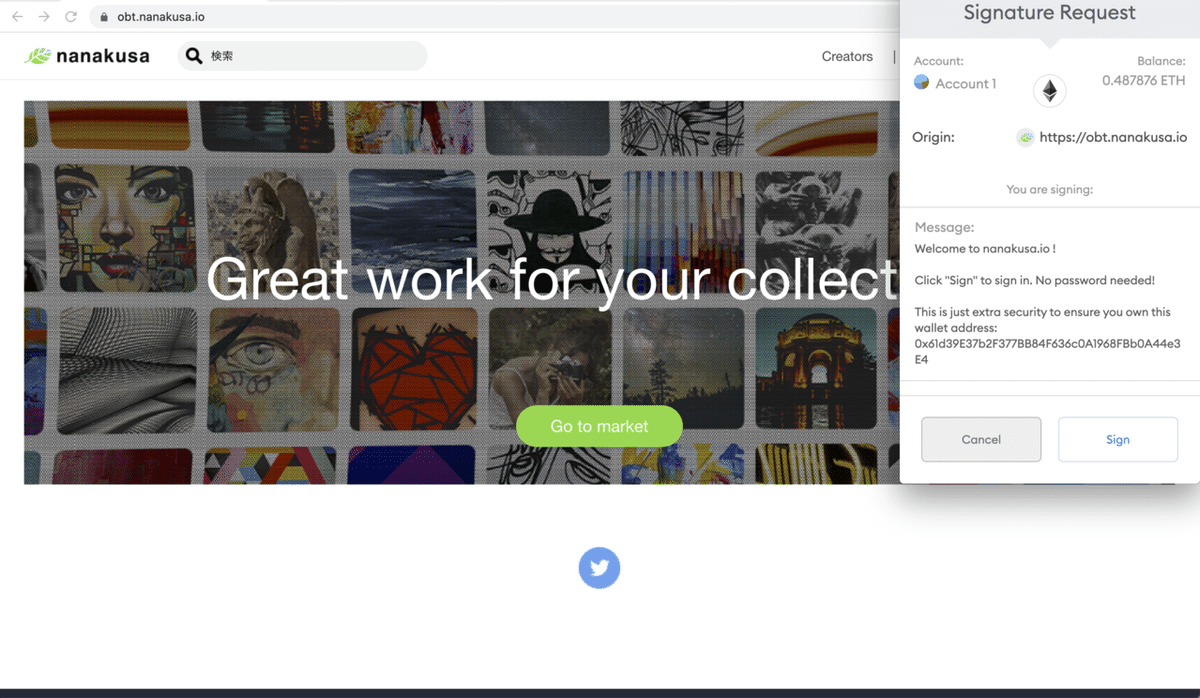
⑥ This completes the connection to MetaMask.

My page settings
Next, let's set up My Page.
① First, let's press the Go to market button

② Press the My Page button

③ Press the setting button

④ Each item can be set freely

・ User Name
・ Website
・ Bio
・ Language
Once set, Save and you're done.
How to switch to Matic network
In nanakusa, not only Ethereum network but also Polygon (Matic) network can be used.
I will explain how to switch.
① Press the connect button of Ethereum

② Switch to the Polygon network

③ MetaMask will start, so press the Swich button.

④ Switching is complete

How to switch to Ethereum network
Conversely, if you want to return to the Ethereum network, switch back from MetaMask again.
① Press MetaMask

② Press Matic Mainet

④ Press Ethereum Mainnet

⑤ This completes the switch.

that's all.
After that, please enjoy the nankusa marketplace.
この記事が気に入ったらサポートをしてみませんか?