【Three.js】Blenderで作ったモデルを表示する

複雑な形状のオブジェクトを Three.js で扱いたい場合、オブジェクト自体は何らかの3Dモデリングツールで作ったほうが楽ですよね。
今回は Blender で作ったモデルを Three.js で表示する、というのをやってみたいと思います。
1. Blender でモデルを作成する
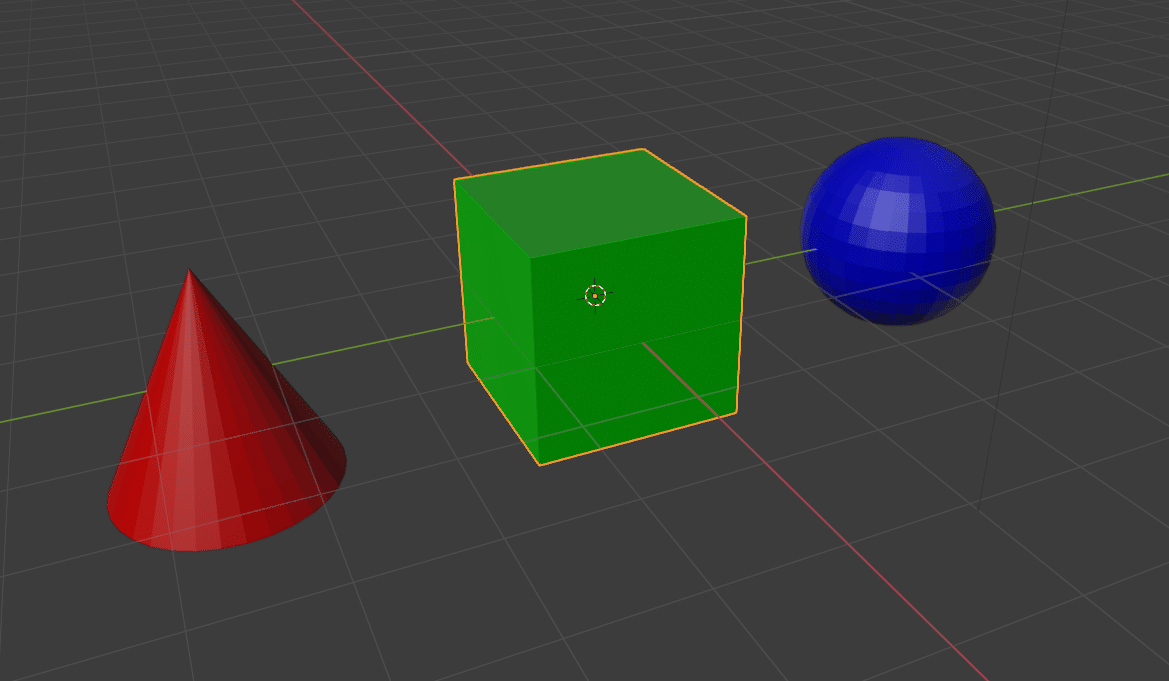
まずは Blender で何らかのモデルを作成します。
今回は複雑とは程遠いですが、3つのプリミティブ・メッシュ・オブジェクトを配置して色を着けました。
2. モデルを glTF 形式でエクスポートする
Blender のメニューから File > Export > glTF 2.0 を選択し、モデルをエクスポートします。

フォーマットは
・glTF Binary (.glb)
・glTF Embedded (.gltf)
・glTF Separate (.gltf + .bin + textures)
の3種類から選べます。今回は glTF Binary (拡張子 .glb)を選択し、ファイル名は objects.glb としました。
3. Three.js 側のフォルダ構成
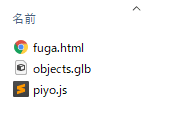
このように、同じフォルダ内に
・fuga.html
・objects.glb
・piyo.js
を格納しています。
4. ファイルの中身
fuga.html
<!DOCTYPE html>
<html>
<head>
   <meta charset="utf-8"/>
   <script type="module" src="piyo.js"></script>
</head>
<body>
   <canvas id="myCanvas"></canvas>
</body>
</html>
piyo.js
import * as THREE from 'https://threejsfundamentals.org/threejs/resources/threejs/r127/build/three.module.js';
import {OrbitControls} from 'https://threejsfundamentals.org/threejs/resources/threejs/r127/examples/jsm/controls/OrbitControls.js';
import {GLTFLoader} from 'https://threejsfundamentals.org/threejs/resources/threejs/r127/examples/jsm/loaders/GLTFLoader.js';
// ページの読み込みを待つ
window.addEventListener('load', init);

function init() {

   // サイズを指定
   const width = 960;
   const height = 540;

   // レンダラーを作成
   const canvas = document.querySelector('#myCanvas');
   const renderer = new THREE.WebGLRenderer({canvas});

   renderer.setPixelRatio(window.devicePixelRatio);
   renderer.setSize(width, height);

   // シーンを作成
   const scene = new THREE.Scene();

   // カメラを作成
   const camera = new THREE.PerspectiveCamera(45, width / height);
   camera.position.set(8, 3, 3);

   // Instantiate a loader
   const loader = new GLTFLoader();

   // Load a glTF resource
   loader.load(
       // resource URL
       'objects.glb',
       // called when the resource is loaded
       function ( gltf ) {

           scene.add( gltf.scene );

           gltf.animations; // Array<THREE.AnimationClip>
           gltf.scene; // THREE.Group
           gltf.scenes; // Array<THREE.Group>
           gltf.cameras; // Array<THREE.Camera>
           gltf.asset; // Object

       },
       // called while loading is progressing
       function ( xhr ) {
           console.log( ( xhr.loaded / xhr.total * 100 ) + '% loaded' );
       },
       // called when loading has errors
       function ( error ) {
           console.log( 'An error happened' );
       }
   );

   // 平行光源
   const light = new THREE.DirectionalLight(0xFFFFFF);
   light.intensity = 2; // 光の強さを倍に
   light.position.set(1, 1, 1);
   // シーンに追加
   scene.add(light);

   const controls = new OrbitControls(camera, canvas);
   controls.target.set(0, 0, 0);
   controls.update();

   tick();

   // 毎フレーム時に実行されるループイベントです
   function tick() {
       scene.rotation.y += 0.01;
       renderer.render(scene, camera); // レンダリング

       requestAnimationFrame(tick);
   }
}
コードのポイント
OrbitControls.js と GLTFLoader.js を追加でインポートしています。
前回までは https://cdnjs.cloudflare.com/ からインポートしていましたが、上記2つのファイルが見当たらなかったので https://threejsfundamentals.org/ からインポートするようにしました。こちらは最新版が r127 のようです。
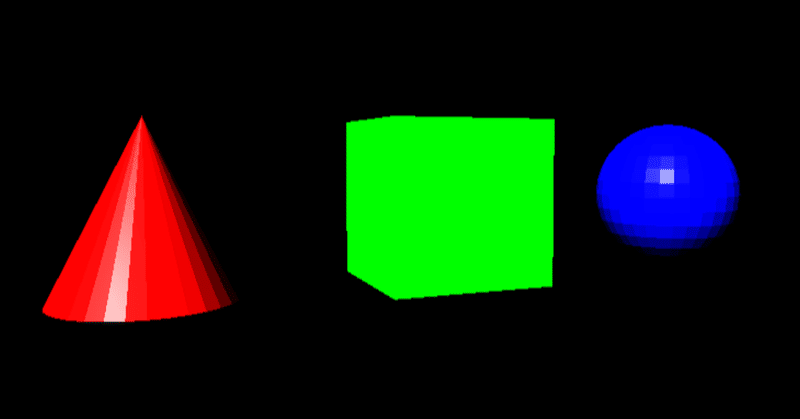
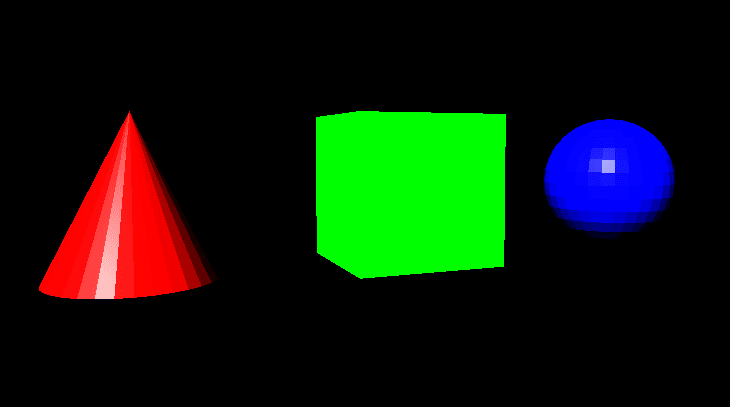
OrbitControls.js を使っているのでマウス操作で拡大・縮小・回転ができるようになっています。
実行結果
この記事が気に入ったらサポートをしてみませんか?