
【Illustrator】雲っぽい文字を作る方法

1.テキストを入力
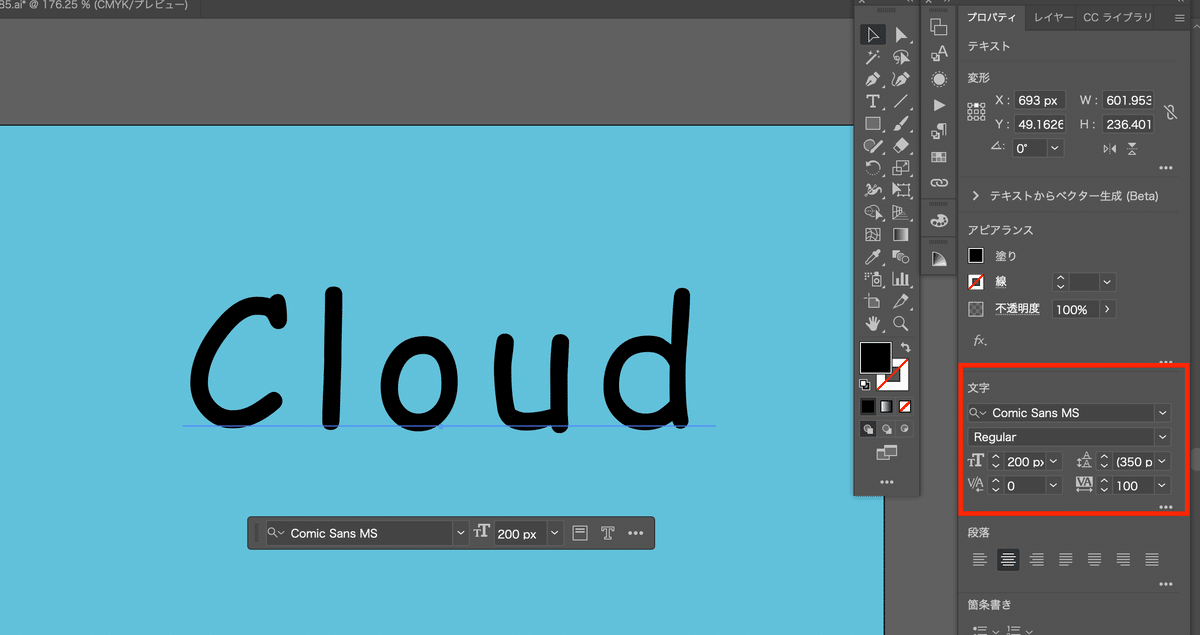
<文字の設定>
フォント→Comic Sans MS(海外の手書きフォントがおすすめ)
フォントサイズ→200px
文字間隔→100px
2.色を変更する
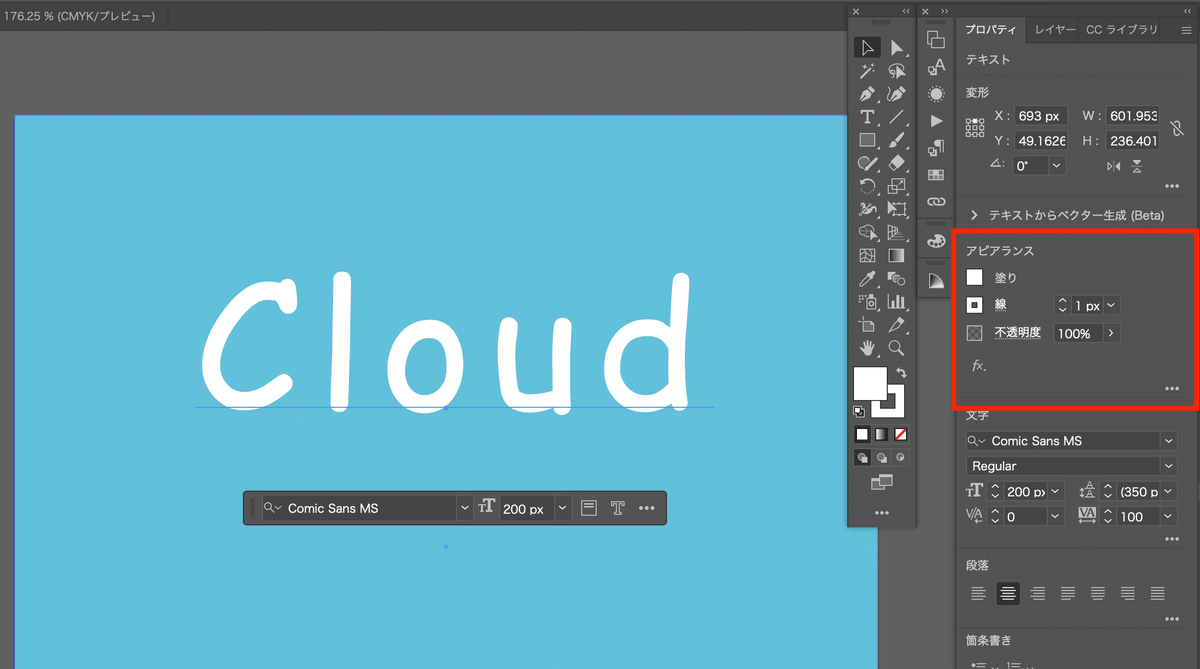
塗り→白
線→白
3.線の設定
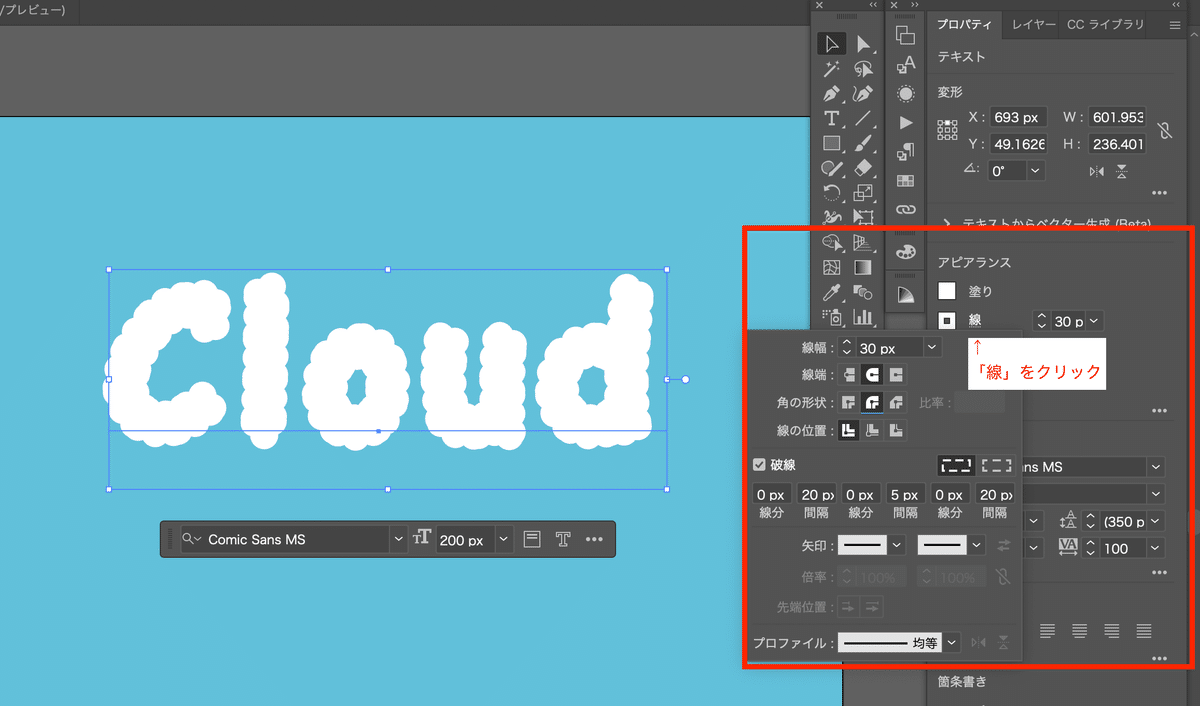
線幅→30px
線端→丸型線端
角の形状→ラウンド結合
破線→線分0px、間隔20px、線分0px、間隔5px、線分0px、間隔20px
<文字の設定>
フォント→Comic Sans MS(海外の手書きフォントがおすすめ)
フォントサイズ→200px
文字間隔→100px
塗り→白
線→白
線幅→30px
線端→丸型線端
角の形状→ラウンド結合
破線→線分0px、間隔20px、線分0px、間隔5px、線分0px、間隔20px