
[MyVket] You can make your own original clothes! Explain how to use the texture replacement function!

New feature "texture replacement" added in the update on February 22, 2023.
About this function added to Vket Avatar Maker , we will summarize while answering the questions
"What is a texture in the first place?",
"Is it difficult to replace it?",
"How to use it?"
What is Avatar Maker? If you are interested, please read this article first.
Let's continue with this explanation!
🔶 What is a texture? What can you do with the new features?

First of all, many people may not be familiar with the word “texture”.
So let's start by explaining the words and functions!
"TEXTURE"
An image pasted on a texture 3D model.
The colors and patterns of the Avatar Maker's clothes are represented by textures.
In other words, by changing the image called texture, you can change the pattern and color of clothes and fashion items!
It is this "texture replacement function" that you can freely change the design of clothes.
(*Texture can be replaced only for parts that support the function)
If you use this, you can wear an original T-shirt on the Metaverse using your favorite illustrations or pet photos !
Let's see how to use it!
🔶 Let's use the texture replacement function
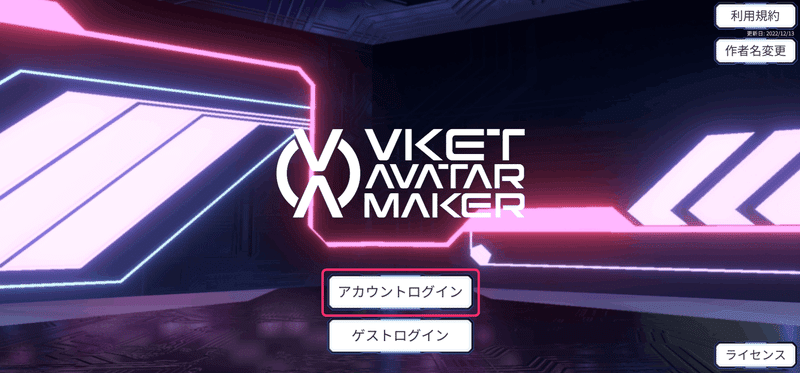
First, let's log in to Vket Avatar Maker. (アカウントログイン)
(If you don't have an account, guest login is fine) (ゲストログイン)
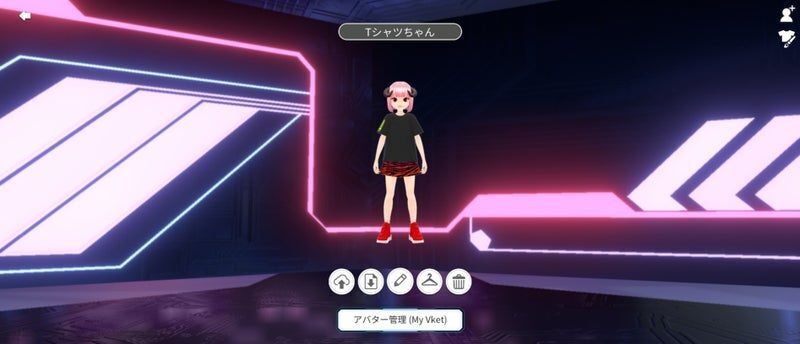
When you log in, a list of created avatars will be displayed.
If you have never created an avatar, the screen will look like ↓.
(There is no problem even in this state!)
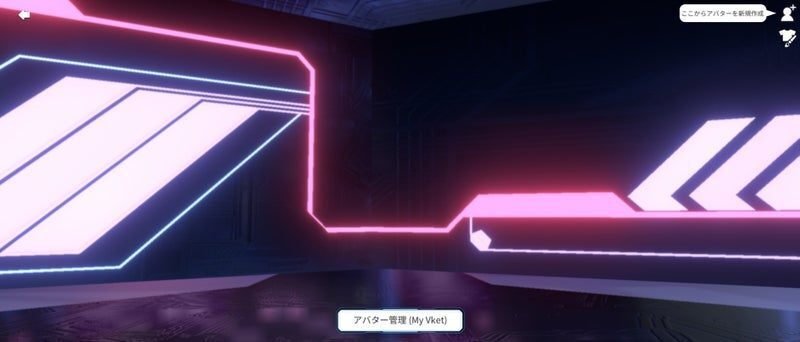
Even if you don't have avatar data now, let's create an avatar later.
Go to the texture replacement function!
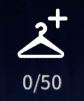
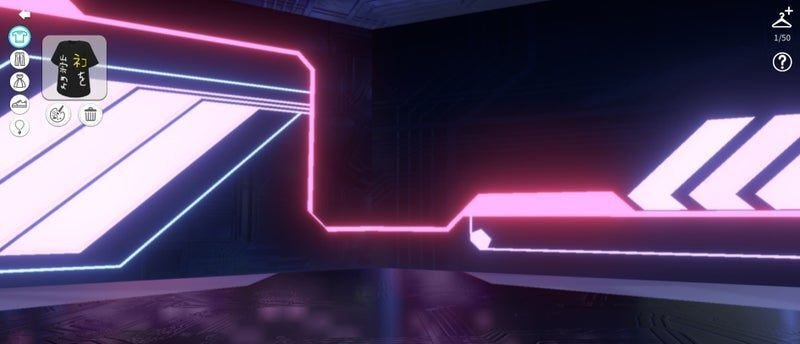
Click this icon on the top right of the screen.

Click to display a list of original parts created with the texture replacement function.
It feels like your very own closet!
If you are using the texture replacement function for the first time, nothing will be displayed here yet.
It is OK in the state like the image below.
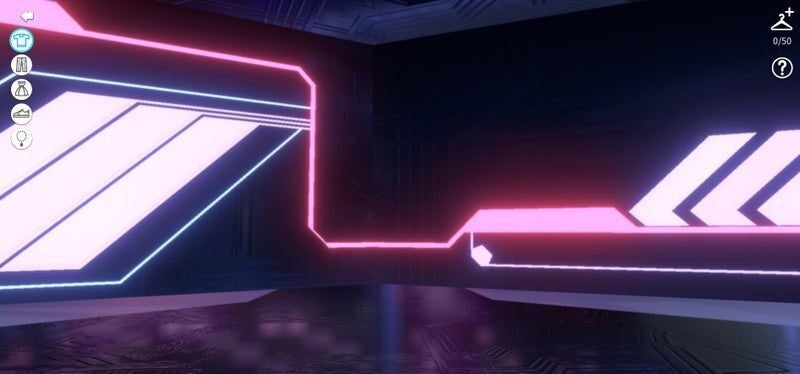
The more you use the texture replacement function, the more data will accumulate here, so please use it a lot! (current storage limit is 50)
Now let's move on to the texture replacement screen!
Click the hanger icon in the top right corner of the screen.
Images like avatars and clothes patterns were displayed.
You can do texture replacement work from this screen!
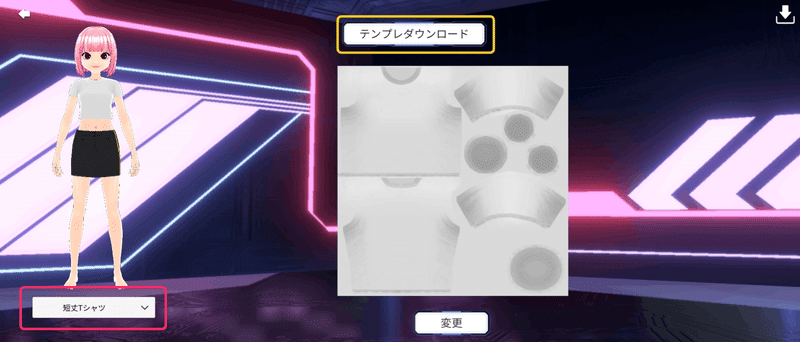
Let's look at them in order.
The first is the drop-down menu on the bottom left.
By changing this menu, you can change the type of clothes.
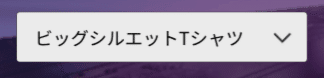
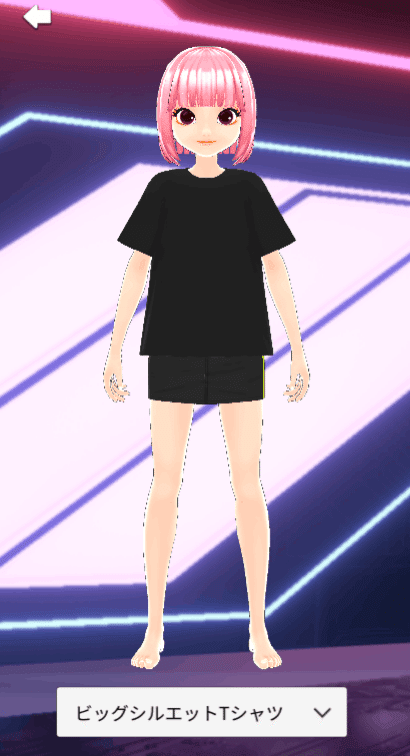
I made a big silhouette T-shirt. (ビッグシルエットTシャツ)
The preview of the displayed avatar has also changed!
Besides T-shirts, there are several fashion items that can be replaced with textures. For details , see "🔶Change the textures of various parts" later in this article .
Now let's move on to texture replacement!
The required work is roughly as follows.
① Download the texture template image
② Create a texture image with your favorite design
③ Upload and save the created data
① Download the texture template image
To create your own texture, download the template first.
When you click the "Template download" button in the center of the screen, it will be automatically saved to your PC.
② Create a texture image with your favorite design
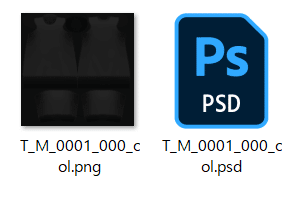
When you open the saved ZIP file, the texture template data is in two formats, "png/psd".
If you can use Photoshop or illustrator, please try various designs in psd format!
It is possible to create textures with png files without particularly high-performance paint software.
This time, I made a texture using "Windows Paint", which many people can use.
Open the png data and write it in a space like a pattern paper for clothes ↓
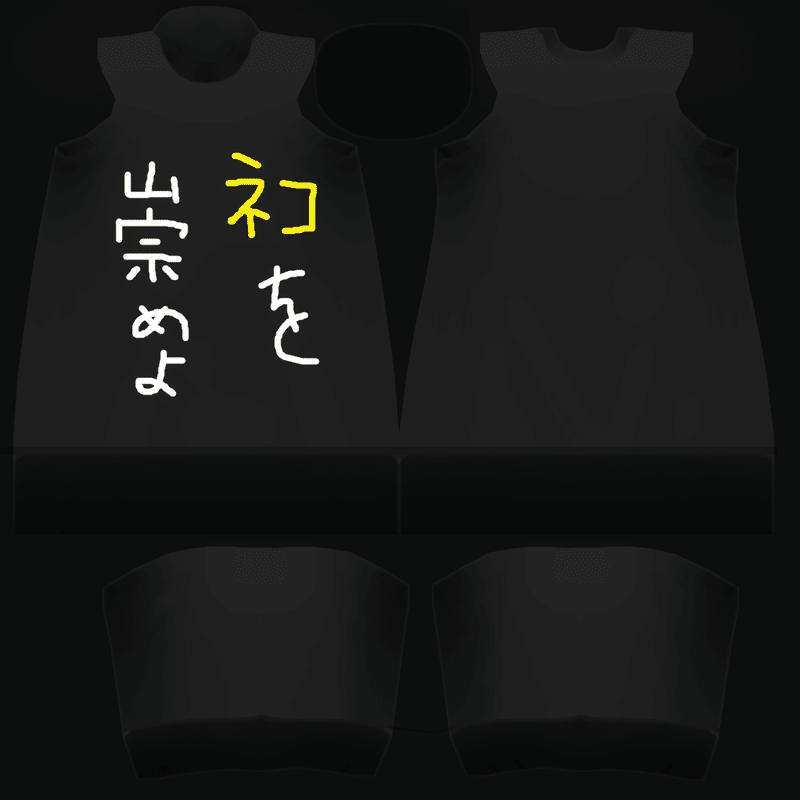
(ネコを崇めよ, worship the cat, parody of worship the god)
If you want to create an elaborate design, check out the "🔶 Let 's design in detail"later in this article .
Once your textures are ready, go back to Avatar Maker!
③ Upload and save the created data
Upload your image when it's ready.
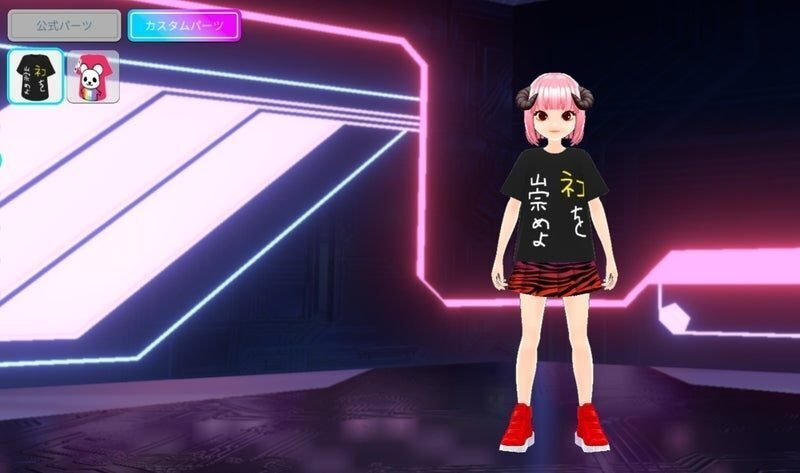
Return to the Avatar Maker screen and click the "Change"(変更) button.

You will be prompted to select an image to upload, so select the texture you just created.
Uploaded soon...
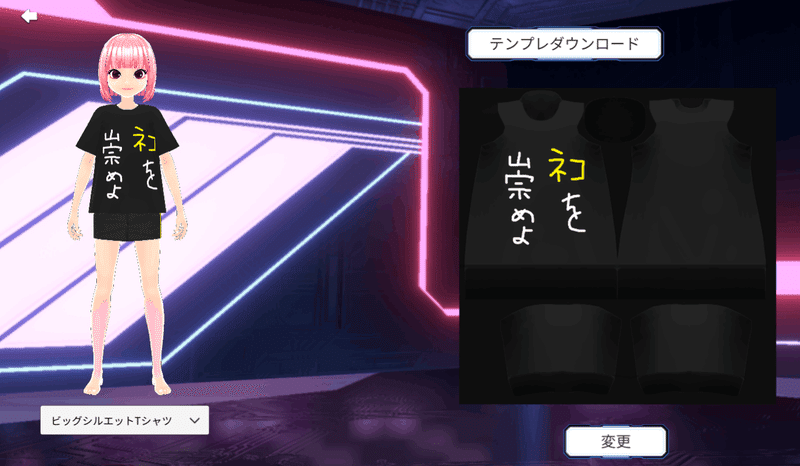
The texture has changed! !
By moving the cursor while clicking the preview, you can check the design from the direction you want to see.
If there is no problem with the design of the replaced texture, press the save button at the top right of the screen.

Once saved, you will automatically return to the texture management screen.
There was nothing earlier, but the T-shirt you designed is displayed!
🔶 Dress your Vket Avatar in original design items
Let's put the original T-shirt we made earlier on our avatar!
Return to the avatar list screen.
At this point, if you have never made a Vket Avatar yet, please try working while making it!
You can create a new avatar from the button in the upper right of the list screen.

See this article for details on how to create an avatar.
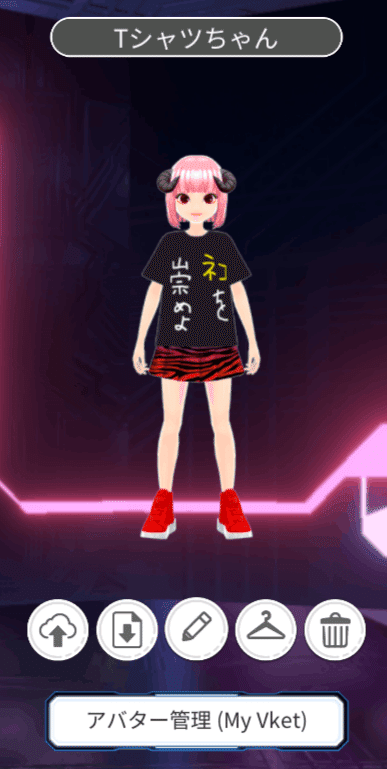
If you already have avatar data, you can change clothes from the edit button.
Click the hanger icon below your avatar.
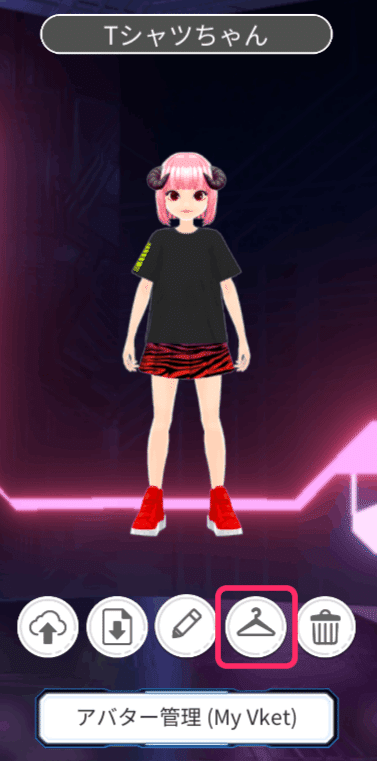
Click to move to a screen where you can edit your avatar.
When creating a new avatar, the avatar edit screen will be opened in the same way.
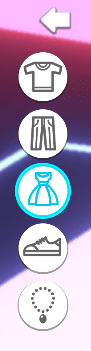
Since we just made a T-shirt, let's open the parts list for the upper body.
By clicking the T-shirt icon from the icon on the left, you can switch the parts to be customized.
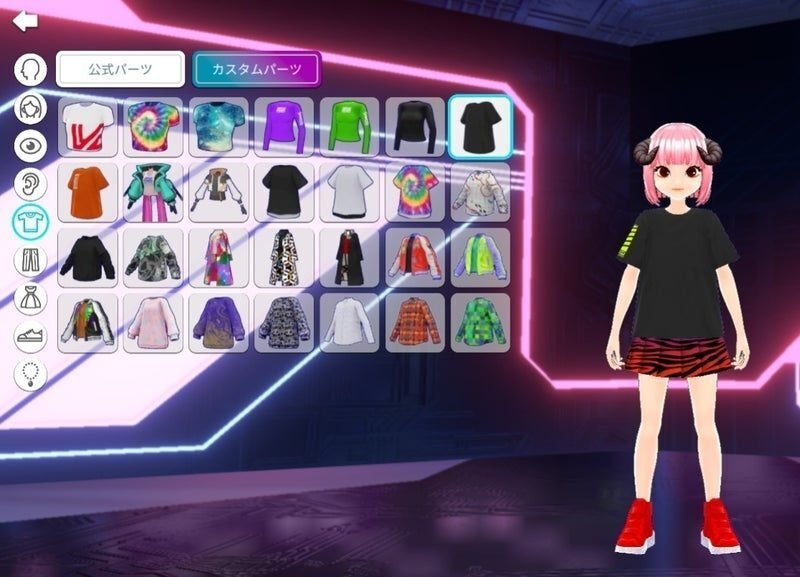
After opening the upper body parts list, click the "Custom parts" button at the top.
The original T-shirt you made earlier is displayed.
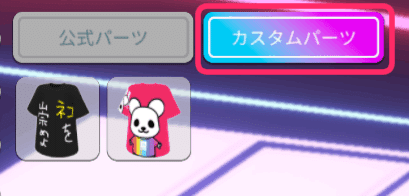
Let's choose an original T-shirt now!
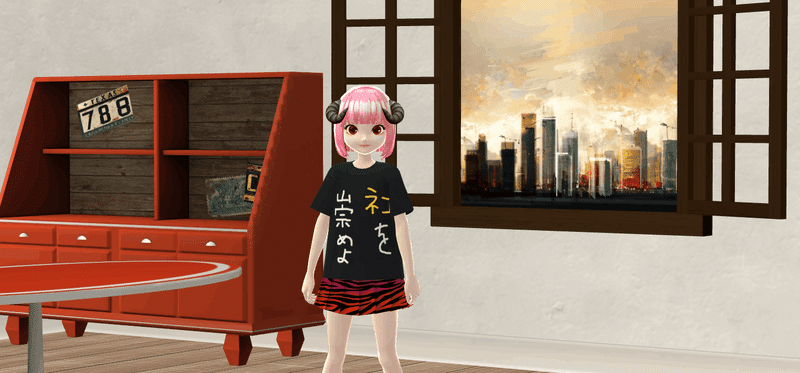
I was able to wear an original T-shirt! !
When you're done customizing your avatar, don't forget to click the save button at the top right of the screen to finish.

🔶Let's go out in original fashion!
You will automatically return to the avatar list screen, so let's put on your avatar and go out!
When you go out to Vket Room, click the upload button here and register it in my avatar.

Once set as My Avatar, you can use it in Vket Room.
If you want to go to another metaverse or use it in an online meeting, save the avatar data to your PC from the export button.

It's easy, so please try using Vket Avatar in various situations!
🔶 Let's change the texture of various parts

The texture replacement function can change the pattern of various parts as well as T-shirts.
Let's open the management screen of the texture replacement function that was opened first.
Let's switch to parts other than the upper body from the parts switch button on the left.
As a trial, I chose a top and bottom integrated type (one-piece type) part.
By clicking the hanger mark button in the same way as the first time, the edit screen for texture replacement opens.
You see a preview of the suit!
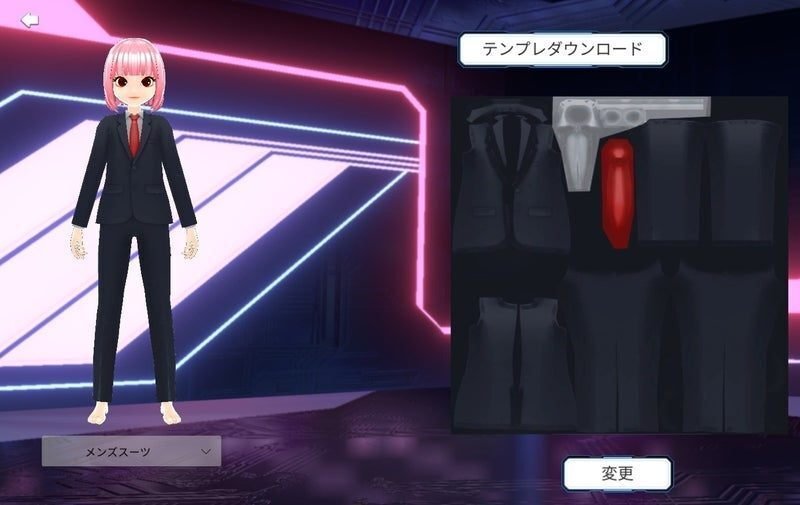
In this way, there are parts other than T-shirts that can be replaced with textures, so please play with them!
Parts that can be replaced at the time of the 2023.2.22 release
■ Upper body
・short length T-shirt
・big silhouette T-shirt
■ Lower body
・ trapezoidal mini skirt
・ cargo pants
■ One-piece top and bottom (dress)
・ suit
■ Shoes
・ sneakers
・ high heels
■ Accessories
・ cat ears
🔶Let's design down to the smallest detail

It is also possible to give elaborate designs to each part such as sleeves and back.
This time, I made a bear T-shirt with my clip studio (paint software).
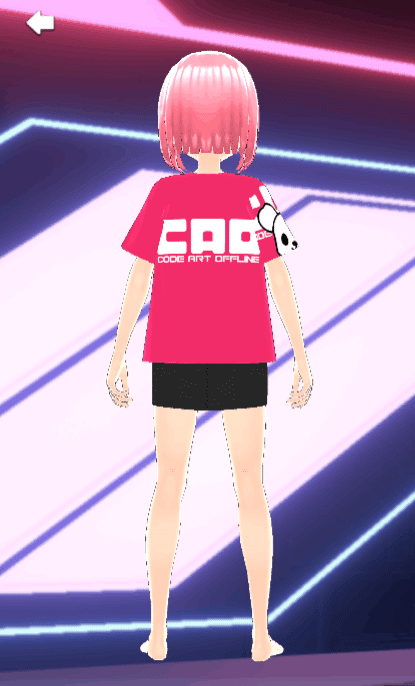
You can display different designs such as one sleeve only and back only.
The way to do it is to create a design according to the texture template as before.
Just like a pattern paper for clothes, the surface of the texture is divided for each part, so it is OK if you display the image together!
This is what the texture of the bear T-shirt looks like when superimposed on the template.
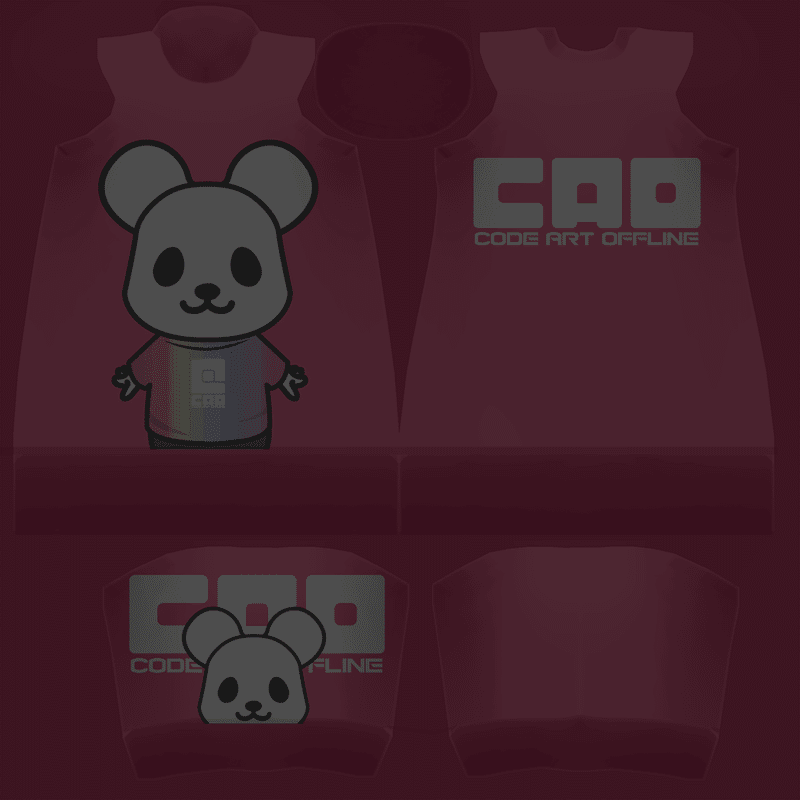
Illustrations and logos of bears are placed along the pattern paper of clothes!
If you have a painting software, please try to challenge the elaborate design.
Web services such as canva allow you to design for free, so you may want to take advantage of it.
🔹If you want to re-edit the original parts
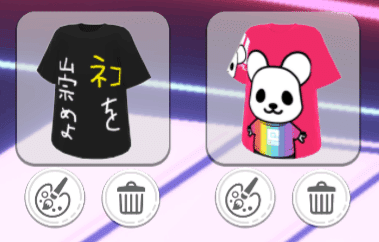
If you want to edit the design you made once, open the texture replacement management screen.
Since the created original parts are lined up, you can open the edit screen by clicking the palette icon.
When you try it on, if you find something that bothers you, such as the logo being cut off or the color being too dark, you can adjust the texture and upload it again until you like it!
🔹Take advantage of the Vket Store
If you find it difficult to design your own textures, or if you want to distribute and sell your own textures, we recommend using the Vket Store !
The Vket Store has a dedicated category called "Vket Avatar Textures".
Please take a look.
That's all for how to use the texture replacement function!
It's a pretty fun feature once you get used to it, so please play with it a lot!
Click here for My Vket!

Check Twitter for the latest information on Avatar Maker and My Vket!
Related articles
この記事が気に入ったらサポートをしてみませんか?