
[GAS] NotionAPIを使って、日報ページを新規作成する

はじめに
前回、NotionAPI を使用するための準備についてまとめました。
今回は、GASでNotionに日報ページを新規で作成する、という処理についてまとめます。
処理概要
Googleスプレッドシートのメニューを追加し、メニューから選択されたら、Notionの指定日のページを作成する処理を実行します。

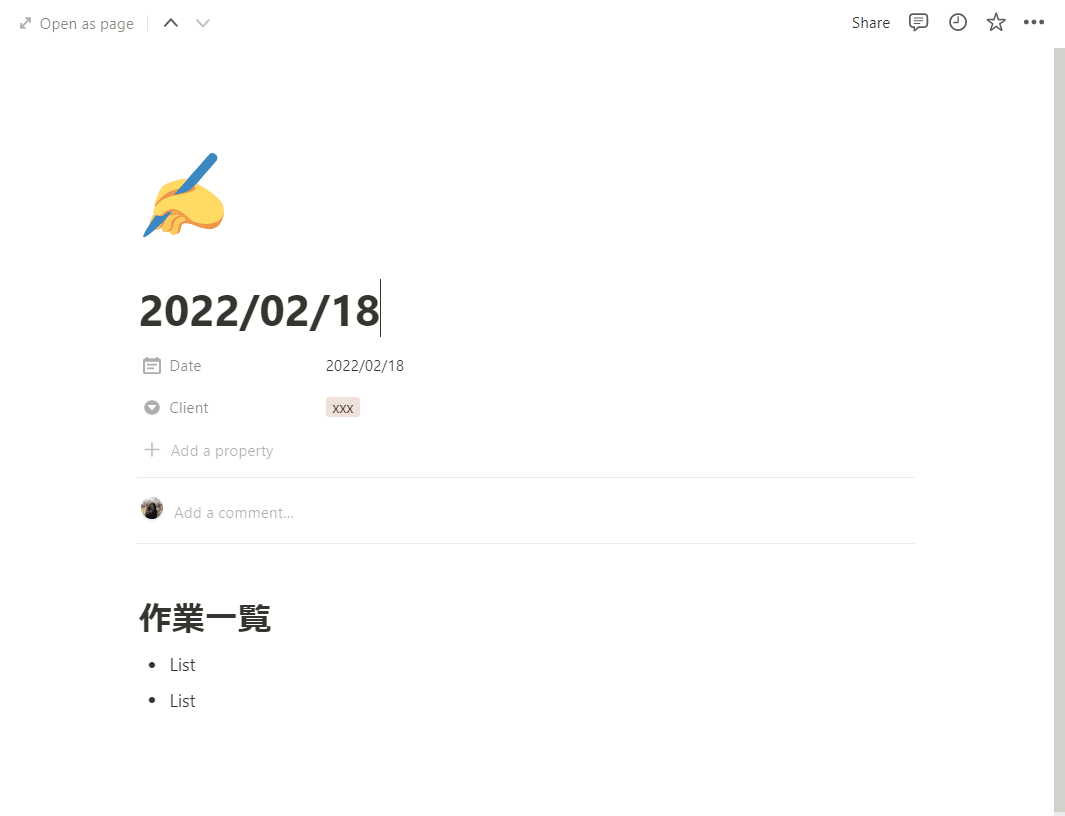
作成するページには、下記のプロパティ、本文を設定します。
プロパティ
アイコンを指定(今回は、「writing hand」を指定)
タイトル:その日の日付(例:2022/02/18)
Client:Selectタイプで特定の名前を指定
本文
見出し1(Heading1)に、見出し文字列を設定(今回は、「作業一覧」と設定)
箇条書きリスト(bulleted list)を2行から行を設定
ページの構成
Notion APIの公式ドキュメントより、ページコンテンツの操作について記述されているページを確認します。
Notionのページは、下記の2つの要素から構成されています。
Page properties
Page content
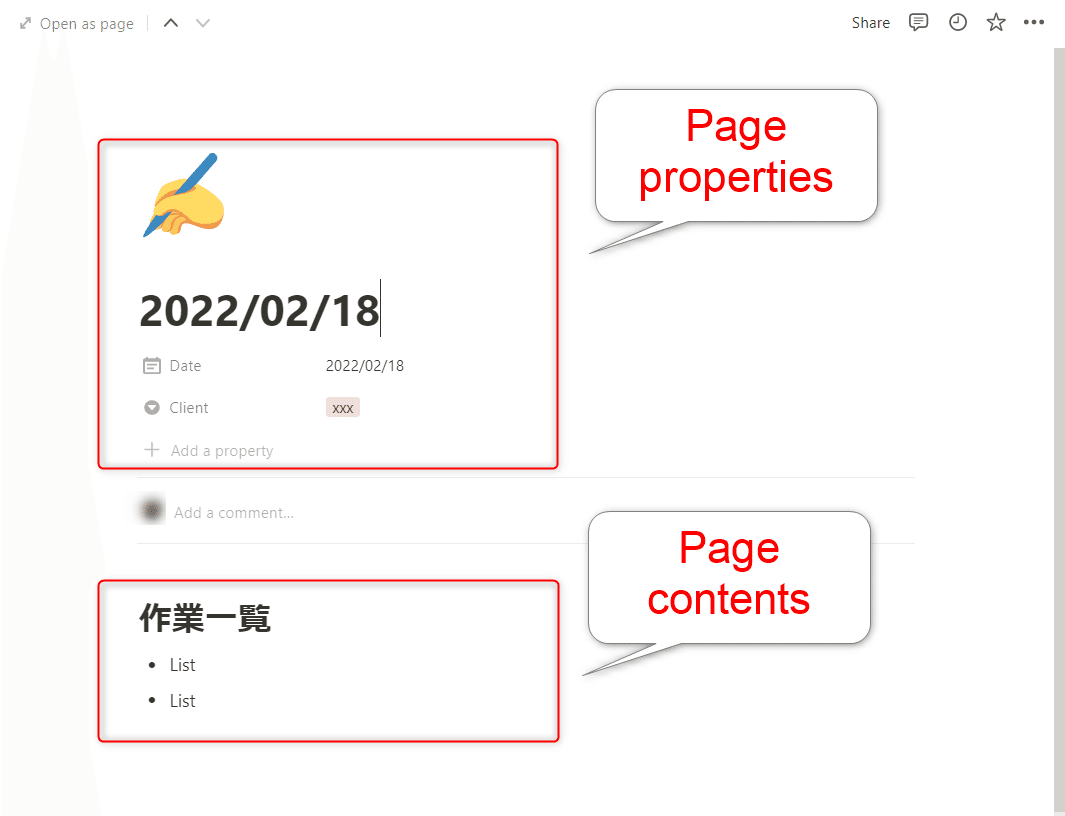
Page propertiesは、ページ上部に配置され、データベース内のページに共通する情報です。
Page contentは、ページごとに自由に記述される情報です。
実装
実装時に必要になるのは、下記2つになります。
Internal Integration Token
ページを追加するDBのID
全体の処理は、下記です。
const NOTION_DB_ID = 'xxxxxxxxxxxxxxxxxx';

/**
 * Notion 今日の日報ページを作成する
 */
function createDairyPageToNotion() {
  const today = new Date();

  const pageObj = createDairyPage_(today);

  const props = PropertiesService.getScriptProperties();
  const token = props.getProperty('NOTION_TOKEN');

  const notionApiManager = new NotionApiManager(token);
  const response = notionApiManager.createPage(obj);
  const json = response.getContentText();
  const data = JSON.parse(json);
  console.log(data);
}

/**
 * 日報用ページオブジェクトを作成する
 * @param {Date} today - 作成する Date オブジェクト
 * @param {string} format - 比較するフォーマット
 * @return {object}} 作成したページオブジェクト
 */
function createDairyPage_(today) {
  const obj = {
    "parent": {
      "database_id": NOTION_DB_ID
    },
    "icon": {
			"type": 'emoji',
			"emoji": '✍️'
		},
    "properties": {
      "Name": {
        "title": [
          {
            "text": {
              "content": Utilities.formatDate(today, "JST", "yyyy/MM/dd")
            }
          }
        ]
      },
      "Date": {
        "type": "date",
        "date": {
          "start": Utilities.formatDate(today, "JST", "yyyy-MM-dd"),
          "end": null
        }
      },
      "Client": {
        "select": {
          "name": "xxx"
        }
      }
    },
    "children": [
      // h1タグのブロック
      {
        "type": "heading_1",
        "heading_1": {
          "rich_text": [
            {
              "type": "text",
              "text": {
                "content": "作業一覧"
              }
            }
          ]
        }
      },
      // Listのブロック
      {
        "type": "bulleted_list_item",
        "bulleted_list_item": {
          "rich_text": [{
            "type": "text",
            "text": {
              "content": " ",
              "link": null
            }
          }],
        }
      },
      // Listのブロック
      {
        "type": "bulleted_list_item",
        "bulleted_list_item": {
          "rich_text": [{
            "type": "text",
            "text": {
              "content": " ",
              "link": null
            }
          }],
        }
      }
    ]
  };
  return obj;
}
①作成するページのオブジェクトを生成
createDairyPage_関数で、作成するページオブジェクトを作成しています。ページオブジェクトの詳細は、下記をご参照ください。
”parent”プロパティで、ページを作成したいDBのIDを指定します。
”icon”プロパティで、ページに表示するアイコンを指定します。
”properties”プロパティでは、ページ上部に配置するプロパティを指定することができます。
今回は、Name、Date、Clientの3つのproperitesをそれぞれ指定しています。
次に、”children”プロパティ内で、ページ本文のプロパティを設定していきます。
今回は、見出し1、箇条書きリスト(Heading1、bulleted list)を2つ作成するため、配列でオブジェクトを定義します。
プロパティオブジェクトの設定は、下記に詳細説明があります。
②NotionAPI用のクラスを準備
NotionAPIを呼び出す処理は、下記のように実装しています。
  const notionApiManager = new NotionApiManager(token);
  const response = notionApiManager.createPage(obj);
NotionAPI用のクラスを作成しました。クラスは下記のように実装しています。
class NotionApiManager{
/**
* Notion APIに関するコンストラクタ
* @constructor
*/
constructor(token){
this._token = token;
this._notionVersion = this._getNotionAPIVersion();
}
/**
* ページを作成するメソッド
* @param {object} payload - ページオブジェクト
* @return {HTTPResponse} fetchのresponse
*/
createPage(payload){
const endpoint = this._getEndpointPage();
const options = this._postOption(payload);
const response = UrlFetchApp.fetch(endpoint, options);
return response;
}
/**
* NotionAPI のVersionを取得するサブメソッド
* @param {string} guestId - アプリの名前
* @return {string} version - NotionAPIのバージョン
*/
_getNotionAPIVersion(){
const url = "https://developers.notion.com/reference/versioning"
const reg = /"default".*?<\/script>/g;
const htmldata = UrlFetchApp.fetch(url).getContentText("utf-8");
const version = htmldata.match(reg)[0].match(/([0-9]{4}-[0-9]{2}-[0-9]{2})/g)[0];
return version;
}
/**
* ページ用エンドポイントを取得するサブメソッド
* @return {string} endpoint - エンドポイント
*/
_getEndpointPage() {
return 'https://api.notion.com/v1/pages/'
}
/**
* POSTする時のオプションを作成するサブメソッド
* @param {Object} payload - payload
* @return {Object} option - option
*/
_postOption(payload) {
const options = {
method: 'post',
headers: {
'Content-Type': 'application/json',
'Notion-Version': this._notionVersion,
'Authorization': "Bearer " + this._token
},
payload: JSON.stringify(payload)
};
return options;
}
}クラスの実装について、説明します。
コンストラクタの処理
仮引数で渡されたtokenを保持しています。
また、_getNotionAPIVersion関数で、NotionAPIのバージョンを取得しています。
NotionAPIのコールする際、バージョンを指定する必要があります。
今日現在の最新は、「2022-02-22」です。
下記のサイトにて、自動で取得する方法が紹介されていましたので、参考にさせていただきました。ありがとうございました!
createPageメソッド
ページ作成するためのエンドポイント、オプションを指定して、HTTPリクエストを実行します。
こちらを実行し、HTTPリクエストの結果をログ出力すると、下記のようになります。
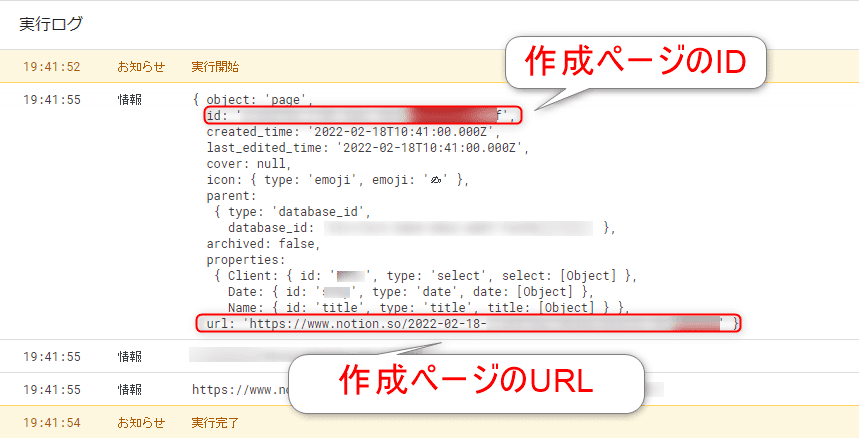
作成したページのページオブジェクトが返却されています。ページのID、ページのURLも返ってきていることが確認できました。
以上で完成です!
まとめ
今回は、GASでNotionAPIを使って、日報ページを作成する実装についてまとめました。
このツールを運用して約1か月ほど使用しています。途中で、バージョンアップが入ったことで、前回まで動作していた処理がエラーとなり、修正した個所がありました。
ご紹介した実装でエラーが出ることがあるかもしれませんので、その際にはNotion APIの公式マニュアルのページ、ご確認ください。
英語で記載されてはいますが、非常に読みやすいです。