第1回 Laravel10 環境構築メモ(Windows11 + WLS2 + Dockerで構築)

はじめに
特に目的もなく、Docker+Laravel10+React+Vite+Typescriptの環境構築をした時の自分用のメモです。どうでもよいんですが、HHKBを白いキートップに変えると視認性がグンと上がります。
This is a memo to myself when I aimlessly built Docker + Laravel 10 + React + Vite + Typescript environment.. It doesn't matter, but I changed HHKB to white keycaps, visibility will skyrocket.

環境 / enviroment
・Windows11
・Docker Desktop 4.19.0
・WSL2 - Ubuntu 22.04.2 LTS
準備するもの / Files to prepare
フォルダ構成 / The folder strucure
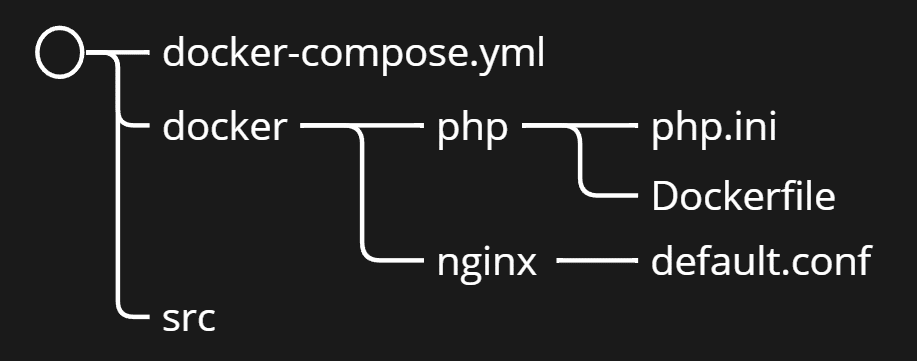
以下、それぞれのファイルの中身です 。とりあえず、起動してデバッグできるところまで確認しただけなので、これだけでOKなのか不明。(必要に応じて今後、加筆)なお、今回は"sample"という名前のプロジェクトを作成しているので、プロジェクトの名前に応じて各ファイルの"sample"を修正する必要あり。
Below are the contents of each file. For now, I've only confirmed that I can start up and debug, so I'm not sure if this is all I need. (Additions will be made in the future as necessary) In addition, since I'm creating a project named "sample" this time, I need to modify "sample" of each file according to the name of the project.
追記)環境構築を続けているうちに気が付いたのですが、一般ユーザーの作成が抜けてました。詳しくは第9回に書いてます。このページのファイルも一部修正しました。
docker-compose.yml
version: '3'
services:
  db:
    image: mysql:5.7.36
    container_name: "mysql"
    environment:
        MYSQL_ROOT_PASSWORD: root
        MYSQL_DATABASE: mysql_db
        MYSQL_USER: admin
        MYSQL_PASSWORD: secret
        TZ: 'Asia/Tokyo'
    ports:
        - 3306:3306
    command: mysqld --character-set-server=utf8mb4 --collation-server=utf8mb4_unicode_ci
    volumes:
      - db_data:/var/lib/mysql
      - db_my.cnf:/etc/mysql/conf.d/my.cnf
      - db_sql:/docker-entrypoint-initdb.d

  php:
    build: ./docker/php
    container_name: "php-fpm"
    ports:
      - 5173:5173
    volumes:
      - ./src:/varXX/www
    user: XXXXX # docker/php/DockerfileのUSER_NAMEを指定
  nginx:
    image: nginx:latest
    container_name: "nginx"
    ports:
      - 80:80
    tty: true
    volumes:
      - ./src:/var/www
      - ./docker/nginx/default.conf:/etc/nginx/conf.d/default.conf
    depends_on:
      - php

volumes:
  db_data:
  db_my.cnf:
  db_sql:
docker/php/Dockerfile
USER_NAME、GROUP_NAME、UID(user id)、GID(group id)については、WLS2のログインユーザーの情報をidコマンドで取得して、環境に合わせて入力してください。
FROM php:8.2-fpm
EXPOSE 5173
COPY php.ini /usr/local/etc/php/

RUN apt-get update \
    && apt-get install -y zlib1g-dev mariadb-client vim libzip-dev nodejs npm\
    && docker-php-ext-install zip pdo_mysql

RUN pecl install xdebug && docker-php-ext-enable xdebug

RUN php -r "copy('https://getcomposer.org/installer', 'composer-setup.php');"
RUN php composer-setup.php
RUN php -r "unlink('composer-setup.php');"
RUN mv composer.phar /usr/local/bin/composer

ENV COMPOSER_ALLOW_SUPERUSER 1
ENV COMPOSER_HOME /composer
ENV PATH $PATH:/composer/vendor/bin

ARG USER_NAME=XXXXX
ARG GROUP_NAME=YYYYY
ARG UID=WWWWW
ARG GID=ZZZZZ
RUN groupadd -g $GID $GROUP_NAME
RUN useradd -m -s /bin/bash -u $UID -g $GID $USER_NAME

USER $USERNAME

WORKDIR /var/www

RUN composer global require "laravel/installer"
docker/php/php.ini
[Date]
date.timezone = "Asia/Tokyo"
[mbstring]
default_charset = "UTF-8"
mbstring.language = "Japanese"

[xdebug]
zend_extension=xdebug
xdebug.mode=debug
xdebug.client_host=host.docker.internal
xdebug.client_port=9003
xdebug.start_with_request=yes
xdebug.idekey = PHPSTORM
docker/nginx/default.conf
server {
    listen 80;
    index index.php index.html;

    fastcgi_connect_timeout 300;
    fastcgi_send_timeout 300;
    fastcgi_read_timeout 300;
    send_timeout 300;
    keepalive_timeout 300;

    root /var/www/sample/public;

    location / {
        try_files $uri $uri/ /index.php?$query_string;
    }

    location ~ \.php$ {
        fastcgi_split_path_info ^(.+\.php)(/.+)$;
        fastcgi_pass php:9000;
        fastcgi_index index.php;
        include fastcgi_params;
            fastcgi_param SCRIPT_FILENAME $document_root$fastcgi_script_name;
            fastcgi_param PATH_INFO $fastcgi_path_info;
    }
}
はい、準備は整いました。出来たファイルをこうして貼り付けるのは簡単ですが、ここまでに結構、試行錯誤してます。
Yes, I'm ready. Pasting the created file in this way is easy, but it took a lot of trial and error so far.
さぁ、いくぞ!!/ Well, let's go! !
コンテナの立ち上げ/Launch a container
まずは、コンテナを立ち上げます。もちろん、docker-compose.ymlがある場所で下記のコマンドを実行します。
First, start the container. Of course, run the command below where docker-compose.yml is located.
docker-compose up -dプロジェクトの作成/Create a project
コンテナの起動に成功したら、次にphpのコンテナに入ります。
After successfully starting the container, enter the php container.
docker-compose exec php bash補足:今回は、コンテナの/var/www/をホストの./srcにバインドマウントしております。また、WORKDIRに/var/www/を指定しております。
Note: This time, I bind-mounted the container's /var/www/ to the host's ./src. Also, /var/www/ is specified for WORKDIR.
docker-compose.yml
    volumes:
      - ./src:/var/www
docker/php/Dockerfile
WORKDIR /var/wwwコンテナに入ったら、/var/wwwで以下のコマンドを実行してLaravelのプロジェクトを作成します。今回は、Laravelのバージョンは10で、"sample"という名前のプロジェクト名で作成。
Once inside the container, run the following command in /var/www to create a Laravel project. This time, Laravel version is 10 and the project name is "sample".
composer create-project "laravel/laravel=10.*" sampleここまでで、http://localhost/にアクセスするとパーミッション系のエラーがでると思います。なので、一旦、コンテナからexitしてください。
Up to this point, when you access http://localhost/, you will probably get a permission-related error. Therefore, exit from the container once.
なぜ、エラーが出るのかは説明が面倒なのでしませんが、一旦、ホストのsrcフォルダまで移動して以下のコマンドを実行してください。
I won't explain why the error occurs because it's too troublesome to explain, but first move to the src folder on the host and execute the command below.
sudo chown -R www-data ./sample/storage
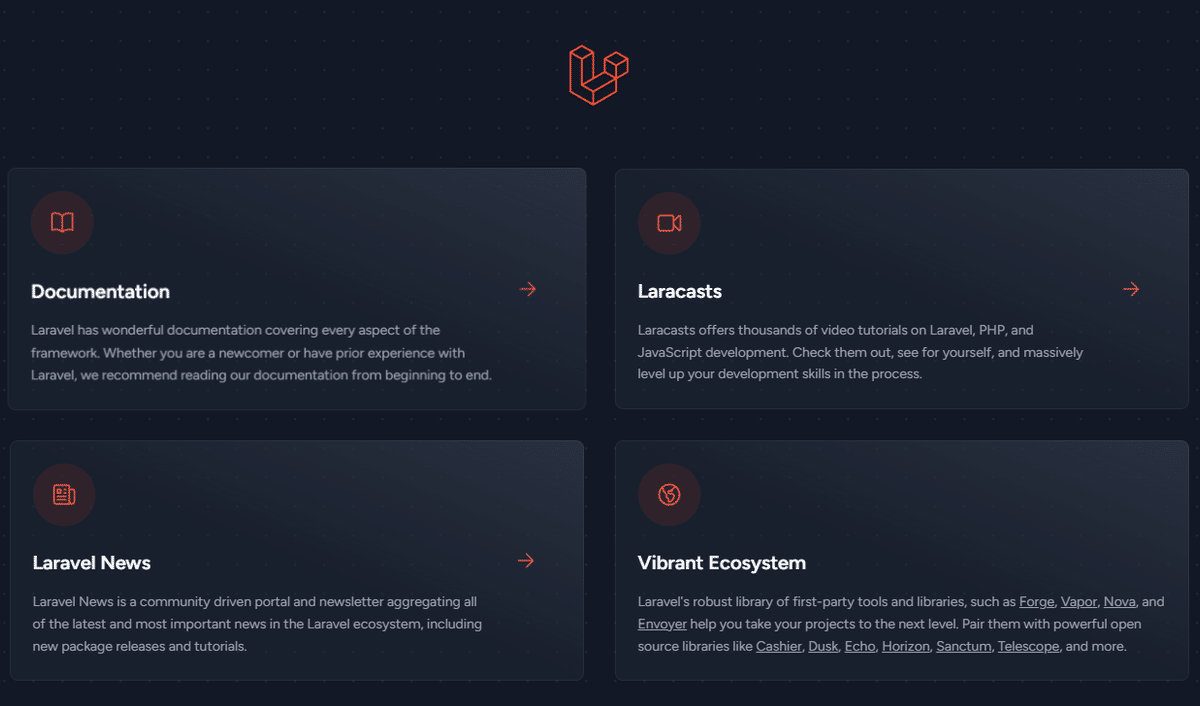
sudo chown -R www-data ./sample/bootstrap/cacheこれでエラーが解消されました。こんな感じのおなじみの画面が表示されるはずです。The error is now resolved. You should see a familiar screen like this.
breeze + React + Typescriptをinstall/Install Breeze + React + Typescript
くどいですが、一旦、docker-compose.ymlがある場所まで移動し、下記のコマンドを実行して、phpのコンテナに再度、入ります。
It's a bit tedious, but move to the location where docker-compose.yml is located, execute the command below, and rewrite it to the php container.
docker-compose exec php bashさっきプロジェクトを作成した際にできた、/var/www/sampleに移動して下記のコマンドを実行します。
Move to /var/www/sample, which was created when you created the project earlier, and run the following command.
composer require laravel/breeze --dev
php artisan breeze:install react --typescript
はいでは、次に、その場でインストールと実行をしてみましょう。
Now, let's install and run it.
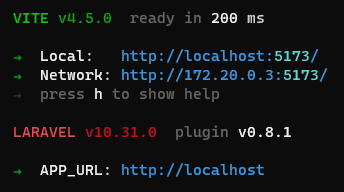
npm install && npm run dev実行すると下記のようなメッセージが表示されるのですが、たぶん、この通りにはならないです。そして、http://localhost/にアクセスしても、繋がらなかったり、真っ白な画面が表示されるでしょう。なぜなら、答えは簡単で、vite.config.jsを修正していないからです。
When you run it, the following message will be displayed, but it probably won't work this way. Then, even if you access http://localhost/, you will not be able to connect or will see a blank screen. Because the answer is simple, you haven't modified vite.config.js.
もとのvite.config.jsを下記の様に修正します。ファイルの場所は、プロジェクトのフォルダの直下にあります。
Modify the original vite.config.js as follows. The file location is directly under the project's folder.
src/sample/vite.config.js
import { defineConfig } from 'vite';
import laravel from 'laravel-vite-plugin';
import react from '@vitejs/plugin-react';
export default defineConfig({
    plugins: [
        laravel({
            input: 'resources/js/app.tsx',
            refresh: true,
        }),
        react(),
    ],
    server: {
        port: 5173,
        strictPort: true,
        host: true,
        hmr: {
            host: 'localhost',
        },
    },
});
おしまい
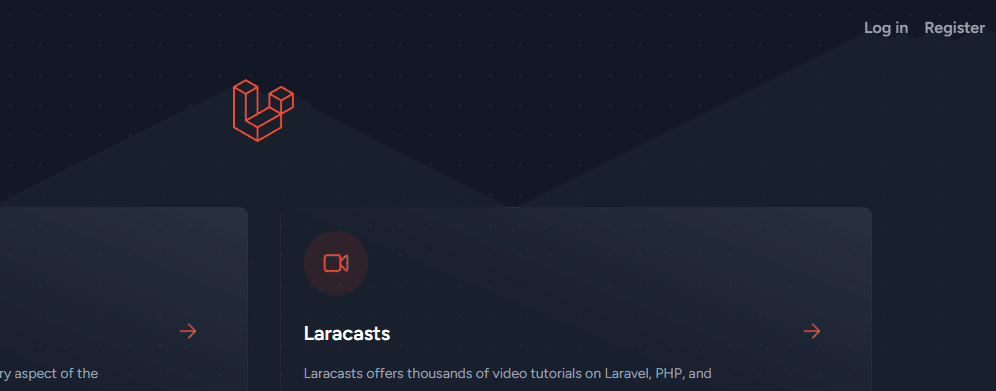
ここまでの作業が上手くいってると http://localhost/にアクセスすると右上にLog inとかRegisterとか、さっきは表示されてないリンクが表示されるようになります。
If everything has gone well so far, when you access http://localhost/, you will see links that were not displayed before, such as Log in and Register, in the upper right corner.
ちなみに、データベースの設定してないので、リンク先で登録ボタンおすとエラーになります。PHPStormを使ったxdebugの設定も終わってるので、次回、そこら辺と合わせてメモしよう。でわでわ、また、次回。
By the way, since the database has not been set up, an error will occur if you press the register button at the link destination. I've finished setting up xdebug using PHPStorm, so I'll take note of it next time. Well, see you next time.
参考にしたサイト/Sites referred to
この記事が気に入ったらサポートをしてみませんか?