共同プロジェクト 2日目

おはようございます。
一歩ずつ前に進みます。
GitHubディレクトリ
・ディレクトリ = フォルダ
・リポジトリ(倉庫)
・ワークツリー(vscode)
→ステージ(git add)
→ローカルリポジトリ(git commit)
→リモートリポジトリ(GitHub)

.githubディレクトリをリポジトリのルート、つまりプロジェクトの最上位ディレクトリに置くことで、GitHubがそれを認識して設定を行うことができます。
Issueテンプレートの設定
.github/ISSUE_TEMPLATE。
ルートに置いた.githubディレクトリの直下にISSUE_TEMPLATE ディレクトリを置く。
その下に.md、Markdown形式のファイルを置くとGitHubが読み取る。
この時.mdのファイル名は自由。
例 .github/ISSUE_TEMPLATE/feature_request.md
---
name: Feature request
about: Suggest an idea for this project
title: ''
labels: ''
assignees: ''

---

**Is your feature request related to a problem? Please describe.**
A clear and concise description of what the problem is. Ex. I'm always frustrated when [...]

**Describe the solution you'd like**
A clear and concise description of what you want to happen.

**Describe alternatives you've considered**
A clear and concise description of any alternative solutions or features you've considered.

**Additional context**
Add any other context or screenshots about the feature request here.
上記のコードはGitHubが提供しているデフォルトのテンプレート。

試しに、.githubディレクトリにISSUE_TEMPLATEディレクトリを作成し、test.mdを作成しようとしたら上にメッセージが。
Looks like this file is an issue template. Need help? Learn more about issue templates.
issue template作ろうとしてますね?リンクからissue templateの使い方を見てね、って言われました。要はうまく認識されたということですね。
このまま保存すると・・・

こうなりました!
マークダウン形式で書いたものが反映されてますね。
これがissueのテンプレートということなので、試しにissueを作ってみると・・・

このFeature requestというのが、先ほどテンプレートでコピペしたnameのとこですね。このままGet startedを押すと
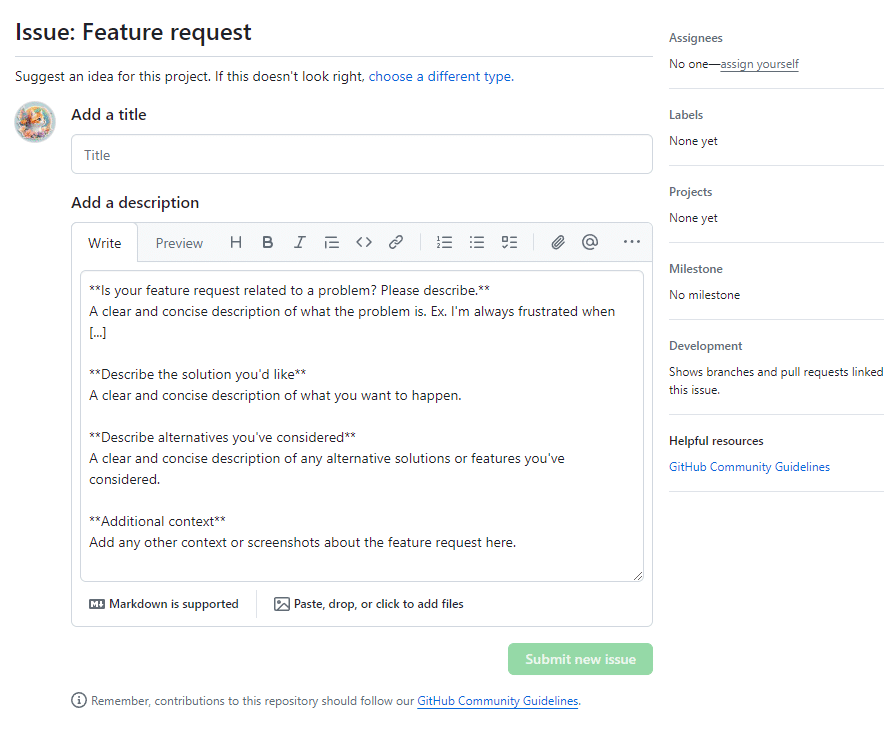
先ほどコピペした内容が出てきました。
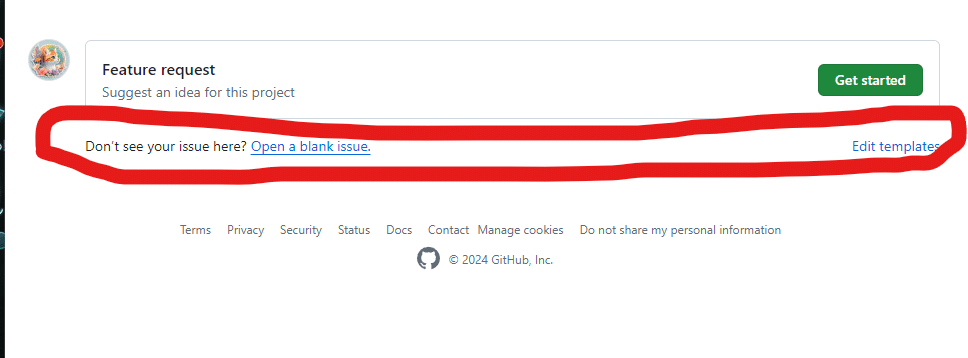
下のDon’t see your issue here? Open a blank issue.を押すと、

blankのissueが出てきました。
自分はなんとなく英語出来るからギリギリ出来ますがやっぱりGitHub難しすぎる・・・
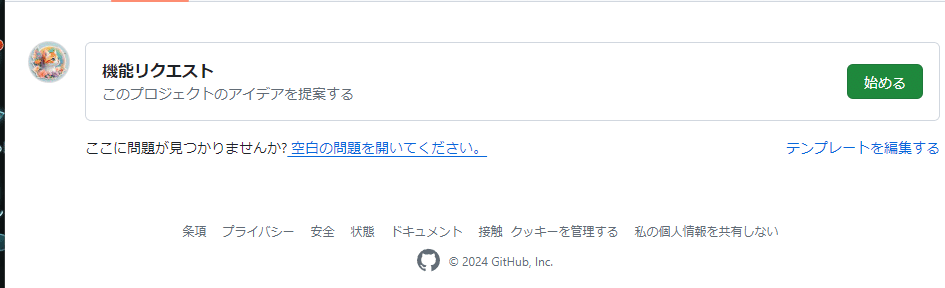
ちなみに日本語に翻訳するとこんな感じだから多分もっとわかりづらい。

そしてissueを作成するとこうなると。
テンプレートは
Is your feature request related to a problem? Please describe.
問題定義
例:私はいつも「…」にフラストレーションが溜まってます
Describe the solution you'd like
解決策
Describe alternatives you've considered
代替案(上記以外の解決策の提示)
Additional context
スクショや別のissueを参考に貼る
というものになっています。
これに沿ってISSUEを作ってね、というGitHub側のテンプレートということですね。
Pull Requestテンプレートの設定
・・・全部すっ飛ばしたい気分だけどここで飛ばしたらまたついていけない気がするので続けます。
Pull Requestのテンプレート設定には2種類のやり方があります。
Pull Requestテンプレートの設定①
.github/pull_request_template.md。
issue templateと違い、.githubディレクトリ直下にpull_request_template.mdという名前のファイルを置く必要がある。

Astro のドキュメント用リポジトリで使用されているテンプレート
<!-- Thank you for opening a PR! We really appreciate you taking the time to help out 🙌 -->

#### What kind of changes does this PR include?
<!-- Delete any that don’t apply -->

- Minor content fixes (broken links, typos, etc.)
- New or updated content
- Translated content
- Changes to the docs site code
- Something else!

#### Description

- Closes # <!-- Add an issue number if this PR will close it. -->
- What does this PR change? Give us a brief description.
- Did you change something visual? A before/after screenshot can be helpful.

<!-- Are these docs for an upcoming Astro release? -->
<!-- Uncomment the line below and fill in the future Astro version and link the relevant `withastro/astro` PR.  -->
<!-- #### For Astro version: `version`. See [Astro PR #](url). -->

<!--
Here’s what will happen next:

1. Our GitHub bots will run to check your changes.
   If they spot any broken links you will see some error messages on this PR.
   Don’t hesitate to ask any questions if you’re not sure what these mean!

2. In a few minutes, you’ll be able to see a preview of your changes on Netlify 🥳

3. One or more of our maintainers will take a look and may ask you to make changes.
   We try to be responsive, but don’t worry if this takes a day or two.
-->
ストップ!
Astroもわかりませんが、どうやってこのtemplateを確かめるかがわかりません。Pull Requestから勉強します。
Pull Request
pull requestとはローカルリポジトリの変更をほかの開発者に通知する機能。
pull request = PR = プルリク
vscodeでbranchを作ったりpushするのは昨日やったので、今日はGitHub上で作業してみます。

ブランチを作って、

プルリクしようとしましたが、差分がないと言われました。
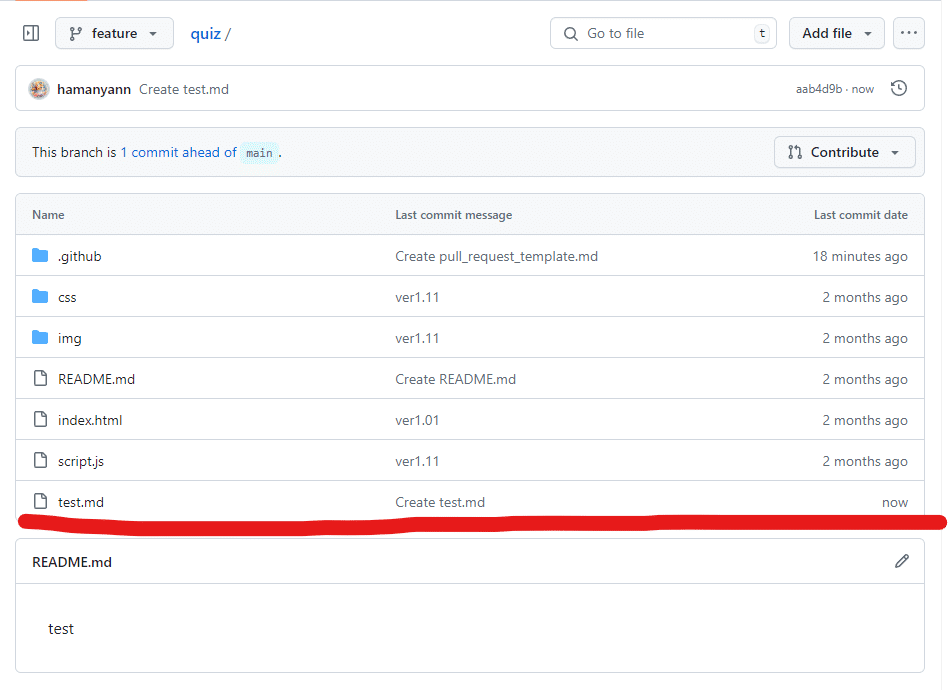
featureブランチに差分のtest.mdを作成して、
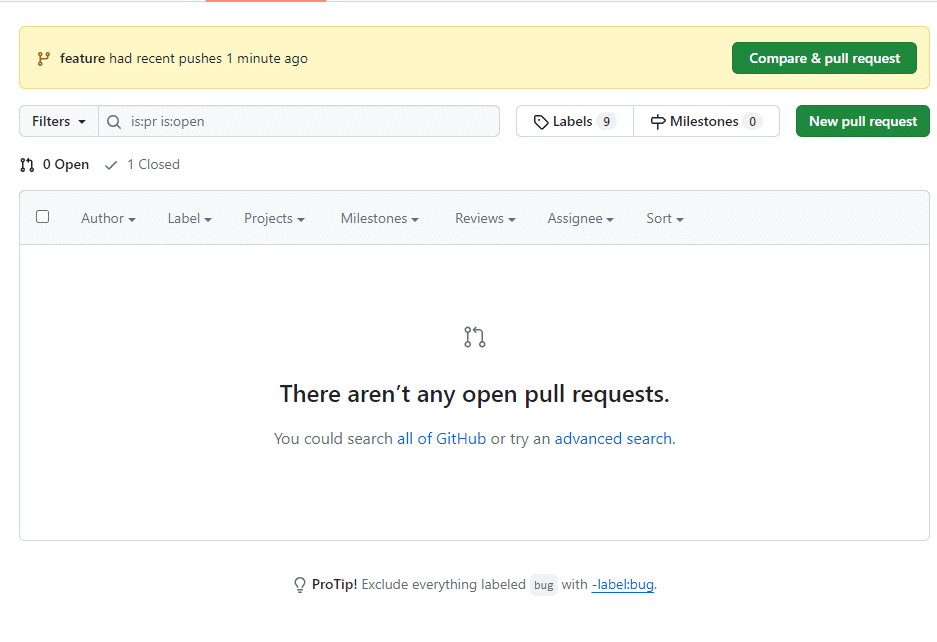
どっちだ・・・?
試したところ、New pull requestを押した場合、

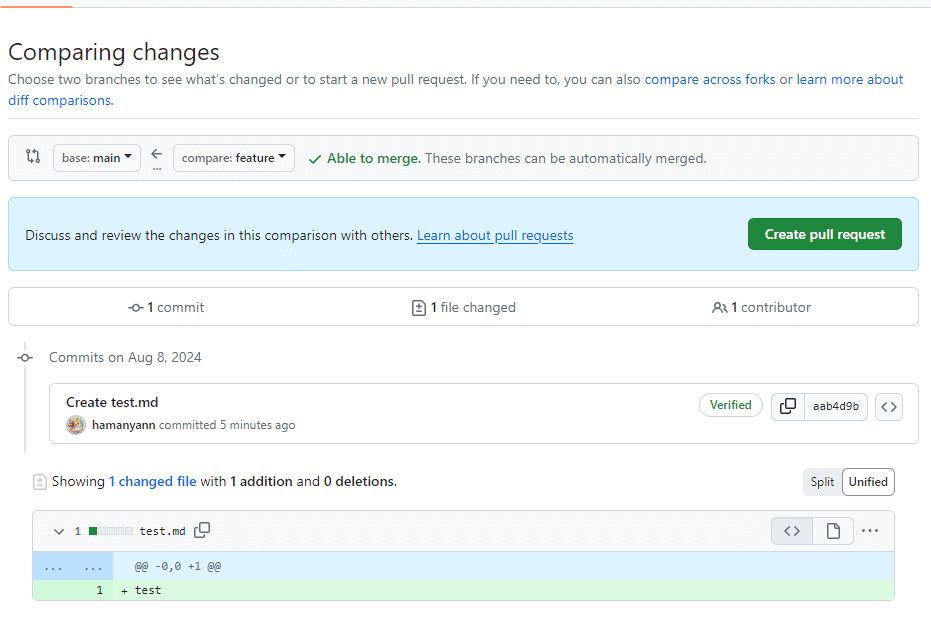
この2クッションを挟んで、
この画面に至りました。
compare & pull requestは直近のプルリクが表示されるショートカットのようですね。
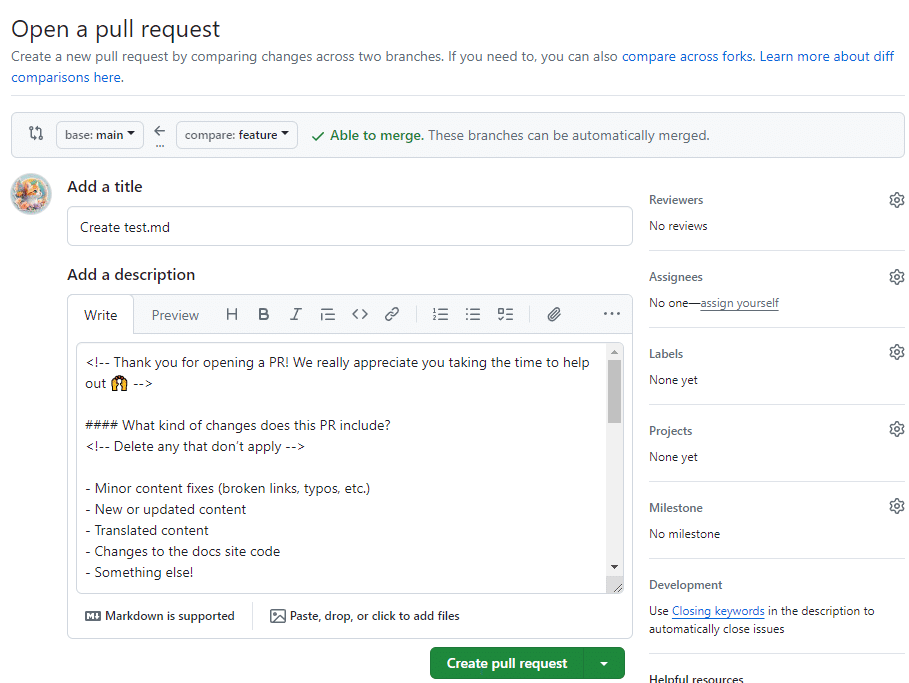
そして、この画面に初めから表示されている文字がpull_request_template.mdで作成したテンプレートですね。
Astroは調べてもいまいちよくわかりませんでしたが、今回のpull requestから外れるのでいったん忘れます。
とりあえずこれでpull requestのテンプレート設定が出来ました。
Pull Requestテンプレートの設定②
pull requestのテンプレート設定には別のやり方があります。
①ルートディレクトリに置く

ルートディレクトリ直置きでも反応します。
②複数のテンプレートを利用したい場合

.githubディレクトリにPULL_REQUEST_TEMPLATEを作成し、2つの.mdファイルを置いておく。
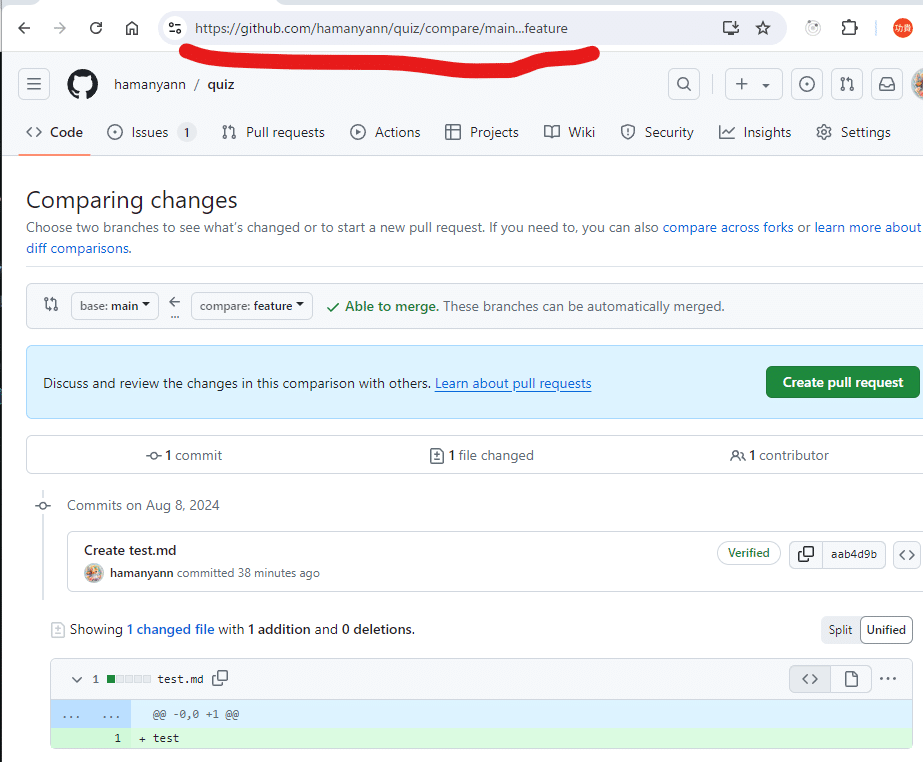
プルリク作成のURLの後ろに、?expand=1&template=test1.mdを付ける

選択したテンプレートが反映される。
めんどくさ!
作成したテンプレートの名前も覚えないダメ出しちょっと大変ですね、これは。
とりあえず複数テンプレートも無事に出来ました。
今日の進捗
今日は用事があったため午前中しかできませんでした。
早くGItHubマスターにならなくては・・・!
この記事が気に入ったらサポートをしてみませんか?