![見出し画像](https://assets.st-note.com/production/uploads/images/87769193/rectangle_large_type_2_1ac63ac957cbd5c06612c47455ea2166.jpeg?width=1200)
Unityで作った映像を動画で書き出す
▶︎事前に何かしらのシーンを作成する。
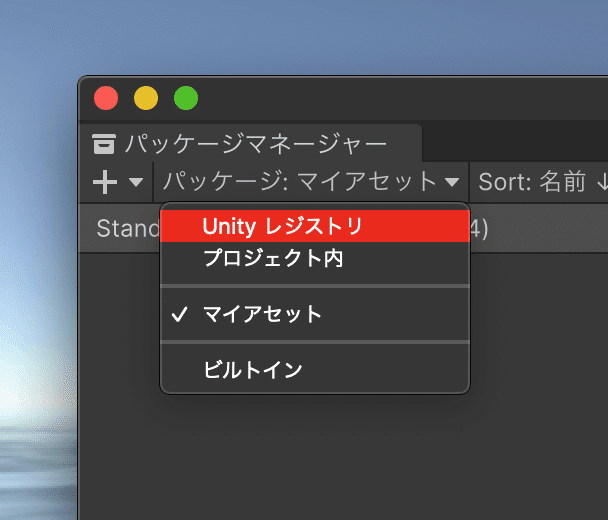
【レコーダーのインストール】
![](https://assets.st-note.com/img/1664266647708-CzXIXArOlW.png?width=1200)
![](https://assets.st-note.com/img/1664266705585-cwxj00V4Ua.png)
![](https://assets.st-note.com/img/1664266751742-hInzqgv0zw.png?width=1200)
出てきたら、右下の『インストール』
【動画の書き出し手順】
![](https://assets.st-note.com/img/1664266815963-wabQIgeUYu.png?width=1200)
ウィンドウ▶︎一般▶︎Recorder▶︎Recorder Windowで起動。
![](https://assets.st-note.com/img/1664266873788-0l5BeORP8Q.png?width=1200)
![](https://assets.st-note.com/img/1664266905510-rvQRR5NIEs.png?width=1200)
Source『Game View』にすると、
ゲームパネルで再生されている映像が録画される。
Output Resolution『出力解像度』
Media File Format『出力コーデック』
Quality『出力品質』
File Name『出力ファイル名』
パスの3点リーダーを押して『出力先』
設定完了したら『START RECORDING』と書かれた部分、
もしくは赤い再生ボタンを押す。
![](https://assets.st-note.com/img/1664267227147-3sunImFVKr.png?width=1200)
もしくは、ゲームパネルの再生ボタンを押す。
再生を停止させると同時に、動画ファイルが作成される。