【Unity】3Dローグライクゲームの作り方〜Step14-4〜

前回の記事はこちら。
前回はアイテムを売れるようにしました。
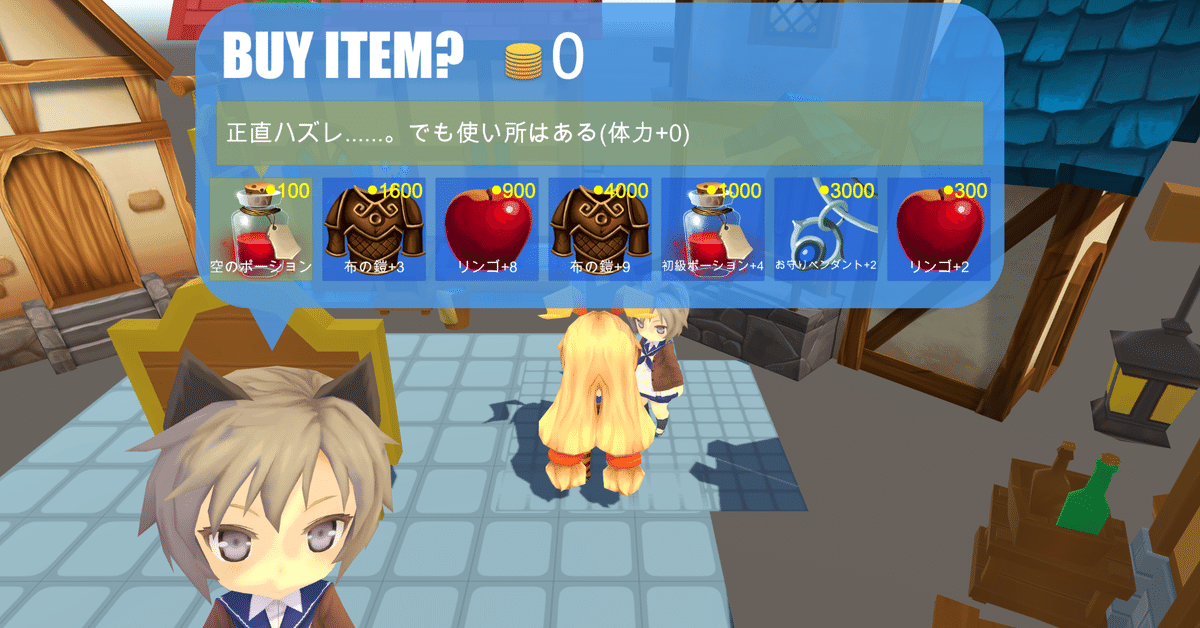
所持コインの表示
買う処理を実装する前に、所持コインをショップメニューに表示したいと思います。
まずテキストオブジェクトを所持コインの表示したい位置に配置します。
次にShopActionクラスに追記します。
// パラメーターを追記
public UnityEngine.UI.Text playerMoney;
// メソッド内に追記
private void ActBegin()
{
if (isCursorMoving)
{
/* 省略 */
}
if (selectItem == null)
{
/* 省略 */
}
else
{
/* 省略 */
}
// 以下1行を追記
playerMoney.text = playerInventory.GetComponent<ActorParamsController>().money + "";
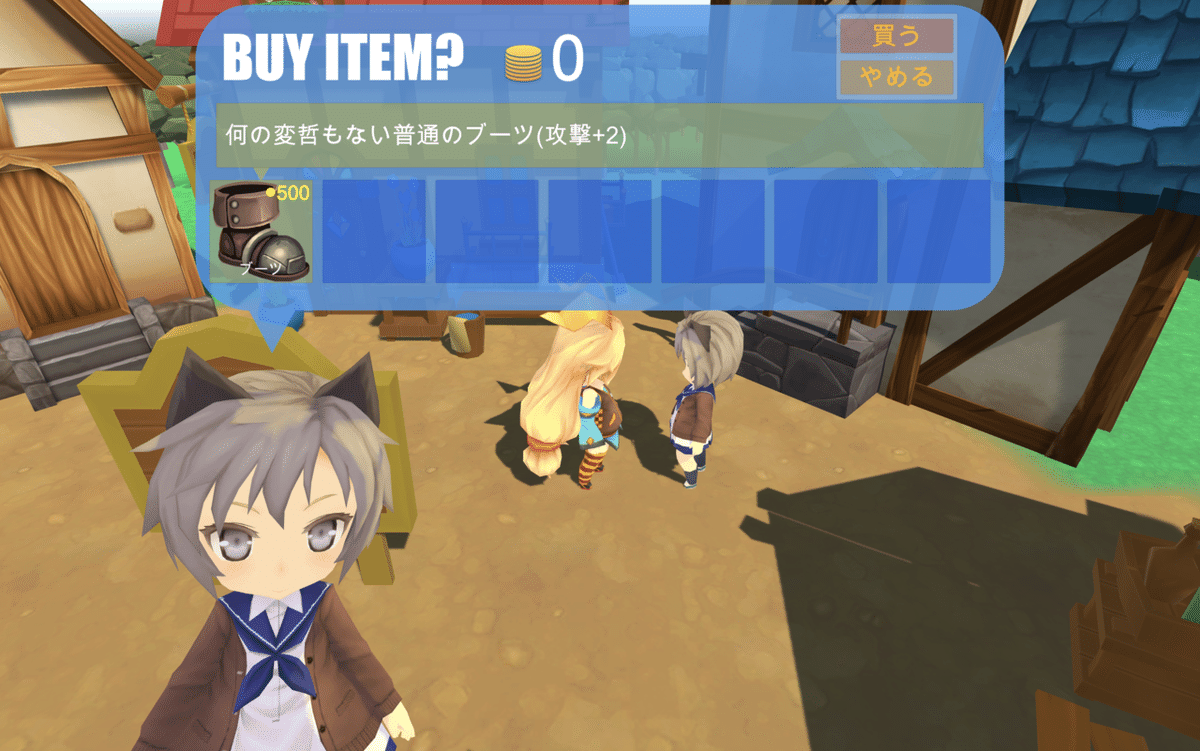
}実行してみます。
無事に表示されました。
アイテムを買う処理
準備が整ったところで、アイテムを買う処理を実装しましょうか。
ShopActionクラスを変更します。
private void Act()
{
if (subMenu.GetSelectItemMethod() == "Buy")
{
ActorParamsController param = playerInventory.GetComponent<ActorParamsController>();
if (param.money >= selectItem.price)
{
if (playerInventory.Add(selectItem))
{
param.money -= selectItem.price;
itemInventory.Remove(selectItem);
Message.Add(41, selectItem.name);
Message.Add(42, selectItem.price + "");
}
else Message.Add(44);
}
else Message.Add(43);
}
display.Show();
selectItem = null;
action = EAct.ActBegin;
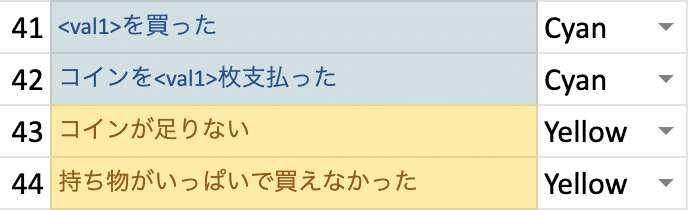
}今回追加したメッセージは以下の通りです。
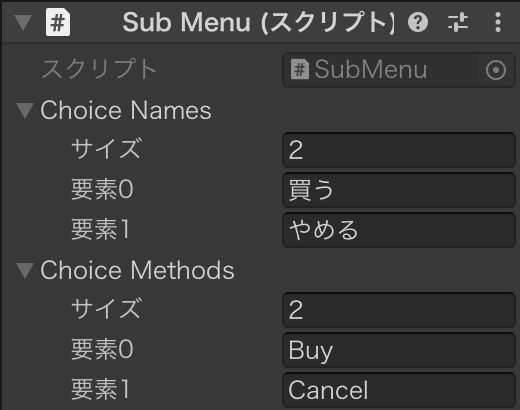
実行前にSub Menuコンポーネントの項目を以下のようにして下さい。
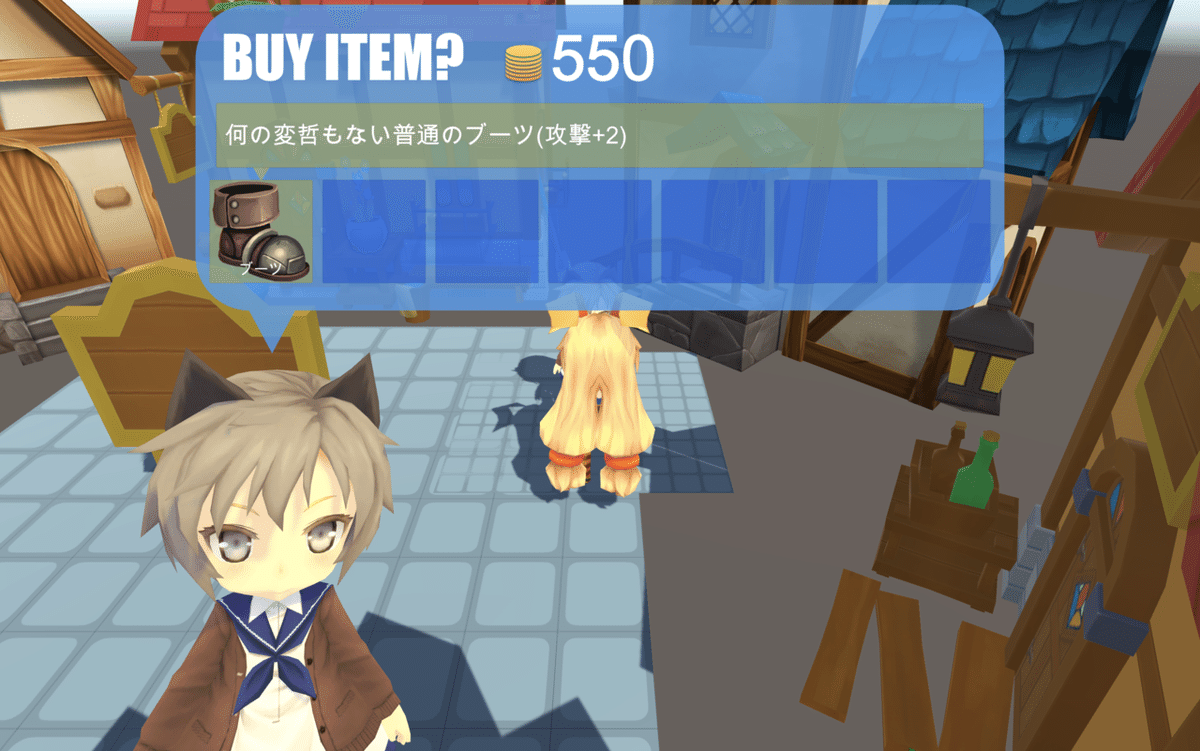
実行してみます。

魔石を売ったコインでブーツを買うことができました。
販売価格を表示
そうでした。販売価格を表示するのを忘れていました。
販売価格のテキストオブジェクトはItemSlotに入れ、プレハブに適用します。そしてItemSlotDisplayクラスを以下のように変更します。
public void Show(bool showPrice = false)
{
   maxShowItemNum = content.transform.childCount;
   for (int i = inventory.itemNumMax; i < maxShowItemNum; i++)
       content.transform.GetChild(i).gameObject.SetActive(false);
   footItem = inventory.GetFootItem();
   if (selectItemIndex == inventory.itemNumMax && footItem == null)
   {
       while (!MoveSelect(EDir.Right));
       while (!MoveSelect(EDir.Left)) ;
   }
   inventoryNum = (footItem == null ? 0 : 1) + inventory.itemNumMax;
   maxShowItemNum = maxShowItemNum > inventoryNum ? inventoryNum : maxShowItemNum;
   ShowItemInfo(showPrice);
   ShowItemDetail();
}

private void ShowItemInfo(bool showPrice = false)
{
   for (int i = 0; i < maxShowItemNum; i++)
   {
       Transform slot = content.transform.GetChild(i);
       slot.gameObject.SetActive(true);
       int idx = i + leadShowItemIndex;
       Item it = idx == inventory.itemNumMax ? footItem : inventory.Get(idx);
       if (it == null)
       {
           slot.GetComponentsInChildren<Text>()[0].text = "";
           if (showPrice) slot.GetComponentsInChildren<Text>()[1].text = "";
           slot.GetChild(0).gameObject.SetActive(false);
           slot.GetChild(3).gameObject.SetActive(false);
       }
       else
       {
           slot.GetComponentsInChildren<Text>()[0].text = it.name;
           if (showPrice) slot.GetComponentsInChildren<Text>()[1].text = "●" + it.price;
           slot.GetChild(0).gameObject.SetActive(true);
           slot.GetComponentsInChildren<Image>()[1].sprite = Resources.Load<Sprite>("Sprites/" + it.sprite);
           if (it.isEquip) slot.GetChild(3).gameObject.SetActive(true);
           else slot.GetChild(3).gameObject.SetActive(false);
       }
   }
}
次はShopActionクラスです。
private void Act()
{
if (subMenu.GetSelectItemMethod() == "Buy")
{
ActorParamsController param = playerInventory.GetComponent<ActorParamsController>();
if (param.money >= selectItem.price)
{
if (playerInventory.Add(selectItem))
{
param.money -= selectItem.price;
itemInventory.Remove(selectItem);
Message.Add(41, selectItem.name);
Message.Add(42, selectItem.price + "");
}
else Message.Add(44);
}
else Message.Add(43);
}
// 以下1行を変更
display.Show(true);
selectItem = null;
action = EAct.ActBegin;
}
private void MoveBegin()
{
isOpen = !isOpen;
if (isOpen)
{
// 以下1行を変更
display.Show(true);
gameObject.SetActive(true);
itemInventory.transform.LookAt(playerInventory.transform);
itemInventory.transform.GetChild(itemInventory.transform.childCount - 1).gameObject.SetActive(true);
}
action = EAct.Move;
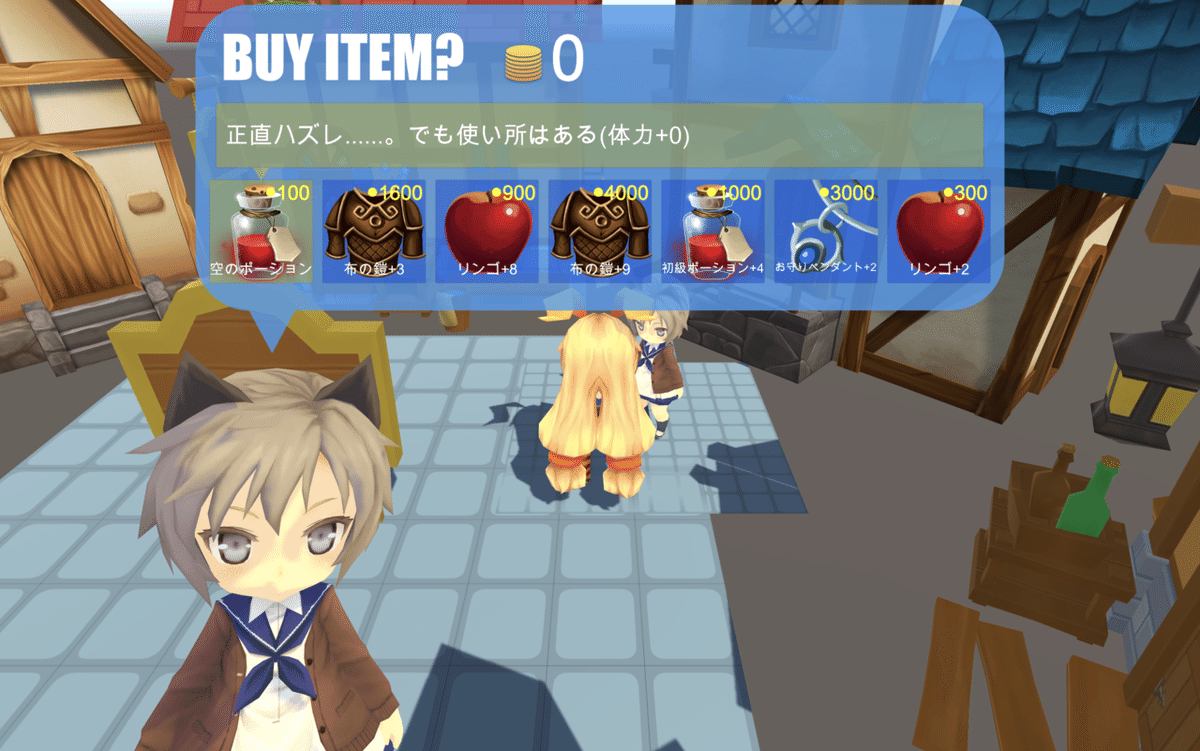
}実行してみます。
金額が表示されました。
ちなみにスロットをスクロールさせる時はMoveSelectメソッド内のShowメソッドにもtrueを渡す必要がありますが、今回は今の所関係ないので省略します。
販売アイテムをランダムにセットする
最後に販売アイテムをランダムにセットできるようにします。
まずExcelAppearDataクラスに以下を追記します。
/**
* アイテムIDに応じたアイテムを返す
* nameに「Random」が指定されていた場合はランダムなアイテムを返す
*/
public Item GetItem(ExcelItemData itemDatabase, string name, int floorNum, bool isShop = false)
{
   Item itemData;
   EItem itemId = EItem.NONE;
   if (name.Equals("Random"))
   {
       List<ItemAppearData> cItems =
           ItemAppear.FindAll(n => (isShop || !n.shoponly) && n.start <= floorNum && n.end >= floorNum);
       int maxRate = 0;
       foreach (var cItem in cItems) maxRate += cItem.rate;
       int p = Random.Range(1, maxRate + 1);
       foreach (var cItem in cItems)
       {
           p -= cItem.rate;
           if (p <= 0)
           {
               itemId = cItem.id;
               break;
           }
       }
   }
   else if (!System.Enum.TryParse(name, out itemId)) return null;
   if ((int)itemId > 1000) itemData = itemDatabase.Goods.Find(n => n.id == itemId).Get();
   else itemData = itemDatabase.Equipments.Find(n => n.id == itemId).Get();
   if (itemData == null) return null;
   itemData.SetExtParams(ItemPlusMax.Find(n => n.type == itemData.type),
       FloorPlusRate.Find(n => n.floor == floorNum));
   return itemData;
}
Fieldクラスから持ってきました。
ShopActionクラスに追記します。
// パラメーターを追加
public ExcelAppearData excelAppearData;

// メソッドを追加
/**
* 販売アイテムをランダムに設定する
*/
private void SetRandomItem()
{
   int floor = 1;
   ExcelItemData itemDatabase = Resources.Load<ExcelItemData>("Datas/ExcelItemData");
   Item it = excelAppearData.GetItem(itemDatabase, "Random", floor, true);
   while (itemInventory.Add(it))
   {
       it = excelAppearData.GetItem(itemDatabase, "Random", floor, true);
   }
}

private void Start()
{
   SetRandomItem();
   display.Show(true);
}
ついでにFieldクラスも変更して下さい。
// 以下を削除
private Item GetItem(string name);

// 以下に変更
private void SetChest(string name, int xgrid, int zgrid)
{
   /*   省略   */
   for (int i = 0; i < itemIds.Length; i++)
   {
       // 以下を変更
       Item itemData = appearDatabase.GetItem(itemDatabase, itemIds[i], floorNum);
       if (itemData == null) continue;
       chest.GetComponent<ItemInventory>().Add(itemData);
   }
}

private void SetItem(string name, int xgrid, int zgrid)
{
   // 以下を変更
   Item itemData = appearDatabase.GetItem(itemDatabase, name, floorNum);
   if (itemData == null) return;
   GameObject itemObj = (GameObject)Resources.Load("Prefabs/" + itemData.prefab);
   GameObject item = Instantiate(itemObj, items.transform);
   item.GetComponent<ItemMovement>().SetPosition(xgrid, zgrid);
   item.GetComponent<ItemParamsController>().SetParams(itemData);
}
ショップのインベントリを空にして実行してみます。
1Fで出現するアイテムが売られるようになりましたね。
もし他の階のアイテムを売って欲しいという時は、SetRandomItemメソッドの変数floorに1以上の値を指定するといいでしょう(ここの値はいずれゲーム進行度に置き換える予定です)。
また、shoponlyのアイテムを売って欲しくないという場合はGetItemメソッドに最後の引数を渡さないようにすればいいです(まあそんなことはほぼないでしょうが......)。
というところで、いつもより短いですが、キリがいいので今回はここまでにします。
次回はアイテム倉庫を実装したいと思います。
この記事が気に入ったらサポートをしてみませんか?