【Unity】3Dローグライクゲームの作り方〜Step11-11〜

前回の記事はこちら。
前回は1Fにもランダム生成ダンジョンが適用されるようにしました。
その場で足踏み
それでは足踏みを実装してみましょう。
ActorActionクラスとActorMovementクラスを変更します。
// ActorActionクラスにパラメーターを追記
public static int runSpeedRate = 1;

// ActorMovementクラスのメソッドに追記
public void Walk()
{
   animator.speed = ActorAction.runSpeedRate; // これを追記
   if (Move()) animator.SetFloat(hashSpeedPara, speed, speedDampTime, Time.deltaTime);
}

public EAct Walking()
{
   animator.speed = ActorAction.runSpeedRate; // これを追記
   animator.SetFloat(hashSpeedPara, speed, speedDampTime, Time.deltaTime);
   return Moving();
}

public void Stop()
{
   animator.speed = ActorAction.runSpeedRate; // これを追記
   if (animator.GetFloat(hashSpeedPara) > 0.0f)
       animator.SetFloat(hashSpeedPara, 0.0f, speedDampTime, Time.deltaTime);
}
ActorActionクラスに静的なパラメーターrunSpeedRateを追記しました。
静的なパラメーターは全てのキャラクターにとって共通の変数として使用することができます。ということはこの値一つを変えるだけで(メソッドを呼び出す必要はありますが)全てのキャラクターのアニメーション速度を同じように変更することができます。
ただアニメーション速度を変更するだけでは実際の歩く速度は変わらないので、ObjectMovementクラスも変更します。
// 以下のパラメーターとメソッドを削除
private float complementFrame = 0;
void Start();

// 以下のメソッドを変更
private Pos2D Move(Pos2D currentPos, Pos2D newPos, ref int frame)
{
   float complementFrame = maxPerFrame * 60 / ActorAction.runSpeedRate;
   float px1 = Field.ToWorldX(currentPos.x);
   float pz1 = Field.ToWorldZ(currentPos.z);
   float px2 = Field.ToWorldX(newPos.x);
   float pz2 = Field.ToWorldZ(newPos.z);
   frame += 1;
   float t = frame / complementFrame;
   float newX = px1 + (px2 - px1) * t;
   float newZ = pz1 + (pz2 - pz1) * t;
   transform.position = new Vector3(newX, 0, newZ);
   if (complementFrame <= frame)
   {
       frame = 0;
       transform.position = new Vector3(px2, 0, pz2);
       return newPos;
   }
   return currentPos;
}
同様に攻撃時も速度が速くなるようにします。
ActorAttackクラスに追記して下さい。
public void Attack()
{
   animator.SetTrigger(hashAttackPara);
   animator.speed = ActorAction.runSpeedRate; // これを追記
}

public EAct Attacking()
{
   time += Time.deltaTime * ActorAction.runSpeedRate;
   if (time > animationLength)
   {
       time = 0.0f;
       return EAct.ActEnd;
   }
   return EAct.Act;
}
最後にAキーが押されたら足踏みするようにします。
PlayerOperationクラスに追記して下さい。
public override EAct Operate(ActorMovement actorMovement, ActorParamsController actorParam)
{
   ActorAction.runSpeedRate = 1; // これを追記
   if (!Input.anyKey) return EAct.KeyInput;
   bool isConfusion = actorParam.IsConfusion();
   bool isParalysis = actorParam.CantAction();
   // 以下7行を追記
   if (Input.GetKey(KeyCode.A))
   {
       actorMovement.Stop();
       ActorAction.runSpeedRate = 3;
       return EAct.ActEnd;
   }
   if (Input.GetKey(KeyCode.Space))
   {
       /*   省略   */
   }
   EDir d = DirUtil.KeyToDir();
   if (d != EDir.Pause)
   {
       /*   省略   */
   }
   return EAct.KeyInput;
}
実行してみて、Aキーを押した時のみキャラクターが速く動くようになればOKです。
(オプション)メッセージも速く動かす
キャラクターの動きにメッセージがついてこれなくなってしまったので修正します。ただ、表示されない訳ではないので、そのままで良い方はそのままにしておいても構いません。
MessageAnimationクラスを以下のように変更します。
// パラメーターを追記
private static float deltaTime = 0;

// メソッドを変更
void Start()
{
   deltaTime = Time.deltaTime;
   prevPos = transform.position;
}

public bool MoveMessage(Vector3 p2, float maxPerFrame)
{
   isMoving = !isDeleting;
   frame += 1;
   float c = maxPerFrame / (deltaTime * ActorAction.runSpeedRate);
   float t = frame / c;
   transform.position = prevPos + (p2 - prevPos) * t;
   if (c <= frame)
   {
       /*   省略   */
   }
   return false;
}
Aキーを押した時、メッセージの動きが速くなればOKです。
その場で方向転換
次にその場で方向転換できるようにしてみます。
これは簡単です。PlayerOperationクラスのOperateメソッドを変更して下さい。
public override EAct Operate(ActorMovement actorMovement, ActorParamsController actorParam)
{
   ActorAction.runSpeedRate = 1;
   if (!Input.anyKey) return EAct.KeyInput;
   bool isConfusion = actorParam.IsConfusion();
   bool isParalysis = actorParam.CantAction();
   if (Input.GetKey(KeyCode.A))
   {
       /*   省略   */
   }
   // 以下7行を追記
   EDir d;
   if (Input.GetKey(KeyCode.C))
   {
       d = DirUtil.KeyToDir();
       if (d != EDir.Pause) actorMovement.SetDirection(d);
       return EAct.KeyInput;
   }
   if (Input.GetKey(KeyCode.Space))
   {
       /*   省略   */
   }
   d = DirUtil.KeyToDir(); // ここを変更
   if (d != EDir.Pause)
   {
       /*   省略   */
   }
   return EAct.KeyInput;
}
Cキーを押している状態で方向キーを押すとその場で向きを変更することができます。

ダッシュ
最後にダッシュ機能を実装したいと思います。
取り敢えず歩くスピードを上げてみましょうか。
public override EAct Operate(ActorMovement actorMovement, ActorParamsController actorParam)
{
   ActorAction.runSpeedRate = 1;
   if (!Input.anyKey) return EAct.KeyInput;
   bool isConfusion = actorParam.IsConfusion();
   bool isParalysis = actorParam.CantAction();
   if (Input.GetKey(KeyCode.A))
   {
       /*   省略   */
   }
   EDir d;
   if (Input.GetKey(KeyCode.C))
   {
       /*   省略   */
   }
   if (Input.GetKey(KeyCode.Space))
   {
       /*   省略   */
   }
   // 以下9行を追記
   if (Input.GetKey(KeyCode.RightShift) && !isParalysis && !isConfusion)
   {
       if (actorMovement.IsMoveBegin(actorMovement.direction))
       {
           ActorAction.runSpeedRate = 5;
           return EAct.MoveBegin;
       }
       return EAct.KeyInput;
   }
   d = DirUtil.KeyToDir();
   if (d != EDir.Pause)
   {
       /*   省略   */
   }
   return EAct.KeyInput;
}
これで実行してみます。右のシフトキーを押すと向いている方向にダッシュします。

余り速くなった感じがしませんね。これをもっと速くしてみましょう。
SequenceManagerクラスを以下のように変更して下さい。
// 従来のUpdateメソッドの名前を下記に変更
private void UpdateSequence();

// 以下のメソッドを追記
private void Update()
{
   for (int i = 0, end = ActorAction.runSpeedRate; i < end; i++)
       UpdateSequence();
}
runSpeedRateの値だけループを回すことで、その分だけ1フレームに行う処理を増やすことができます。すると1/60秒待つことなく処理されるので、結果的にシーケンスの処理が早くなります(ただこの方法はターン制の(FPSに左右されず、キー入力に厳密さがいらない)ローグライクだからこそできることであって、シューティングなどのアクション系ゲームには向いていません)。
実行してみます。
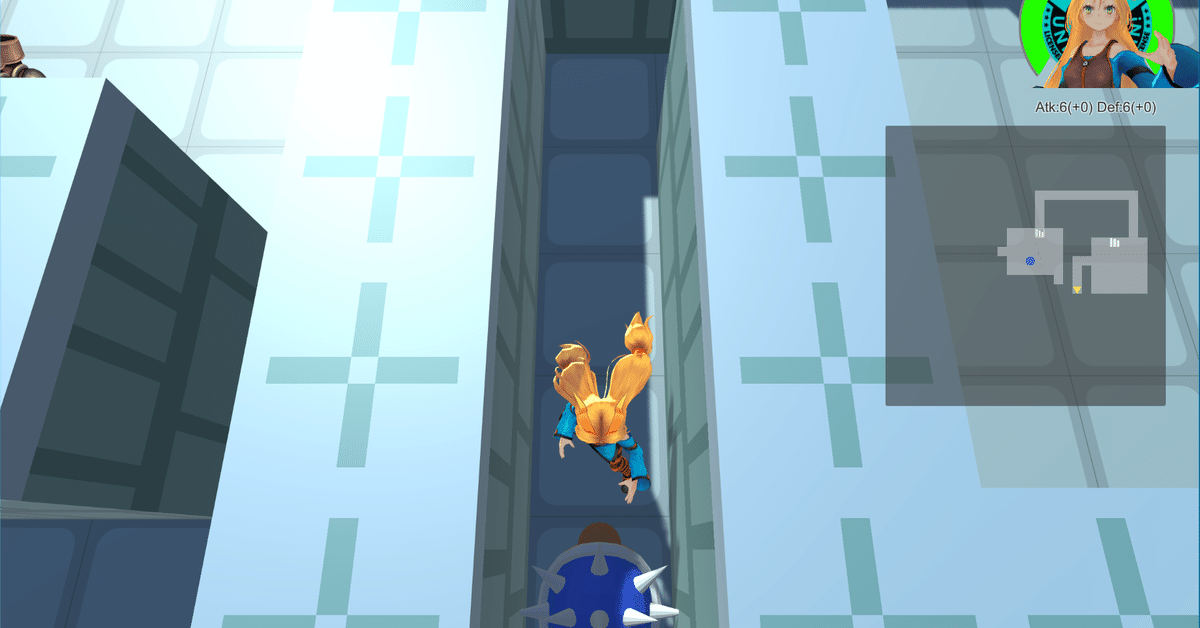
プレイヤーが素早く動くようになりました!
ただ、この方法だと敵がついてこれていないことがある(?)ようなので、ObjectMovementクラスを以下のように変更しました。
public bool Move()
{
   if (currentFrame > 0) return false;
   grid = Move(grid, newGrid, ref currentFrame);
   if (ActorAction.runSpeedRate > 3) grid = newGrid; // これを追記
   return true;
}
走った時は一気に目的地まで進むようにしています。
方向転換と足踏みはもっと早く実装すべきでした。すみません。
次回は+付きアイテムについて書く予定です。
この記事が気に入ったらサポートをしてみませんか?