【Unity】3Dローグライクゲームの作り方〜Step9&10-11〜

前回の記事はこちら。
前回は様々なサブメニューを表示できるようにしました。
壁に当たったら落ちる
さて、今回はアイテムを投げられるようにコードを書いていこうと思います。
アイテムを投げると壁に当たるまで飛んでいくのが普通です。まずはこの処理から作っていきましょう。
ItemMovementスクリプトを開いて下さい。以下のメソッドとパラメーターを追記します。
// 以下のパラメーターを追記
private bool isThrowing = false;

// 以下のメソッドを追記
/**
* 投擲する位置の設定
*/
public void SetThrowPosition(EDir d)
{
   Field field = GetComponentInParent<Field>();
   Pos2D pos = DirUtil.Move(field, grid, d);
   while (!newGrid.Equals(pos))
   {
       newGrid = pos;
       pos = DirUtil.Move(field, newGrid, d);
   }
}

/**
* 投擲中
*/
public bool Throwing(EDir d)
{
   if (!isThrowing)
   {
       SetThrowPosition(d);
       isThrowing = true;
   }
   if (Moving() == EAct.MoveEnd)
   {
       isThrowing = false;
       return true;
   }
   return false;
}
SetThrowPositionメソッドは障害物があるところまでループを回し、落ちる位置を算出しています。
次はActorUseItemsスクリプトを開きましょう。パラメーターを追加し、Throwメソッドを以下のように変更します。
// 次のパラメーターを追記
private GameObject usingItem = null;

// Throwメソッドの中身を以下に入れ替える
if (usingItem == null)
{
   Message.Add(13, it.name);
   GameObject items = GetComponentInParent<Field>().items;
   GameObject itemObj = (GameObject)Resources.Load("Prefabs/" + it.prefab);
   usingItem = Instantiate(itemObj, items.transform);
   usingItem.GetComponent<ItemMovement>().SetPosition(move.grid.x, move.grid.z);
   usingItem.GetComponent<ItemParamsController>().SetParams(it);
   inventory.Remove(it);
   return false;
}
if (usingItem.GetComponent<ItemMovement>().Throwing(move.direction))
{
   usingItem = null;
   return true;
}
return false;
ID13番にアイテムを投げた時のメッセージを追加しています。
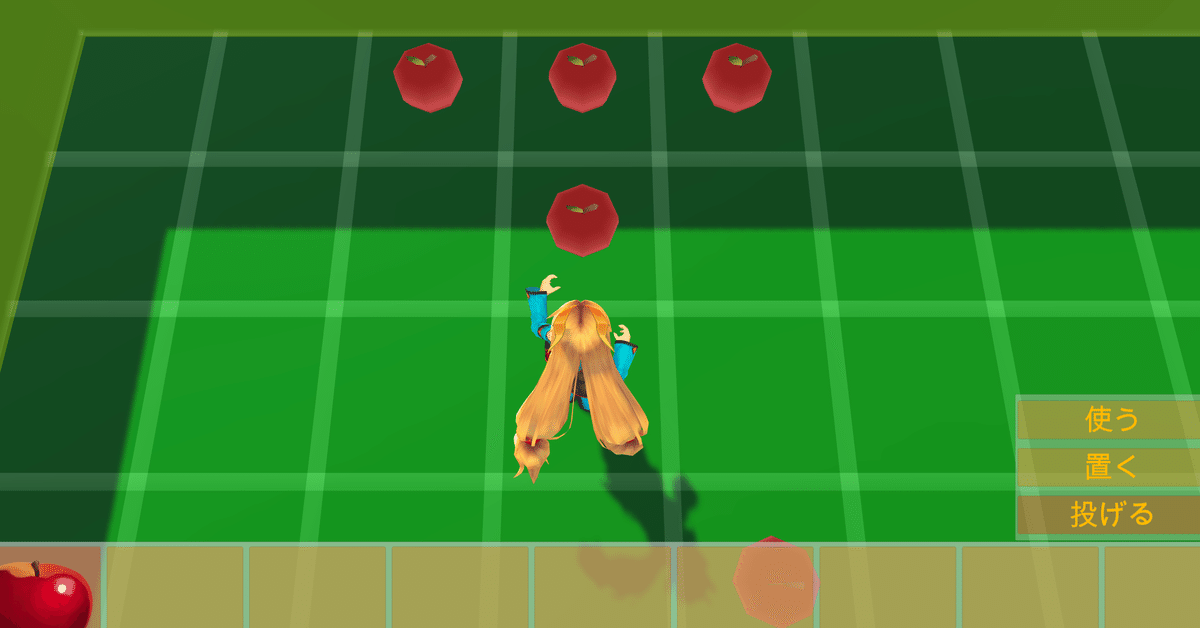
ビルドしたら、テストしてみましょう。アイテムを拾って、「投げる」を選択してみます。それで以下のようになればOKです。

一応、落下したアイテムが拾えるかどうかも確認しておきましょう。
落ちる場所にアイテムがあった場合の処理
それでは次に、落ちようとしている所に既にアイテムがあった場合の処理を考えます。この場合はその場所から上下左右4方向にアイテムがなければ、その場所に落ちるということにします。4方向とも埋まっていたら、投げたアイテムは削除されます。
やってみましょう。ItemMovementスクリプトを開いて、以下のように書き換えます。
// 以下のメソッドを追加
/**
* 落下できる場所を返す
*/
private Pos2D GetFallPosition(Pos2D pos)
{
   Field field = GetComponentInParent<Field>();
   if (field.GetExistItem(pos.x, pos.z) == null) return pos;
   foreach (EDir d in System.Enum.GetValues(typeof(EDir)))
   {
       if (d == EDir.Pause) continue;
       Pos2D newP = DirUtil.Move(field, pos, d);
       if (newP.Equals(pos)) continue;
       if (field.GetExistItem(newP.x, newP.z) == null) return newP;
   }
   return null;
}

// 以下のメソッドを変更
private void SetThrowPosition(EDir d)
{
   Field field = GetComponentInParent<Field>();
   Pos2D pos = DirUtil.Move(field, grid, d);
   while (!newGrid.Equals(pos))
   {
       newGrid = pos;
       pos = DirUtil.Move(field, newGrid, d);
   }
   pos = GetFallPosition(pos);
   if (pos != null) newGrid = pos;
}

public bool Throwing(EDir d)
{
   /*      省略      */
   if (Moving() == EAct.MoveEnd)
   {
       if (!gameObject.Equals(GetComponentInParent<Field>().GetExistItem(grid.x, grid.z)))
           Destroy(gameObject);
       isThrowing = false;
       return true;
   }
   return false;
}
テストしてみます。以下のようにアイテムが周囲に落ち、かつ周りに落ちるところがなければオブジェクト自体が削除されていたらOKです。

キャラクターがいる場合はアイテムを消滅させる
もしアイテムが落ちる先にキャラクターがいた場合は当たって消滅させないといけません。という訳でこの処理を作成していこうと思います。
まずDirUtilクラスのMoveメソッドを以下のように変更します。
   public static Pos2D Move(Field field, Pos2D position, EDir d, bool isCheckCharacter = true)
   {
       Pos2D newP = GetNewGrid(position, d);
       if (field.IsCollide(newP.x, newP.z) || (isCheckCharacter && field.GetExistActor(newP.x, newP.z) != null))
           return position;
       return newP;
   }
次にItemMovementクラスを以下のように変更して下さい。
// 以下のように変更する
private void SetThrowPosition(EDir d)
{
   Field field = GetComponentInParent<Field>();
   Pos2D pos = DirUtil.Move(field, grid, d);
   while (!newGrid.Equals(pos))
   {
       newGrid = pos;
       pos = DirUtil.Move(field, newGrid, d);
   }
   pos = DirUtil.Move(field, newGrid, d, false);
   pos = GetFallPosition(pos);
   if (pos != null) newGrid = pos;
}

private Pos2D GetFallPosition(Pos2D pos)
{
   Field field = GetComponentInParent<Field>();
   if (field.GetExistActor(pos.x, pos.z) != null) return pos;
   if (field.GetExistItem(pos.x, pos.z) == null) return pos;
   foreach (EDir d in System.Enum.GetValues(typeof(EDir)))
   {
       if (d == EDir.Pause) continue;
       Pos2D newP = DirUtil.Move(field, pos, d, false);
       if (newP.Equals(pos)) continue;
       if (field.GetExistActor(newP.x, newP.z) != null) return newP;
       if (field.GetExistItem(newP.x, newP.z) == null) return newP;
   }
   return null;
}

public bool Throwing(EDir d)
{
   /*     省略     */
   if (Moving() == EAct.MoveEnd)
   {
       Field field = GetComponentInParent<Field>();
       if (field.GetExistActor(grid.x, grid.z) != null)
           Destroy(gameObject);
       if (!gameObject.Equals(field.GetExistItem(grid.x, grid.z)))
           Destroy(gameObject);
       /*     省略     */
   }
   return false;
}
今回はアイテムが落ちていても、そこにキャラクターがいたらその場所に落ちて消えるようにしました。
テストしてみましょう。アイテムを投げた時、以下のように敵にぶつかったら消えるようであればOKです。

地面にあるアイテムを投げる
ここまできたら、後は簡単です。
ActorUseItemsスクリプトを開いて、PickUpThrowメソッドの中身を以下のように書き換えて下さい。
if (usingItem == null)
{
   Message.Add(13, it.name);
   usingItem = GetComponentInParent<Field>().GetExistItem(move.grid.x, move.grid.z);
   return false;
}
if (usingItem.GetComponent<ItemMovement>().Throwing(move.direction))
{
   usingItem = null;
   return true;
}
return false;
元々落ちていたアイテムオブジェクトを流用して動かしているだけです。
テストしてみましょう。アイテムスロットの数を0にして、以下のように地面のアイテムを投げられればOKです。

投げる処理がある程度完成したところで、今回はここまでにします。
次回はアイテムのデータファイルを作成していきたいと思います。
この記事が気に入ったらサポートをしてみませんか?