
GODOT Game engineでゲームを作ってみよう!(その2)

どうも僕です。
前回、GODOTを使って主人公キャラを歩かせました。
その続きをやっていこうと思います。
(本家のチュートリアルを参考に進めてます。
今回は敵の作成とゲーム編編シーンを進めます)
敵の作成
敵の素材
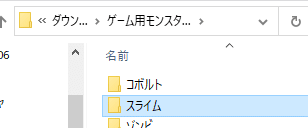
以下から、ありがたくキャラの画像を取得しました。
*上記からダウンロードするにはアカウントを作るべし!
スライムがあるのでこれを敵さんとして使おう!
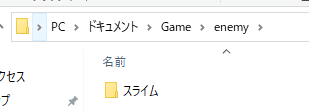
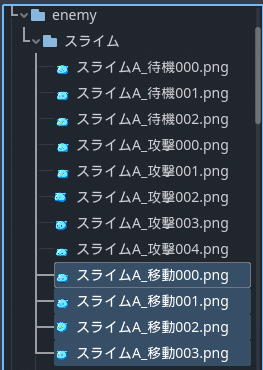
ドキュメントのプロジェクトフォルダの下に
敵さん用にenemyフォルダ(名前は何でもよし)を作り、
その中に上記のスライムの画像フォルダを配置しよう。
敵のシーン
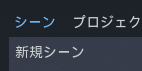
メニューの「シーン」>「新規シーン」をクリック。
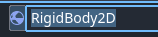
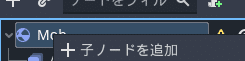
+をクリックして、

RigidBody2Dを子ノードとして追加。
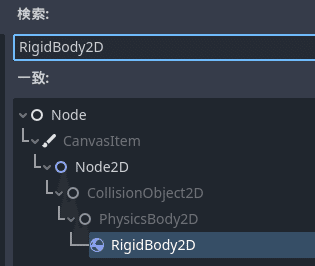
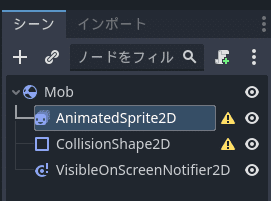
名前をMobに変える。

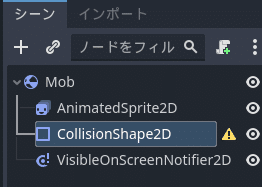
上記のMobの下に孫ノードとして、以下をそれぞれ追加しよう。
・AnimatedSprite2D
・CollisionShape2D
・VisibleOnScreenNotifier2D
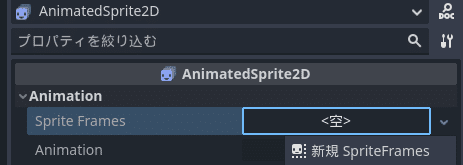
追加できたら、AnimatedSprite2Dを選択し、
右側のインスペクターのAnimationのSprite Framesの<空>をクリックし、
新規SpriteFramesを追加しよう。
もう一度「SpriteFrames」をクリックと、
中央にアニメーション/アニメーションフレームの欄が出てくる。
敵さんの画像をドラッグアンドドロップ。
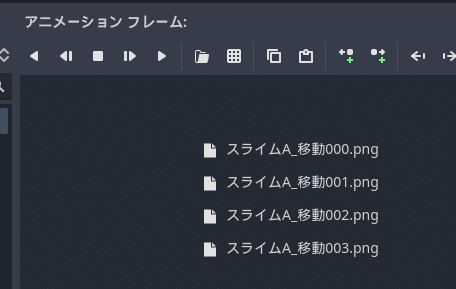
000~003へ並んでいれば、綺麗にアニメーションしてるよ。
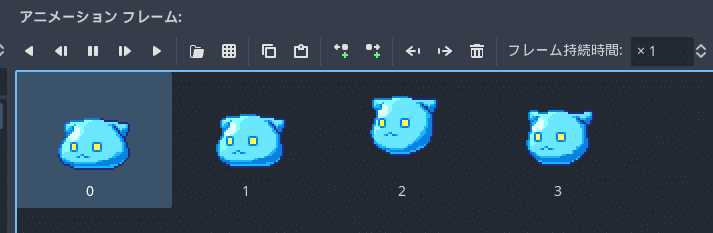
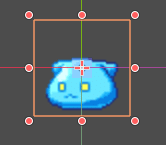
▶をクリックして敵さんアニメーションを確認しよう。
小さいので、TransformのScaleを2倍にしよう。
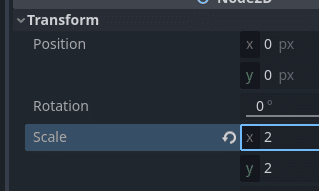
大きくなった。
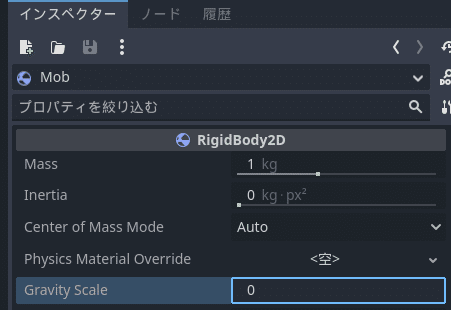
左側のシーン「Mob」をクリックし、
右側のインスペクターのRigidBody2Dの中の
Gravity Scaleの1を0へ
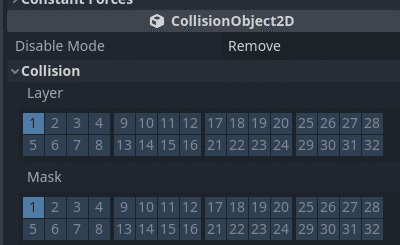
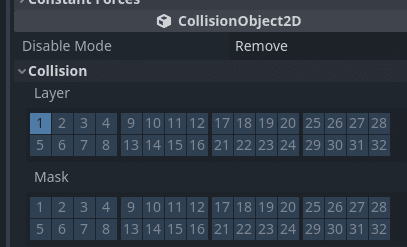
右側のインスペクターのCollisionObject2Dの中の
CollisionのMaskを外す。(何の数字も選択されていない状態に)
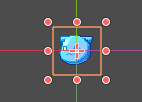
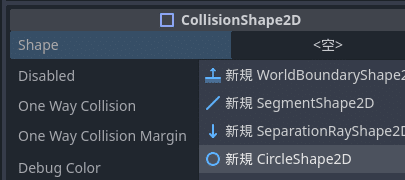
左側の「CollisionShape2D」をクリックし、
右側のインスペクターのCollisionShape2DのShapeの空をクリックし、
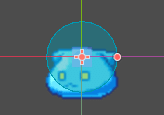
CircleShape2Dを選択しよう。(*スライムが丸いのでねw)
当たり判定の丸の大きさをマウスで調節しよう。
(小さい赤丸をクリックして引っ張る)
はみ出るけど気にしないwww
一旦、敵さん完成。

セーブしておこう。(Ctrl+Sキーね)
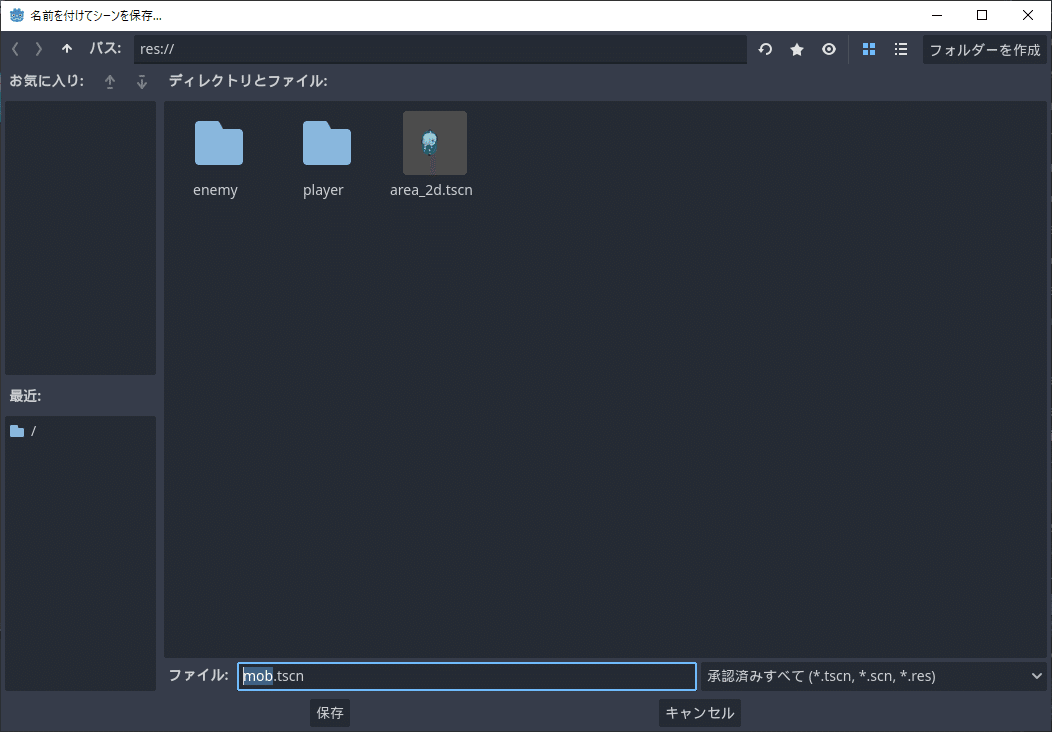
mob.tscnでOKね。保存しておこう。
敵のスクリプト
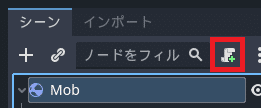
Mobを選択し、巻物みたいなアイコンをクリックして
スクリプトを追加しよう。
作成をクリック。
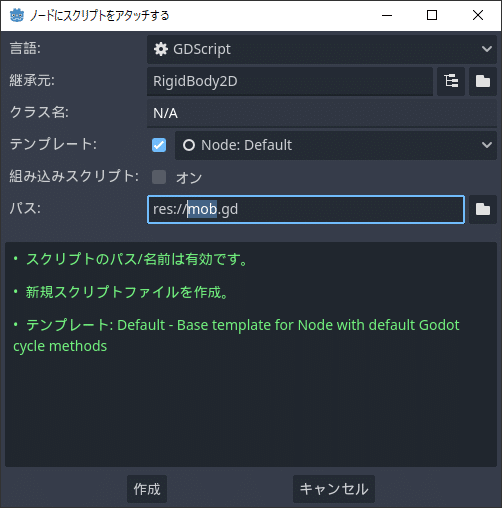
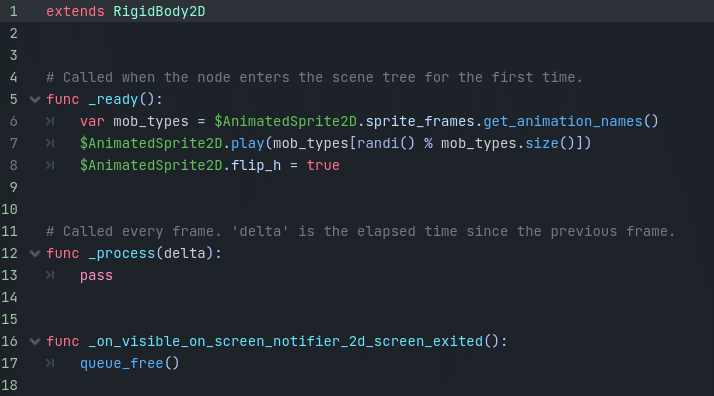
以下でスクリプトを書き換えよう。
extends RigidBody2D


# Called when the node enters the scene tree for the first time.
func _ready():
	var mob_types = $AnimatedSprite2D.sprite_frames.get_animation_names()
	$AnimatedSprite2D.play(mob_types[randi() % mob_types.size()])
	$AnimatedSprite2D.flip_h = true


# Called every frame. 'delta' is the elapsed time since the previous frame.
func _process(delta):
	pass


func _on_visible_on_screen_notifier_2d_screen_exited():
	queue_free()
ゲーム本編シーン
メニューのシーン>新規シーンを選択する。
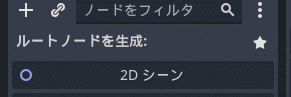
2Dシーンを選択。
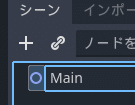
名前を"Main"に変更する。
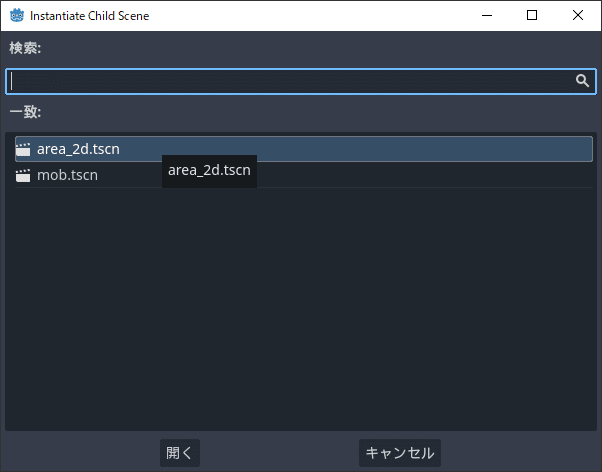
主人公シーン"area_2d"を子ノードとしてぶら下げよう。
インスタンスアイコンをクリック。
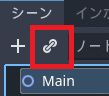
area_2d.tscnを選択し、開くをぽちー。
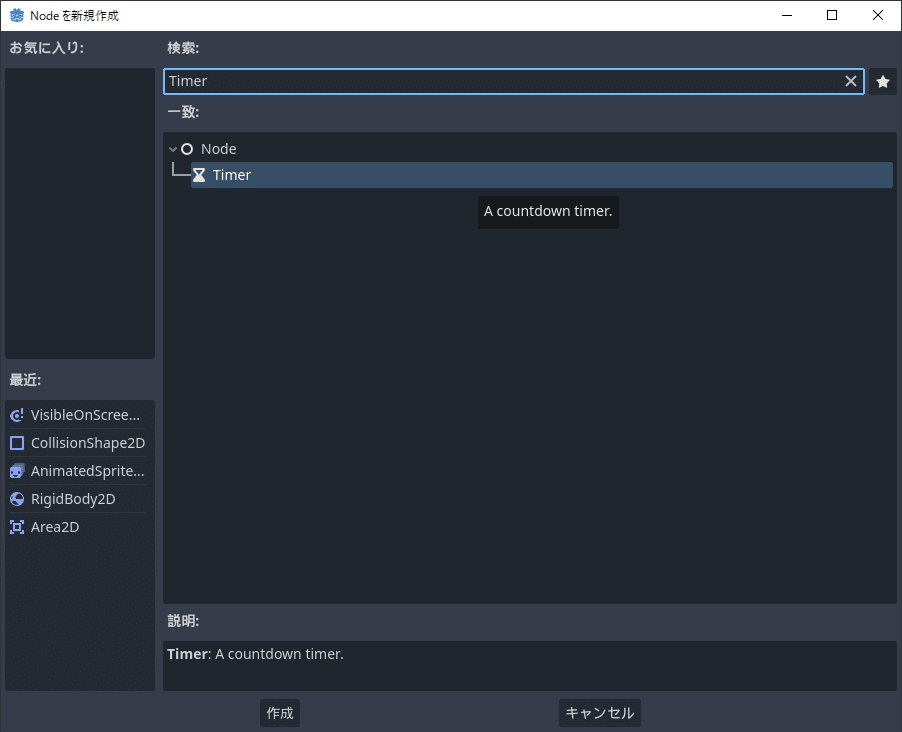
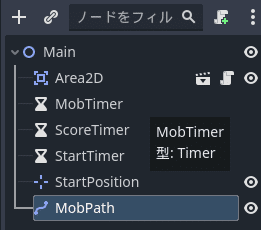
Mainを選択して、
+をクリックし、タイマー×3つ追加。

Timerで絞り、作成ボタンをぽちー。
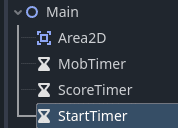
Mainの直下に3つTimer追加したら、下記のようにリネームしよう。
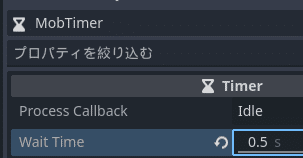
・タイマー”MobTimer”
・タイマー”ScoreTimer”
・タイマー”StartTimer”
各タイマーを選択し、右側インスペクターのWait Timeを変更しよう。
・MobTimer:0.5
・ScoreTimer:1
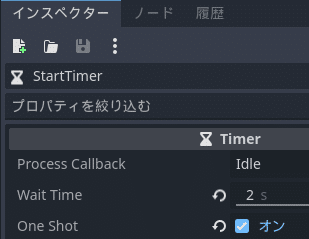
・StartTimer:2
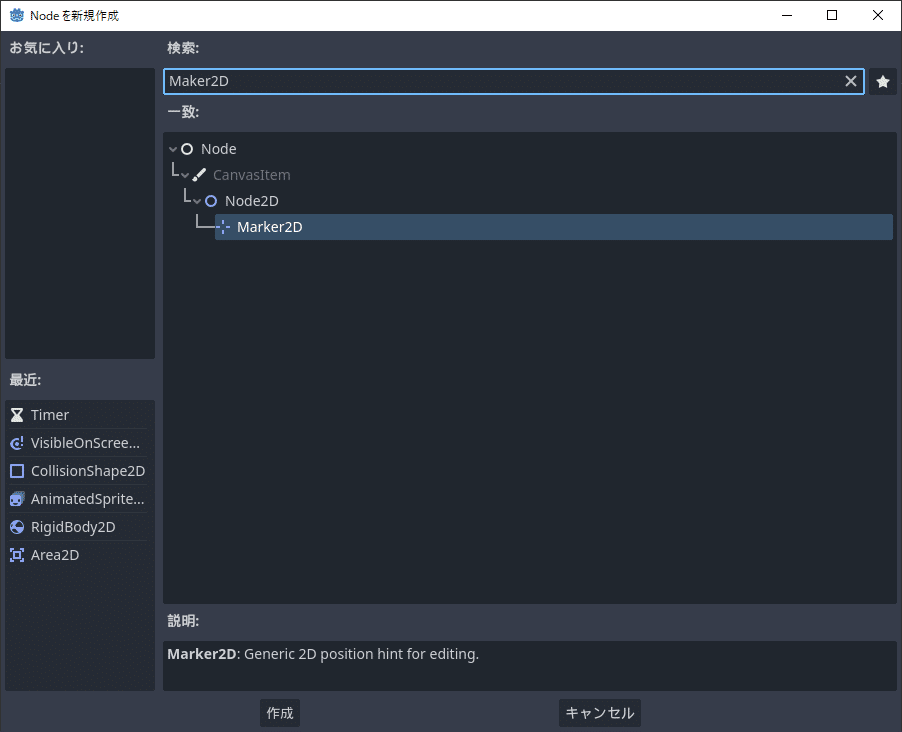
さらにMainシーンの下に、Maker2Dノードを追加しよう。
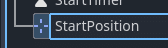
名前は"StartPosition"で。
タイマーのStartTimerを選択し、
右側インスペクターのOne Shotにチェックを入れる。
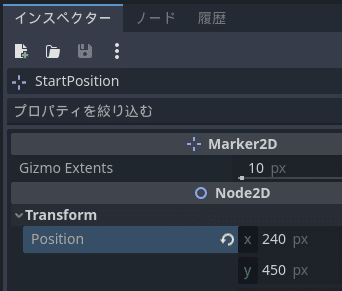
ノードのStartPositionを選択し、
右側インスペクターのTransform>Positionのxとyに
240と 450をセット。
スポーンモブ
さらにMainの下にノードを追加します。
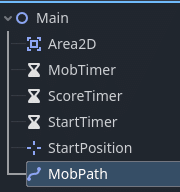
Mainを選択し、+をクリックしよう。

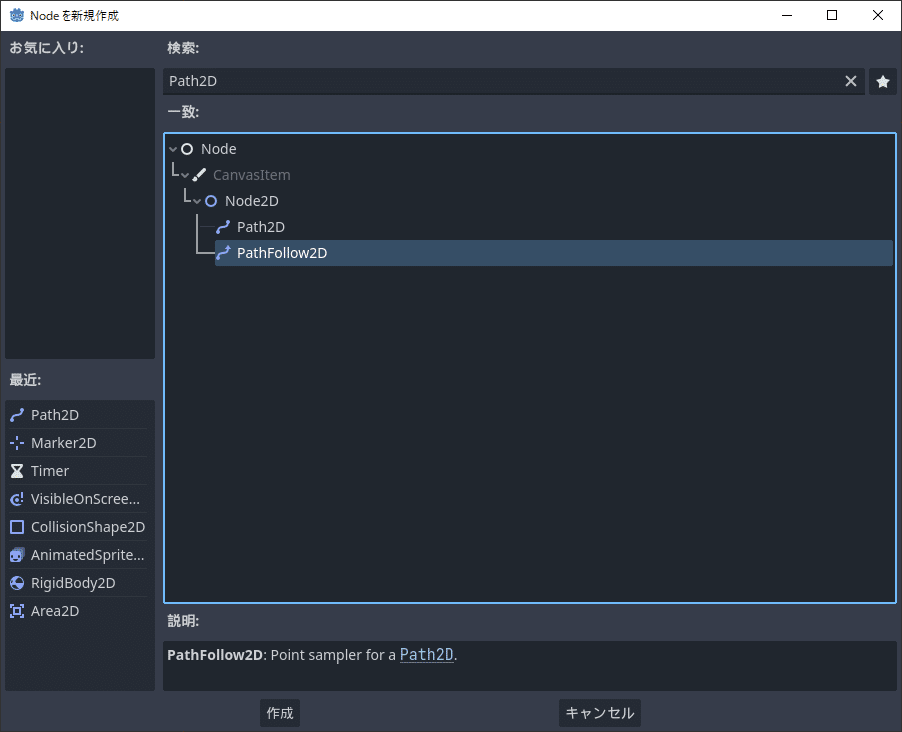
Path2Dで検索し、「Path2D」を選択し、作成をクリックする。
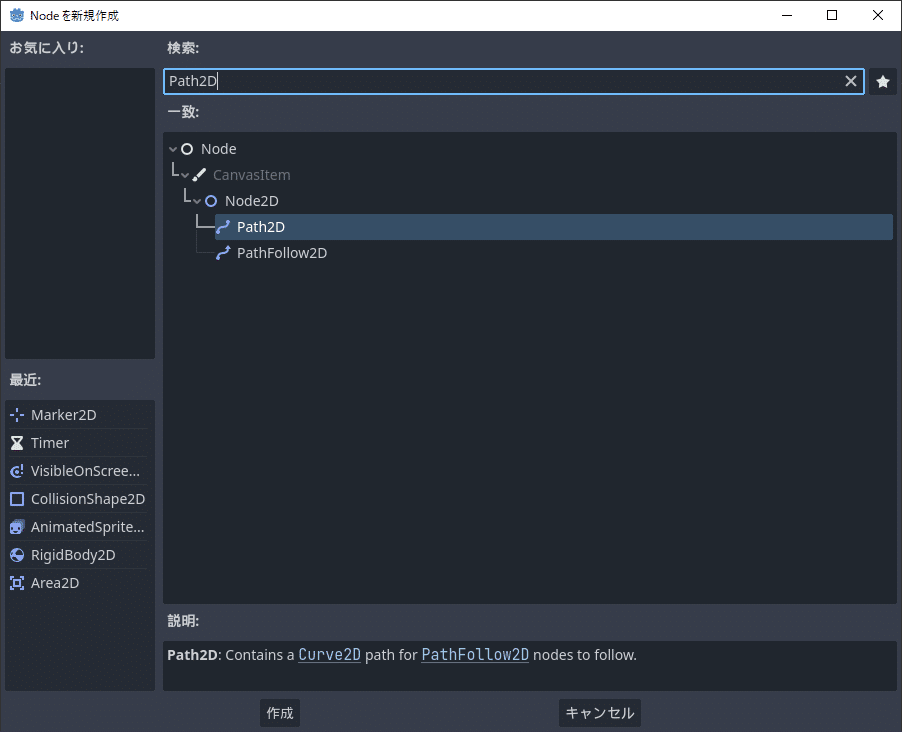
名前はMobPathにしよう。
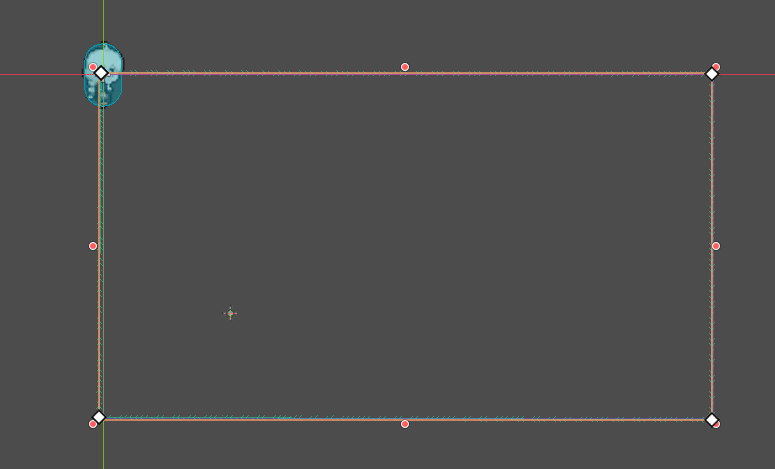
MobPathを選択し、下記の通りに枠を組もう。

「点を空きスペースに追加」アイコンをクリックしてから、
四隅をクリック(左上、右上、右下、左下)し、
最後に「曲線を閉じる」アイコンをクリックする。
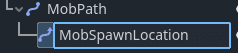
MobPathの下にPathFollow2Dノードを追加する。
MobPathを選択して+をクリックする。
PathFollow2Dを選んで、作成をぽちー。
"MobSpawnLocation"って名前に変更しよう。
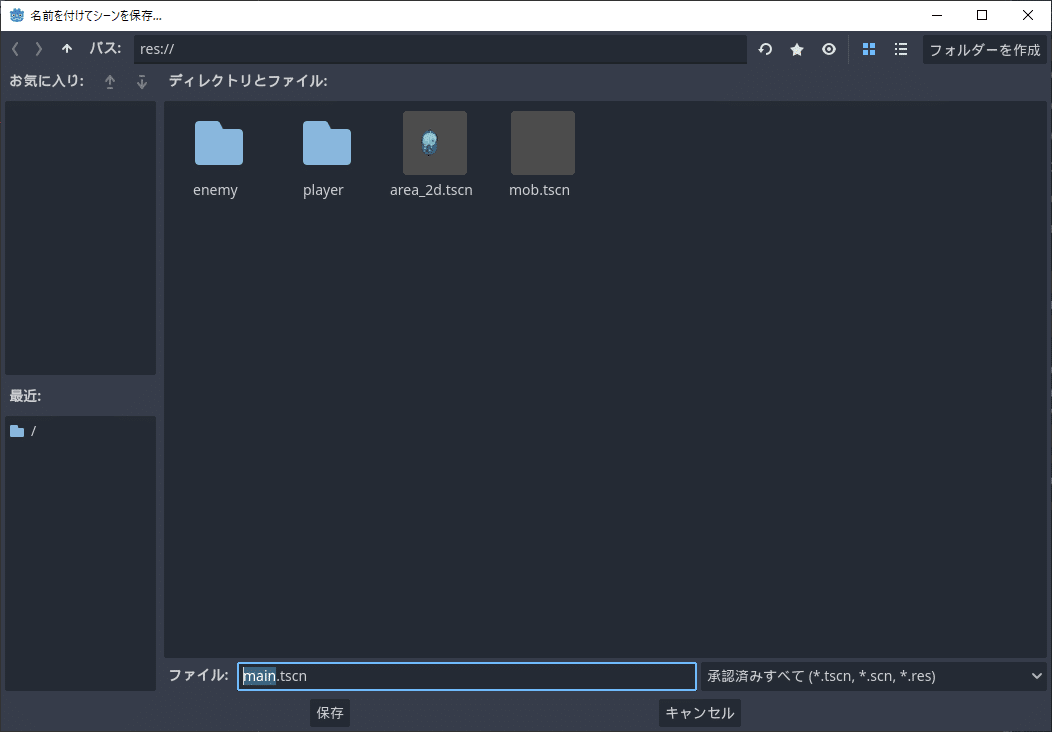
ここで一旦保存しよう。(Ctrl+Sキーね)
main.tscnの名前で保存する。
メインスクリプト
Mainを選択して、巻物みたいなアイコンをクリックして
スクリプトを追加しよう。
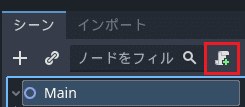
作成をぽちー。
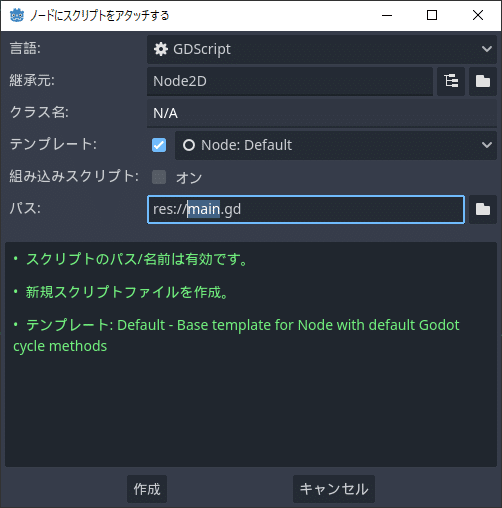
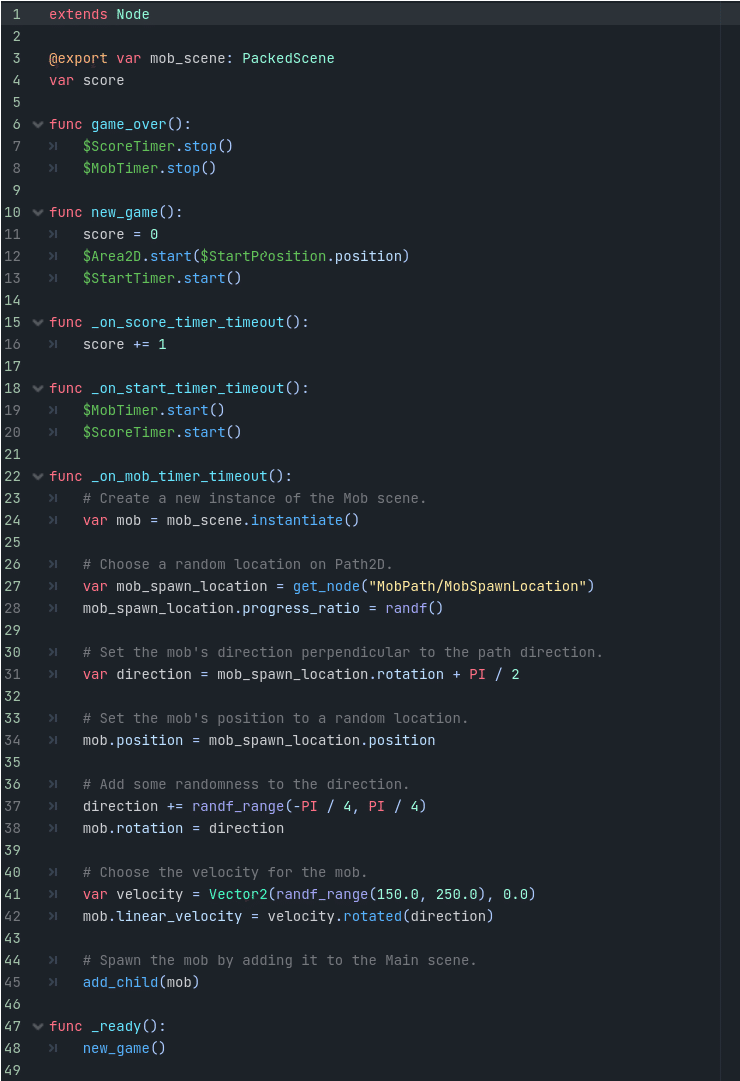
以下のスクリプトに書き換える。
extends Node

@export var mob_scene: PackedScene
var score

func game_over():
	$ScoreTimer.stop()
	$MobTimer.stop()

func new_game():
	score = 0
	$Area2D.start($StartPosition.position)
	$StartTimer.start()

func _on_score_timer_timeout():
	score += 1

func _on_start_timer_timeout():
	$MobTimer.start()
	$ScoreTimer.start()

func _on_mob_timer_timeout():
	# Create a new instance of the Mob scene.
	var mob = mob_scene.instantiate()

	# Choose a random location on Path2D.
	var mob_spawn_location = get_node("MobPath/MobSpawnLocation")
	mob_spawn_location.progress_ratio = randf()

	# Set the mob's direction perpendicular to the path direction.
	var direction = mob_spawn_location.rotation + PI / 2

	# Set the mob's position to a random location.
	mob.position = mob_spawn_location.position

	# Add some randomness to the direction.
	direction += randf_range(-PI / 4, PI / 4)
	mob.rotation = direction

	# Choose the velocity for the mob.
	var velocity = Vector2(randf_range(150.0, 250.0), 0.0)
	mob.linear_velocity = velocity.rotated(direction)

	# Spawn the mob by adding it to the Main scene.
	add_child(mob)

func _ready():
	new_game()
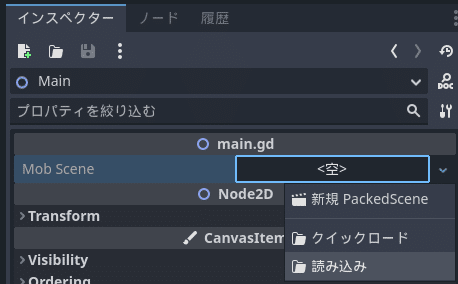
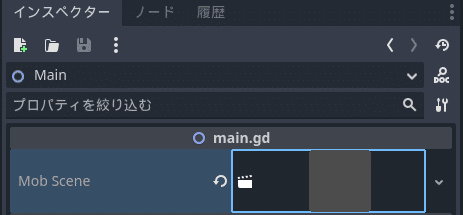
mob_scene変数にMobシーンを紐づけよう。
左側シーンのMainをクリックし、
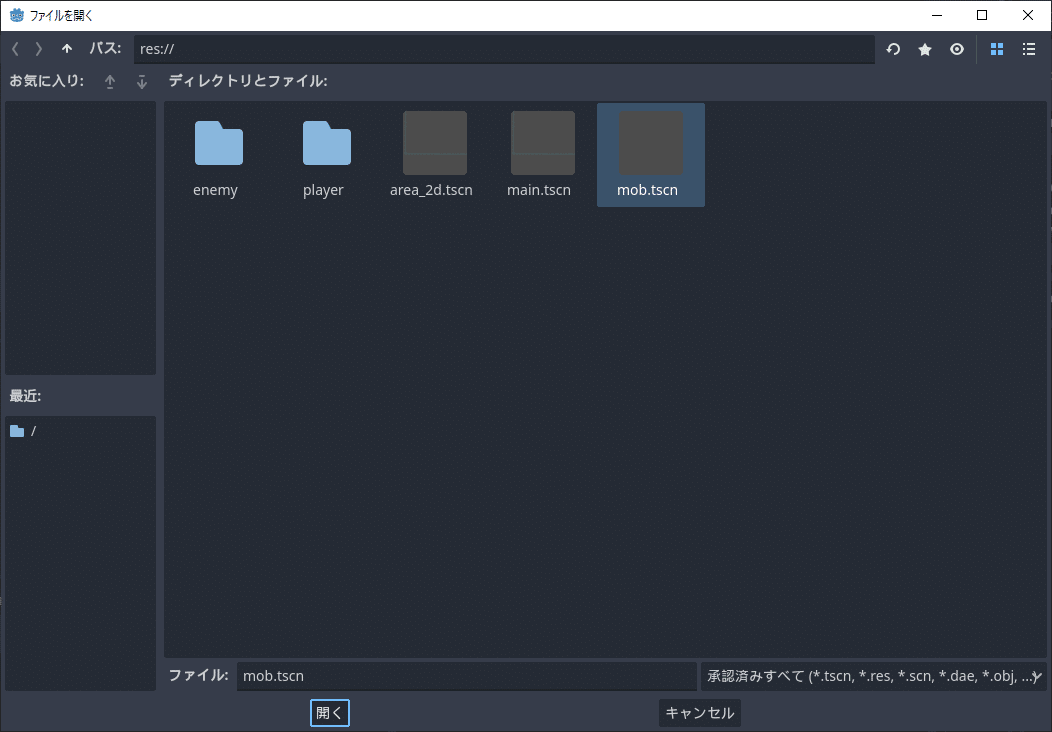
右側インスペクタの「Mob Scene」の<空>をクリックして
「読み込み」を選択しよう。
mob.tscnを選択して、開くをぽちー。
Mod Scene変数にMobシーンが紐づけられた。
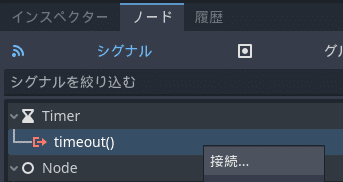
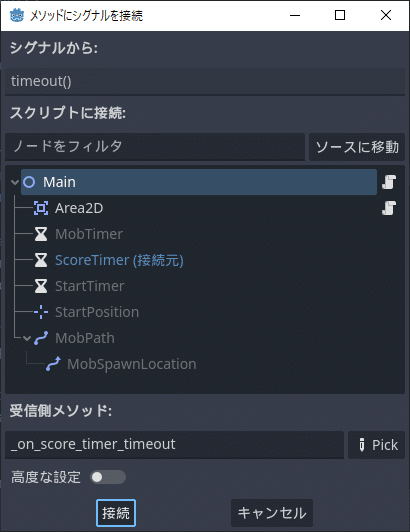
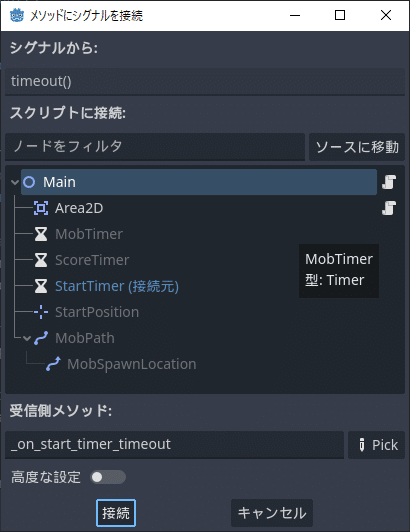
各タイマーのシグナルをスクリプトと結びつけよう。
左側ノードのModTimerをクリックし、
右側ノードのシグナルのTimerのtimeout()を右クリックして
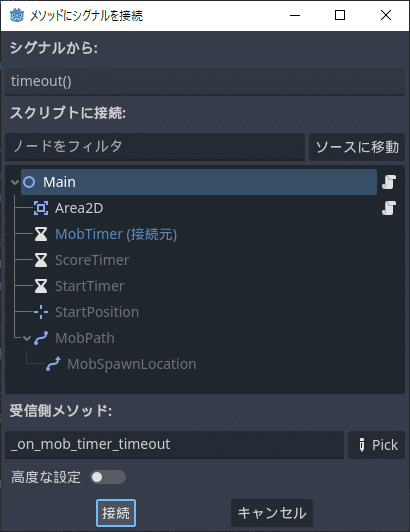
「接続」を選択。
接続をぽちー。
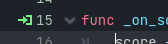
スクリプトの横にアイコンが表示されることを確認。

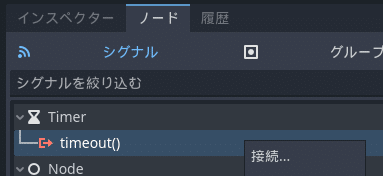
左側ノードのScoreTimerをクリックし、
右側ノードのシグナルのTimerのtimeout()を右クリックして
「接続」を選択。
接続をぽちー。
スクリプトの横にアイコンが表示されることを確認。
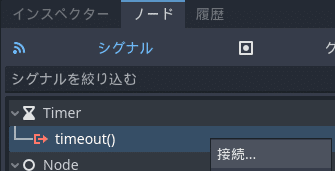
左側ノードのStartTimerをクリックし、
右側ノードのシグナルのTimerのtimeout()を右クリックして
「接続」を選択。
接続をぽちー。
スクリプトの横にアイコンが表示されることを確認。

シーンのテスト
メインシーンの設定を行う。
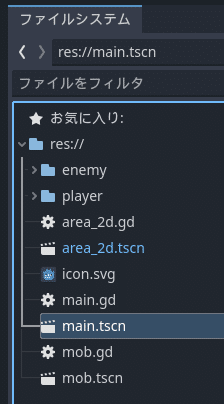
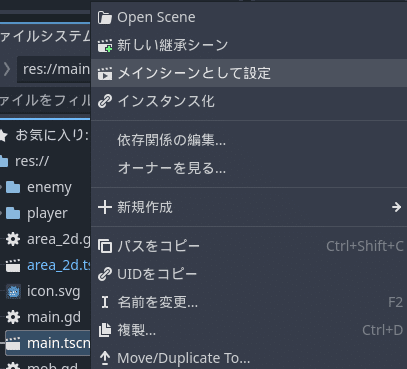
左下のファイルシステムから”main.tscn”を右クリックする。
「メインシーンとして設定」を選ぼう。
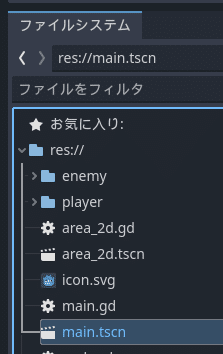
色が変わることを確認しよう。
右上の▶を押して実行してみよう。
おぉ、敵が四方八方からウヨウヨと出てくる!
十字キーで避けよう!!!
次回はスコアとかタイトルとか付けて行きます。
(実際は、GODOTのドキュメントに従って進めているだけですw)
今回は以上です。
では、また!
【補足】
続編書きました。以下も見てね!