割烹エディターの開発メモ3(メイン機能実装編)

ということでなんとなく改造方法が分かったので、実際にEditor.jsを改造して割烹エディターの機能を作っていきます。
ということでまずはメインのhtmlから(本番ではDjangoフレームワークに組み込みます)
1. ベースの作成
<!DOCTYPE html>
<html lang="ja">
<head>
<meta charset="utf-8">
<meta name="viewport" content="width=device-width,initial-scale=1.0,minimum-scale=1.0">
<title>割烹エディター</title>
<meta name="description" content="割烹エディター置き場です">
<style>

</style>
<script src="editor.js"></script>
</head>
<body>
<div id="editor"></div>
<script>const editor = new EditorJS({

   holder: 'editor',
   tools: {
   }
});
</script>
</body>
</html>
開発用なのでとりあえず最低限の要素で構築。大本のeditor.jsはローカルにコピーして配置。

ん、ちゃんとエディターできてますね。
2. 実装するブロック要素
実装したいブロック要素を列挙します。ないものは作る。
・見出し(カスタム)
・リスト(出来合い)
・表(出来合い)
・図(カスタム)
見出しと図は用意されているが、機能追加できるように自作しておく。
またなろうの方の仕様に合わせる必要があるのでちょっと調整する。
3. リストと表のインポート
まず出来合いの物を取り込む。
Tools installationで紹介しているものから
table、listを拝借。
<script src="list.js"></script>
<script src="table.js"></script>
<script>

   const editor = new EditorJS({

   holder: 'editor',
   tools: {
       list: {
         class: List,
         inlineToolbar: true
       } ,
       table: {
         class: Table,
         inlineToolbar: true
       } ,
   }
});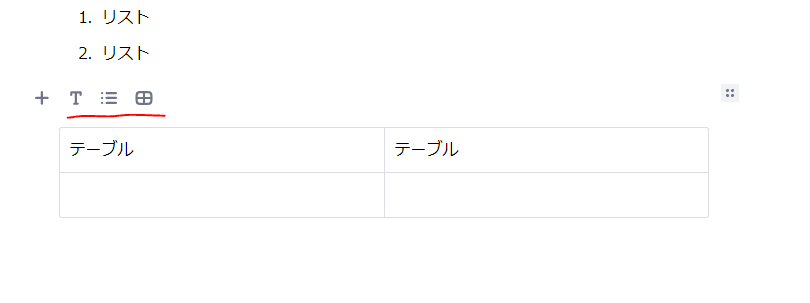
これでリストとテーブルが使えるようになった。
4. 画像ブロックの作成
基本的にこれに沿って作成する。
■準備
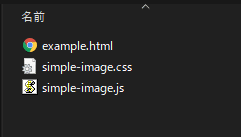
まずは3つのファイルを作成。
example.html //テスト用
simple-image.js //本体
simple-image.css //装飾用
example.html
<!DOCTYPE html>
<html lang="ja">
<head>
<meta charset="utf-8">
<meta name="viewport" content="width=device-width,initial-scale=1.0,minimum-scale=1.0">
<title>Simple-image</title>
<script src="../editor.js"></script>
<script src="simple-image.js"></script>
<link href="simple-image.css" rel="stylesheet"/>
</head>
<body>
<div id="editorjs"></div>
<script>
   const editor = new EditorJS({
     autofocus: true
   });
</script>
</body>
</html>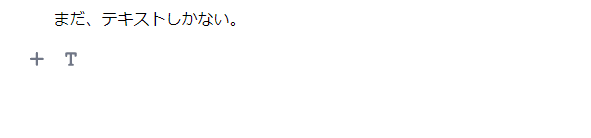
性能確認用htmlの作成完了。ここから作っていきます。
■基本構成
まずはJavascriptにクラスを定義していきます。
class SimpleImage {
 static get toolbox() {
   return {
     title: 'Image',
     icon: '<svg width="17" height="15" viewBox="0 0 336 276" xmlns="http://www.w3.org/2000/svg"><path d="M291 150V79c0-19-15-34-34-34H79c-19 0-34 15-34 34v42l67-44 81 72 56-29 42 30zm0 52l-43-30-56 30-81-67-66 39v23c0 19 15 34 34 34h178c17 0 31-13 34-29zM79 0h178c44 0 79 35 79 79v118c0 44-35 79-79 79H79c-44 0-79-35-79-79V79C0 35 35 0 79 0z"/></svg>'
   };
 }

 render(){
   return document.createElement('input');
 }

 save(blockContent){
   return {
     url: blockContent.value
   }
 }
}
svgについてはpathで描画している感じ。これも書き方覚えないとな……
構成に最低限必要なのが、
表示部 (toolbox)、挙動部(render)、保存部(sabe)
それを作ったらtoolに登録。また動作確認のためにSaveボタンも追加。
<body>
<div id="editorjs"></div>

<button id="save-button">Save</button>
<pre id="output"></pre>
<script>
   const editor = new EditorJS({
     autofocus: true,
     tools: {
       image: SimpleImage
     }
   });

   const saveButton = document.getElementById('save-button');
   const output = document.getElementById('output');

   saveButton.addEventListener('click', () => {
     editor.save().then( savedData => {
       output.innerHTML = JSON.stringify(savedData, null, 4);
     })
   })
</script>
</body>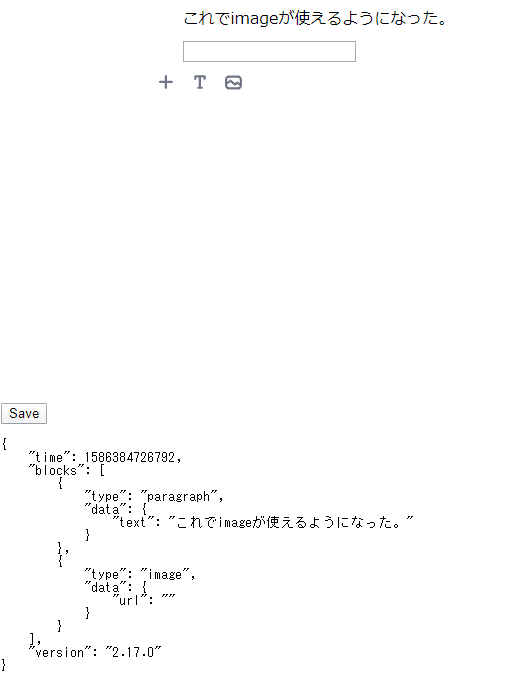
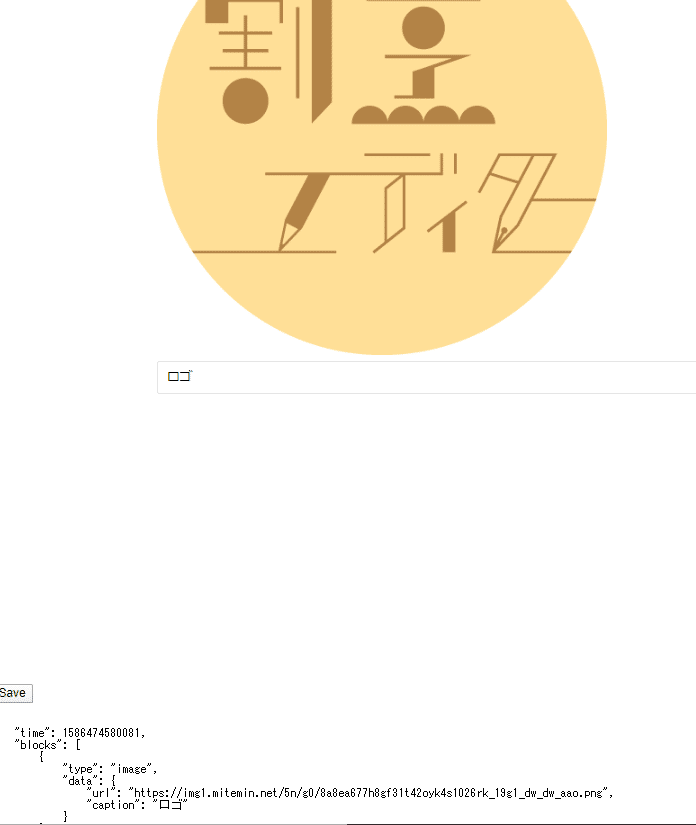
こうやってJSONが見られるのはすごい嬉しいですね。パースしやすいし。
■保存時データの扱い、許容できる値の設定。
編集をしたい場合、以前作ったデータを利用する必要があるのでその設定。またユーザーに変な値を入れてほしくない場合に値チェック機能も付ける。
constructor({data}){
   this.data = data;
 }

 render(){
   const wrapper = document.createElement('div');
   const input = document.createElement('input');

   wrapper.classList.add('simple-image');
   wrapper.appendChild(input);

   input.placeholder = 'Paste an image URL...';
   input.value = this.data && this.data.url ? this.data.url : '';

   return wrapper;
 }

 save(blockContent){
   const input = blockContent.querySelector('input');

   return {
     url: input.value
   }
 }
constructorでデータを受け入れるようにする。render側でデータの確認とデータ表示のためにwrappeを設定。saveの方もそれを受けてurlだけにしたいのでinputの方を指定。
classList.addで要素にclassを付与。これでCSSを設定できるようになる。simple-image.cssにで設定しておく。
.simple-image {
   padding: 20px 0;
}

.simple-image input {
   width: 100%;
   padding: 10px;
   border: 1px solid #e4e4e4;
   border-radius: 3px;
   outline: none;
   font-size: 14px;
}
■データのチェック
空白のデータが渡されても動作するので与えられるデータをチェックする。そのためにValidateメソッドが提供されている。
validate(savedData){
   if (!savedData.url.trim()){
     return false;
   }

   return true;
 }
}
simple-image.jsにvalidateメソッドを追加。これで空白がある場合はスキップされるようになる。Validateでfalseの場合には追加しないようになっているのかな。
■表示設定
まずthis.wrapperを定義する。constructorとrenderを書き換える。
constructor({data}){
   this.data = data;
   this.wrapper = undefined; //追加
 }

 render(){
   this.wrapper = document.createElement('div'); //修正
   const input = document.createElement('input');

   this.wrapper.classList.add('simple-image');//修正
   this.wrapper.appendChild(input);//修正

   input.placeholder = 'Paste an image URL...';
   input.value = this.data && this.data.url ? this.data.url : '';

    input.addEventListener('paste', (event) => {
     this._createImage(event.clipboardData.getData('text')); //追加
   });

   return this.wrapper;//修正
 }

//追加
  _createImage(url){
   const image = document.createElement('img');
   const caption = document.createElement('input');

   image.src = url;
   caption.placeholder = 'Caption...';

   this.wrapper.innerHTML = '';
   this.wrapper.appendChild(image);
   this.wrapper.appendChild(caption);
 }

save(blockContent){
   const image = blockContent.querySelector('img');
   const caption = blockContent.querySelector('input');

   return {
     url: image.src,
     caption: caption.value
   }
 }
貼り付けられたときに画像を表示させるようにしている。ついでにCaptionも表示するように追加している。CaptionもJSONに含められるようにするためにSaveも変更している。
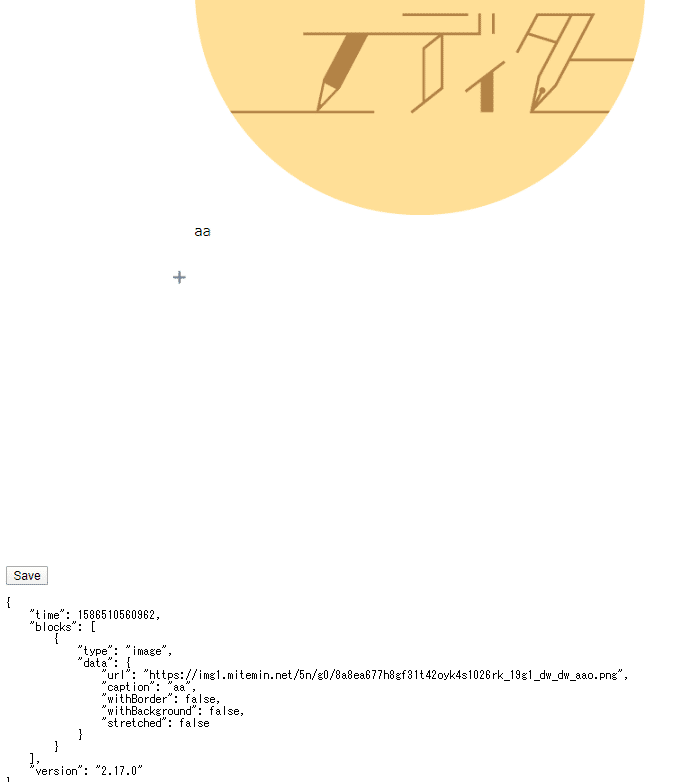
こんな感じになった。なるほど。こういう感じにカスタマイズしていくのか。出力に選択した結果を入れていくことで再加工も楽ですね。
HTMLコードをそのまま保存すると再加工が面倒だけどこんな感じに保存されると、CSSの適用やクラス付与も簡単そう。なるほど。
このままだと前回のデータがあった場合に適用されないので若干コード修正。
//renderに追加。

if (this.data && this.data.url){
    this._createImage(this.data.url, this.data.caption);
    return this.wrapper;
  }

//_createImageを修正
_createImage(url, captionText)

//追加
caption.value = captionText || '';
これで前回のデータがあった場合でも表示されるようになる。
■インラインブロックの利用
Captionでインラインツールを使えるようにする。まずinputとしていた部分をdivにして、Saveもそれに応じて変える
_createImage(url, captionText){
 const image = document.createElement('img');
 const caption = document.createElement('div'); //これ

 image.src = url;
 caption.contentEditable = true; //これも
 caption.innerHTML = captionText || '';

 this.wrapper.innerHTML = '';
 this.wrapper.appendChild(image);
 this.wrapper.appendChild(caption);
}

save(blockContent){
 const image = blockContent.querySelector('img');
 const caption = blockContent.querySelector('[contenteditable]');

 return {
   url: image.src,
   caption: caption.innerHTML || ''
 }
}
あとは、HTMLの方でToolバーをtrueにする。
tools: {
   image: {
     class: SimpleImage,
     inlineToolbar: true
   }
 },
これで使えるようになる。もし使うインラインを限定したい場合は配列で指定する。
inlineToolbar: ['link']
初期はlink, bold, italicが使える。
■ブロック設定の追加
機能拡張のため以下のブロックを追加します。
・枠の追加
・画像サイズ(大中小)
・背景の付与
まず、constructorにthis.settings = [としてアイコンを設定。
またそれぞれのパラメータを追加していきます。
rendersettingsメソッドを使って追加します。withBorder、 withBackground、stretched、そしたらrenderSettingsで切り替えを設定していきます。
constructor({data}){
   this.data = {
    url: data.url || '',
    caption: data.caption || '',
    withBorder: data.withBorder !== undefined ? data.withBorder : false,
    withBackground: data.withBackground !== undefined ? data.withBackground : false,
    stretched: data.stretched !== undefined ? data.stretched : false,
  };
   this.wrapper = undefined;
   this.settings = [
     {
       name: 'withBorder',
       icon: `<svg width="20" height="20" viewBox="0 0 20 20" xmlns="http://www.w3.org/2000/svg"><path d="M15.8 10.592v2.043h2.35v2.138H15.8v2.232h-2.25v-2.232h-2.4v-2.138h2.4v-2.28h2.25v.237h1.15-1.15zM1.9 8.455v-3.42c0-1.154.985-2.09 2.2-2.09h4.2v2.137H4.15v3.373H1.9zm0 2.137h2.25v3.325H8.3v2.138H4.1c-1.215 0-2.2-.936-2.2-2.09v-3.373zm15.05-2.137H14.7V5.082h-4.15V2.945h4.2c1.215 0 2.2.936 2.2 2.09v3.42z"/></svg>`
     },
     {
       name: 'stretched',
       icon: `<svg width="17" height="10" viewBox="0 0 17 10" xmlns="http://www.w3.org/2000/svg"><path d="M13.568 5.925H4.056l1.703 1.703a1.125 1.125 0 0 1-1.59 1.591L.962 6.014A1.069 1.069 0 0 1 .588 4.26L4.38.469a1.069 1.069 0 0 1 1.512 1.511L4.084 3.787h9.606l-1.85-1.85a1.069 1.069 0 1 1 1.512-1.51l3.792 3.791a1.069 1.069 0 0 1-.475 1.788L13.514 9.16a1.125 1.125 0 0 1-1.59-1.591l1.644-1.644z"/></svg>`
     },
     {
       name: 'withBackground',
       icon: `<svg width="20" height="20" viewBox="0 0 20 20" xmlns="http://www.w3.org/2000/svg"><path d="M10.043 8.265l3.183-3.183h-2.924L4.75 10.636v2.923l4.15-4.15v2.351l-2.158 2.159H8.9v2.137H4.7c-1.215 0-2.2-.936-2.2-2.09v-8.93c0-1.154.985-2.09 2.2-2.09h10.663l.033-.033.034.034c1.178.04 2.12.96 2.12 2.089v3.23H15.3V5.359l-2.906 2.906h-2.35zM7.951 5.082H4.75v3.201l3.201-3.2zm5.099 7.078v3.04h4.15v-3.04h-4.15zm-1.1-2.137h6.35c.635 0 1.15.489 1.15 1.092v5.13c0 .603-.515 1.092-1.15 1.092h-6.35c-.635 0-1.15-.489-1.15-1.092v-5.13c0-.603.515-1.092 1.15-1.092z"/></svg>`
     }
   ];
 }

_createImage(url, captionText){
   const image = document.createElement('img');
   const caption = document.createElement('input');

   image.src = url;
   caption.placeholder = 'Caption...';
   caption.value = captionText || '';

   this.wrapper.innerHTML = '';
   this.wrapper.appendChild(image);
   this.wrapper.appendChild(caption);

   this._acceptTuneView();
 }

renderSettings(){
   const wrapper = document.createElement('div');

   this.settings.forEach( tune => {
     let button = document.createElement('div');

     button.classList.add('cdx-settings-button');
   button.classList.toggle('cdx-settings-button--active', this.data[tune.name]);
     button.innerHTML = tune.icon;
     wrapper.appendChild(button);

   button.addEventListener('click', () => {
     this._toggleTune(tune.name);
     button.classList.toggle('cdx-settings-button--active');

   });

   return wrapper;
 }

save(blockContent){
   const image = blockContent.querySelector('img');
   const caption = blockContent.querySelector('input');

  return Object.assign(this.data, {
     url: image.src,
     caption: caption.value
  });
 }

_toggleTune(tune) {
   this.data[tune] = !this.data[tune];
   this._acceptTuneView();
 }

_acceptTuneView() {
   this.settings.forEach( tune => {
     this.wrapper.classList.toggle(tune.name, !!this.data[tune.name]);
   });
 }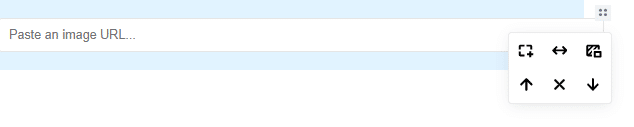
これで3つの追加機能が選択できるようになりました。
それぞれのトグルの状態に合わせてCSSを追加すれば切り替えできます。(今はやらない)
■Paste時の処理
pasteConfig and onPasteメソッドが用意されている。
static get pasteConfig() {
   return {
     tags: ['IMG'],
   files: {
       mimeTypes: ['image/*'],
       extensions: ['gif', 'jpg', 'png'] // You can specify extensions instead of mime-types
   }
   patterns: {
       image: /https?:\/\/\S+\.(gif|jpe?g|tiff|png)$/i
   }
   }
 }

 onPaste(event){
   switch (event.type){
     case 'tag':
       const imgTag = event.detail.data;

       this._createImage(imgTag.src);
       break;
   case 'file':
       /* We need to read file here as base64 string */
       const file = event.detail.file;
       const reader = new FileReader();

       reader.onload = (loadEvent) => {
         this._createImage(loadEvent.target.result);
       };

       reader.readAsDataURL(file);
       break;
   case 'pattern':
       const src = event.detail.data;

       this._createImage(src);
       break;

   }
 }
貼り付けのパターンは3つ。tag:張り付けられたタグから生成。File:Ctrl+VやDDによってブロックを生成。pattarn:これは張り付けたリンクからブロックを生成。いちいちイメージを選ばなくてもいい。正規表現でパターン認識させる。
■不要データの削除
XSSなど避けるために不要タグを取り除く必要がある。
ツールは用意されていて、手動で取り除く方法と自動で取り除く方法。
まずは手動から、SaveのところにsanitaizerConfigで使用できるタグを設定する。
const sanitizerConfig = {
    b: true,
    a: {
      href: true
    },
    i: true
  };
この場合使用できるのは、b, a(href), iのみ。
caption: this.api.sanitizer.clean(caption.innerHTML || '', sanitizerConfig)そして保存するところにsanitizer.cleanを使う。
これで不要タグが取り除かれる。
自動で行う方法。
static get sanitize(){
   return {
     url: false, // disallow HTML
     caption: {} // only tags from Inline Toolbar
   }
 }
sanitizeを設定すれば自動で取り除いてくれる。
Toolbar以外にも設定したい場合は手動、それ以外は自動にそうすればいい感じかな。カスタム要素を入れられると便利でいいか。
■カスタムコンフィグ
HTMLの方でeditorjsを作るときに独自のコンフィグを渡すこともできる。例えばユーザーごとにカスタマイズしたい場合など。
const editor = new EditorJS({
 autofocus: true,
 tools: {
   image: {
     class: SimpleImage,
     inlineToolbar: true,
    config: {
      placeholder: 'Paste image URL'
    }
   }
 },
 // ... data field
});
こんな風にconfig:を設定する。それをコンストラクタで受けると使えるようになる。
constructor({data, api, config}){

this.config = config || {};
input.placeholder = this.config.placeholder || 'Paste an image URL...';こんな感じにconfigに値を渡すこともできる。
■カスタマイズまとめ
static get toolbox //ツールボックスの設定 必須

static get pasteConfig //貼り付け時の挙動設定-

static get sanitize //不要タグの設定-

constructor //初期化時の設定 必須

render //挙動を設定 必須、

renderSettings //UIエレメント設定(パラメータで切り替えられるようにするもの)

save //保存データの設定 必須

validate //データの有効のチェック(空白除去など)

onPaste //貼り付け時の挙動

_toggleTune //パラメータの切り替え時の処理

_acceptTuneView //パラメータの切り替え時の表示処理

_createImage //View設定
■次の処理
これで画像の方はいったん完了。
カスタマイズや他のブロック要素をどうやって実現しているのか確認するために他のブロックのソースコードを眺めてみる。
予定は
・リスト
・表
・見出し
・区切り線
良ければサポートお願いします。サポート費用はサーバー維持などの開発費に使わせていただきます。