
【ティラノビルダー】メッセージウィンドウと名前欄の位置を変更する方法


ティラノビルダーでメッセージウィンドウと名前欄の位置を変更する方法について解説します。
画面の大きさは1280×720を想定しています。
①メッセージウィンドウと名前欄の位置の変更
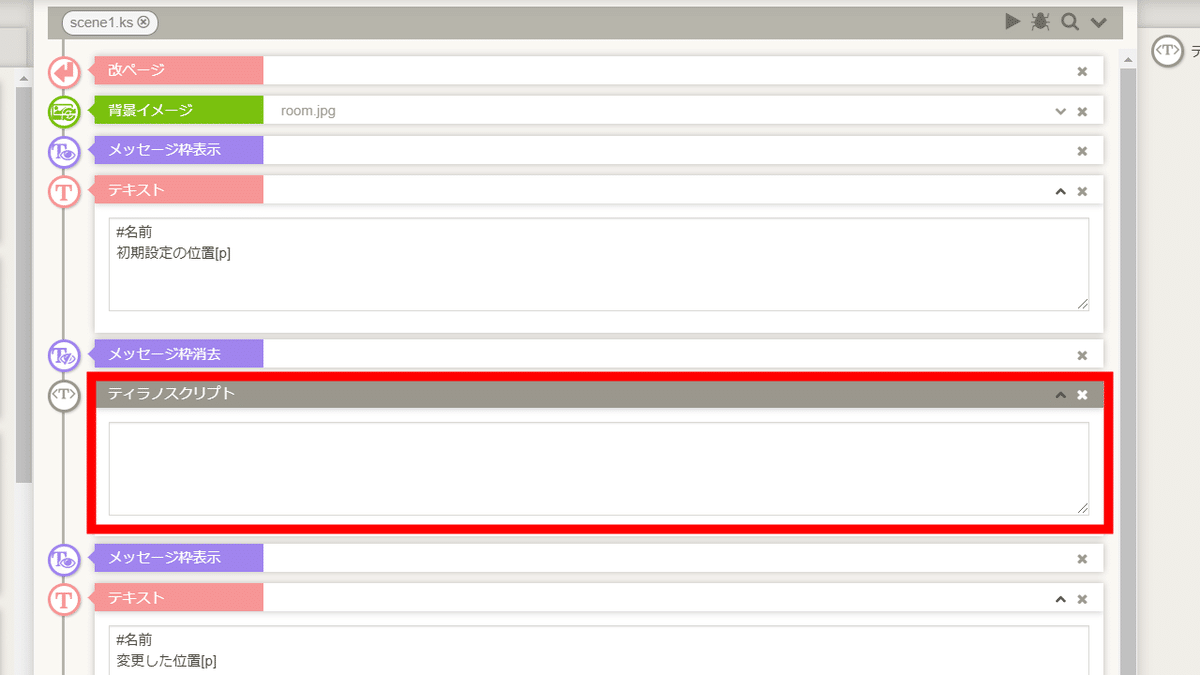
メッセージウィンドウを表示させる前に、ティラノスクリプトコンポーネントを配置します。

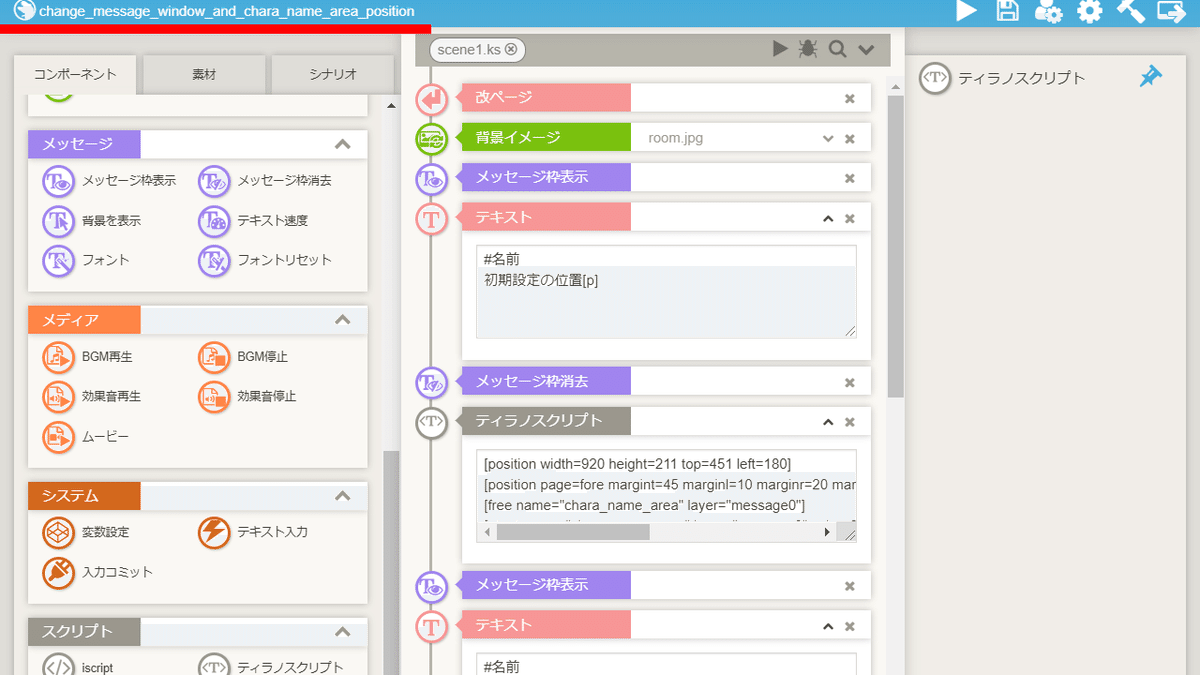
下記のコードを貼り付けます。
[position width=920 height=211 top=451 left=180]
[position page=fore margint=45 marginl=10 marginr=20 marginb=10 vertical=false opacity="180" radius="0" color="0x000000" ]
[free name="chara_name_area" layer="message0"]
[ptext name="chara_name_area" layer="message0" color=0xFFFFFF size=26 x=190 y=461 bold="bold" edge="" shadow=""]
【コードの解説】
数値をお好みで変更してください。
■ メッセージウィンドウの大きさ・位置
[position width=920 height=211 top=451 left=180]横幅 width=920
縦幅 height=211
X位置 left=180
Y位置 top=451
■ 文字の表示位置
[position page=fore margint=45 marginl=10 marginr=20 marginb=10 vertical=false opacity="180" radius="0" color="0x000000" ]左 marginl=10
上 margint=45
右 marginr=20
下 marginb=10
■ 名前欄の位置
[ptext name="chara_name_area" layer="message0" color=0xFFFFFF size=26 x=190 y=461 bold="bold" edge="" shadow=""]X位置 x=190
Y位置 y=461
これで、メッセージウィンドウと名前欄の位置を変更する手順は完了です。
以上で解説を終わります。おつかれさまでした。
【参考】初期設定の位置に戻す場合

[position width=1240 height=237 top=417 left=20 ]
[position page=fore margint=45 marginl=10 marginr=20 marginb=10 vertical=false opacity="180" radius="0" color="0x000000" ]
[free name="chara_name_area" layer="message0"]
[ptext name="chara_name_area" layer="message0" color=0xFFFFFF size=26 x=30 y=427 bold="bold" edge="" shadow=""]
【参考】初期設定の数値を調べる方法
画面左上のプロジェクト名をクリックします。
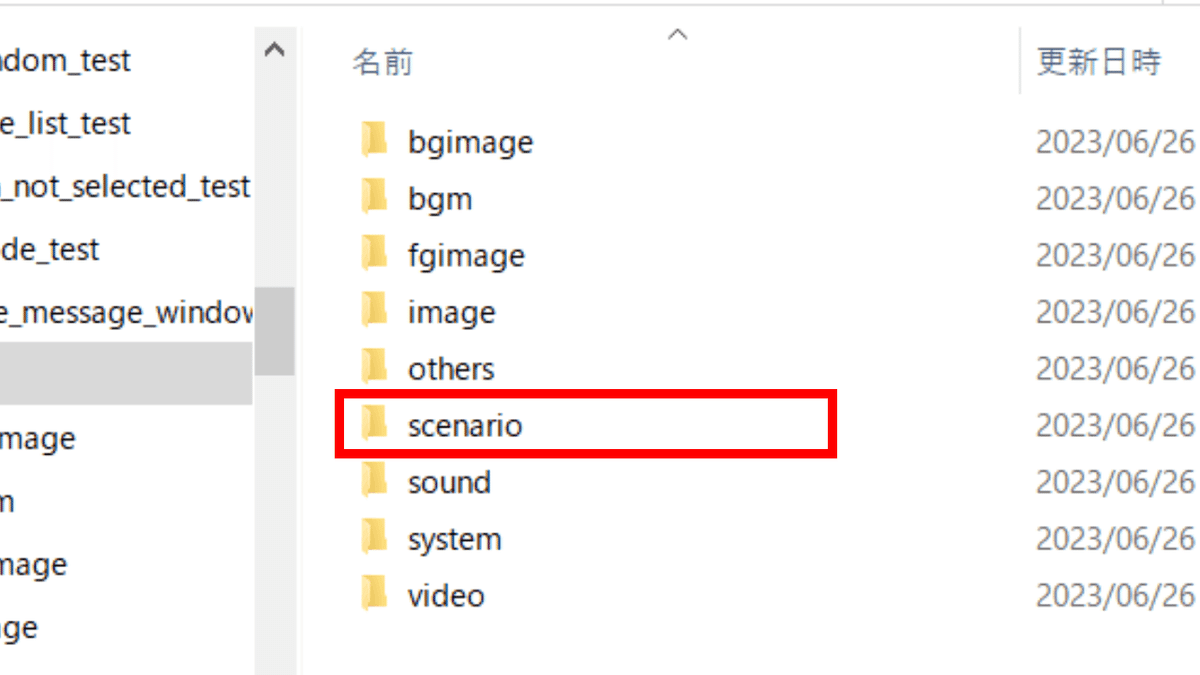
フォルダが開かれるので、scenarioフォルダをクリックします。

systemフォルダをクリックします。

message_windowファイルをメモ帳で開きます。

初期設定の数値が記載されています。
※UIデザインツール・ゲームコンフィグのメッセージウィンドウの項目で数値を変更した場合、こちらの数値も上書きされます。
この記事が気に入ったらサポートをしてみませんか?