
【ティラノビルダー】制限時間バープラグインの導入方法


今回は、時間制限バープラグインの導入方法について解説します。
①制限時間バープラグインのダウンロード
ティラノプラグインライブラリから、入手ページに移動します。
zipファイルがダウンロードできれば、プラグインのダウンロードは完了です。
②プラグインのファイルの配置

プロジェクト一覧画面からフォルダのアイコンをクリックし、今回プラグインを導入するプロジェクトのフォルダを開きます。
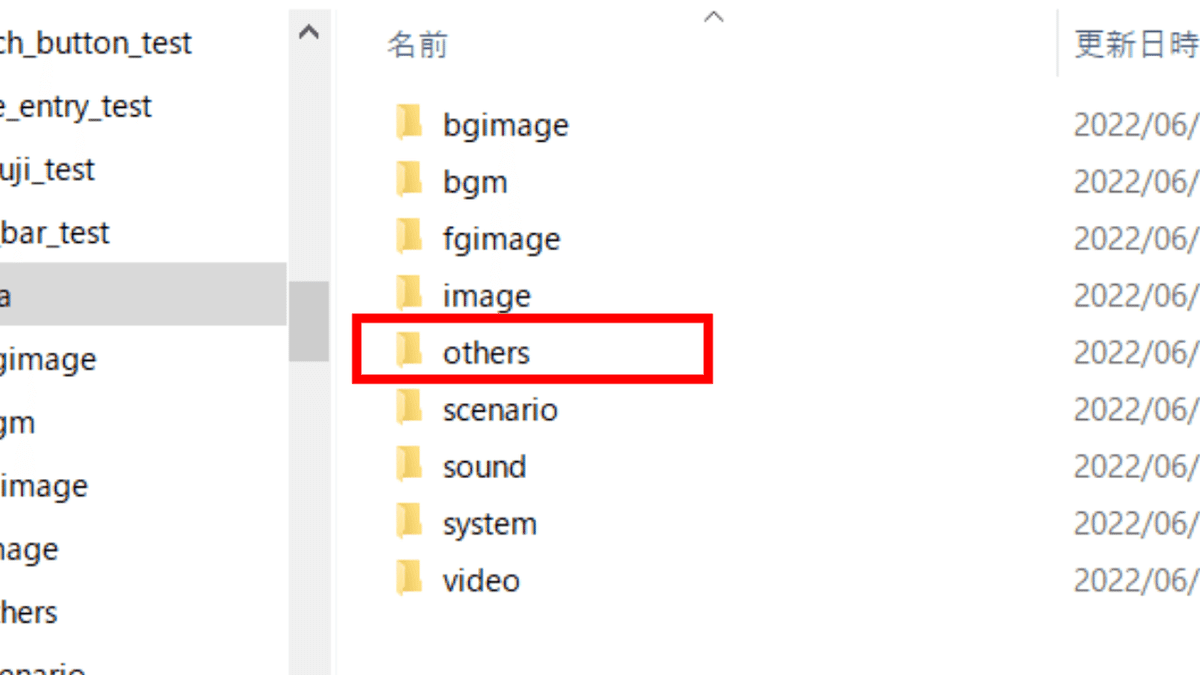
フォルダが開かれるので、othersフォルダをクリックします。

pluginフォルダをクリックします。

フォルダは空の状態です。
ここで、先程ダウンロードしたzipフォルダを展開します。
zipファイルを展開すると、time_limitフォルダが開かれます。
time_limitフォルダを先程開いたpluginフォルダに配置します。

time_limitフォルダをpluginフォルダに配置しました。
これでプラグインのファイルの配置は完了です。
③plugin.ksファイルにコードを記述

今度は、scenarioフォルダをクリックします。
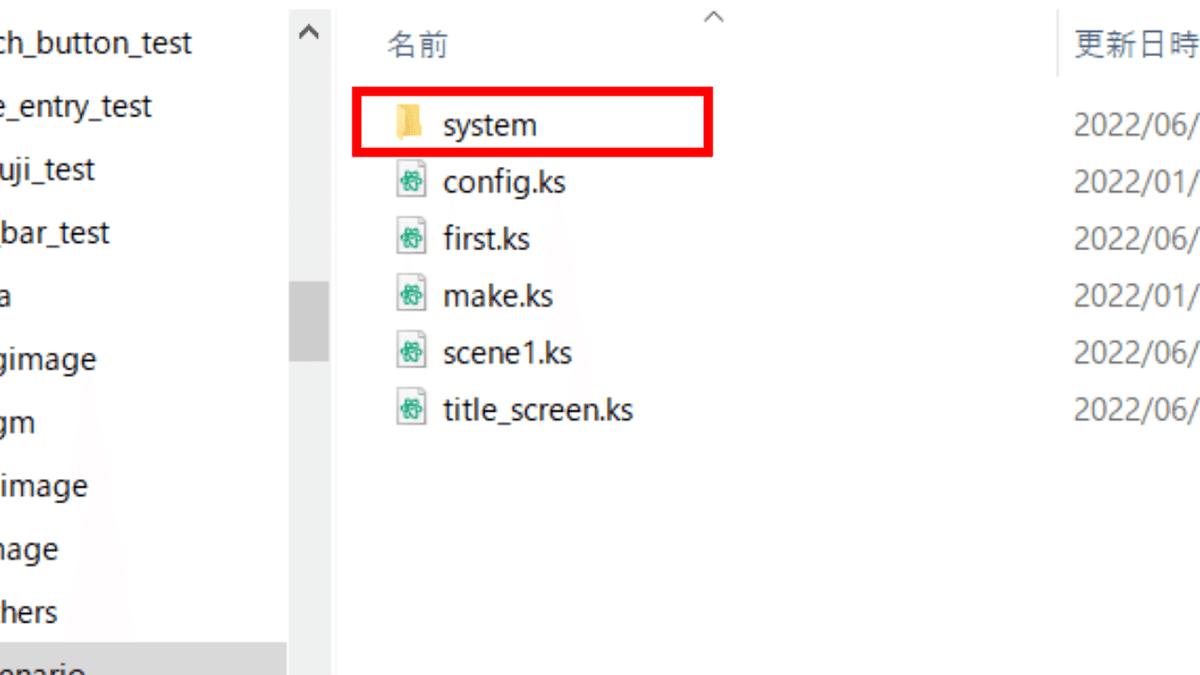
systemフォルダをクリックします。

plugin.ksをメモ帳で開きます。
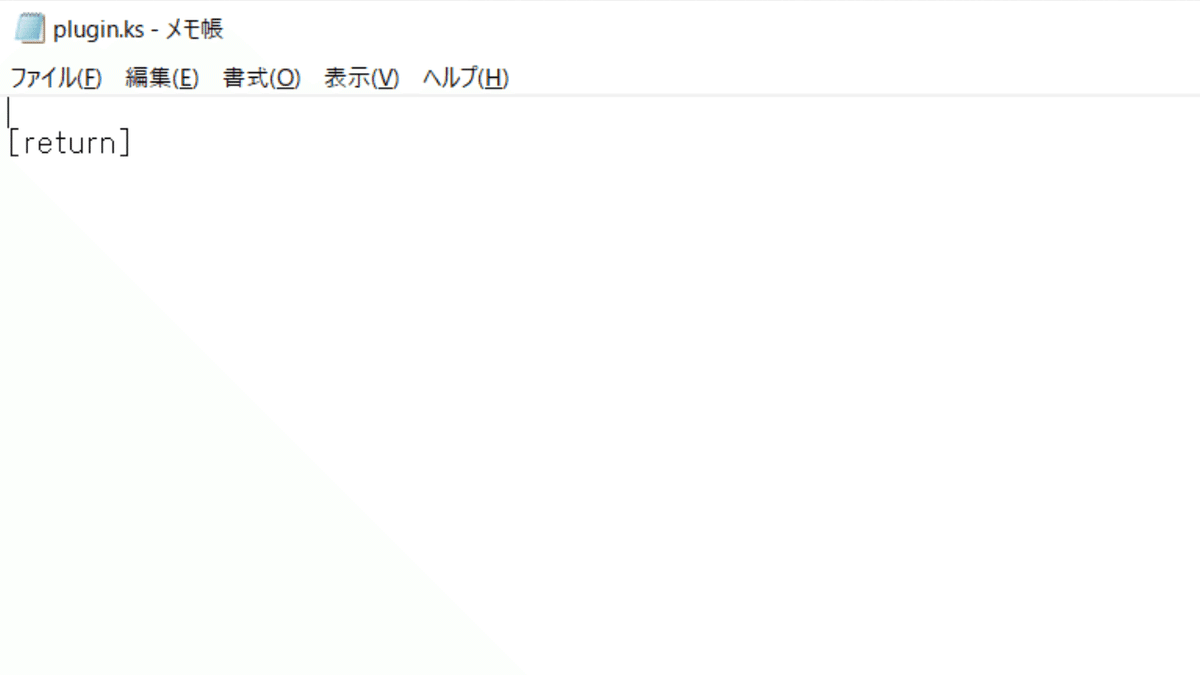
[return]と書かれています。
このコードは絶対に消さないでください。
[plugin name="time_limit"]上記のコードを貼り付けます。

コードを貼り付けました。
最後に上書き保存します。
これでplugin.ksファイルへのコードの記述は完了です。
④制限時間バーの設定

ティラノスクリプトコンポーネントに以下のコードを貼り付けます。
[time_limit label="*timeover" posX="100" posY="328" width="624" height="40" time="5000" layer="base"](1)制限時間を超えた場合の移動先
label
今回は、timeoverとしました。
(2)横位置
posX
(4)縦位置
posY
(5)横の幅
width
(6)縦の幅
height
(7)制限時間
time
(8)表示するレイヤー
layer
⑥制限時間内に回答した場合

分岐ボタンの移動先で、制限時間バーを消去します。
ティラノスクリプトコンポーネントに以下のコードを貼り付けます。
[clr_time_limit]⑦制限時間を超えた場合

ティラノスクリプトコンポーネントに以下のコードを貼り付けます。
[clr_time_limit]
[cm]
[clr_time_limit]で、制限時間バーを削除します。
[cm]で、クリックされずそのまま残っている分岐ボタンを削除します。
以上で解説を終わります。おつかれさまでした。
この記事が気に入ったらサポートをしてみませんか?