
【ティラノビルダー】主人公の性別や髪形で、セリフを変化させる方法


主人公の性別や髪形で、セリフを変化させる方法について解説します。
①画像の準備
【性別の画像ボタン】
male_off.png/male_on.png
female_off.png/female_on.png
【髪形の画像ボタン】
hairstyle1_off.png/hairstyle1_on.png
hairstyle2_off.png/hairstyle2_on.png
hairstyle3_off.png/hairstyle3_on.png
hairstyle4_off.png/hairstyle4_on.png
hairstyle5_off.png/hairstyle5_on.png
hairstyle6_off.png/hairstyle6_on.png
性別・髪形の画像ボタンを、それぞれon/offを準備します。
②画像の配置
画面左側のプロジェクト名をクリックします。
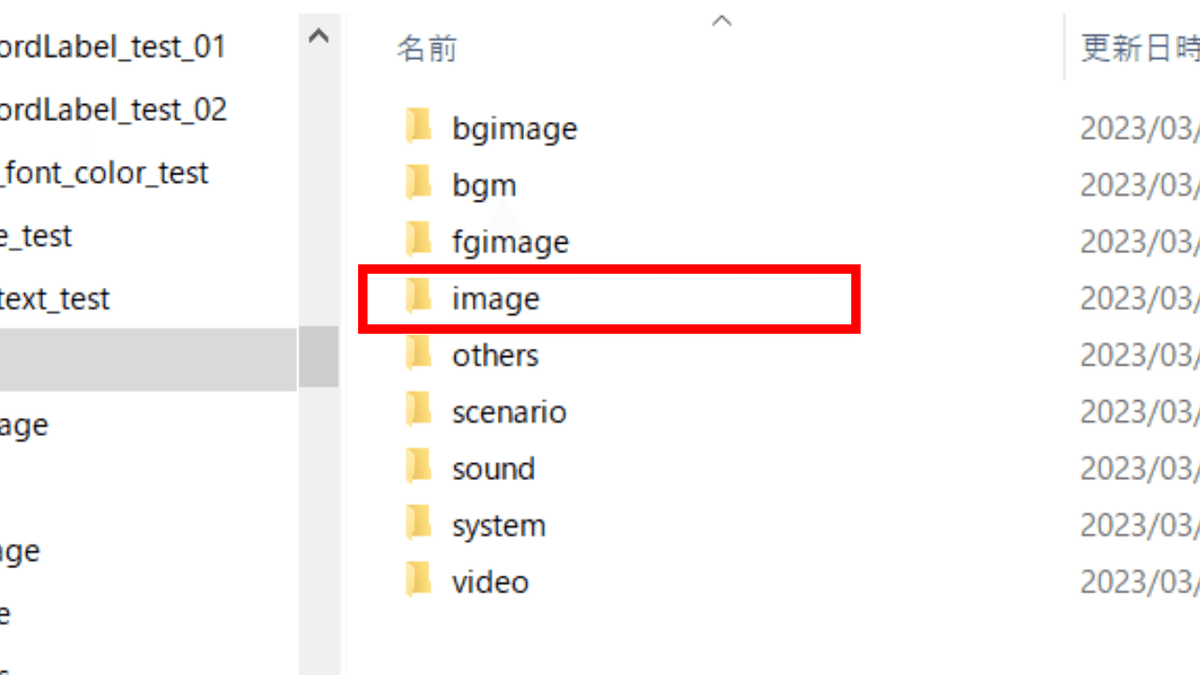
プロジェクトフォルダが開かれるので、imageフォルダをクリックします。

imageフォルダが開かれました。

フォルダを新規作成します。
今回は、フォルダ名をentryとしました。

先程作成したentryフォルダに画像を配置します。
これで、画像の配置は完了です。
③シナリオの追加
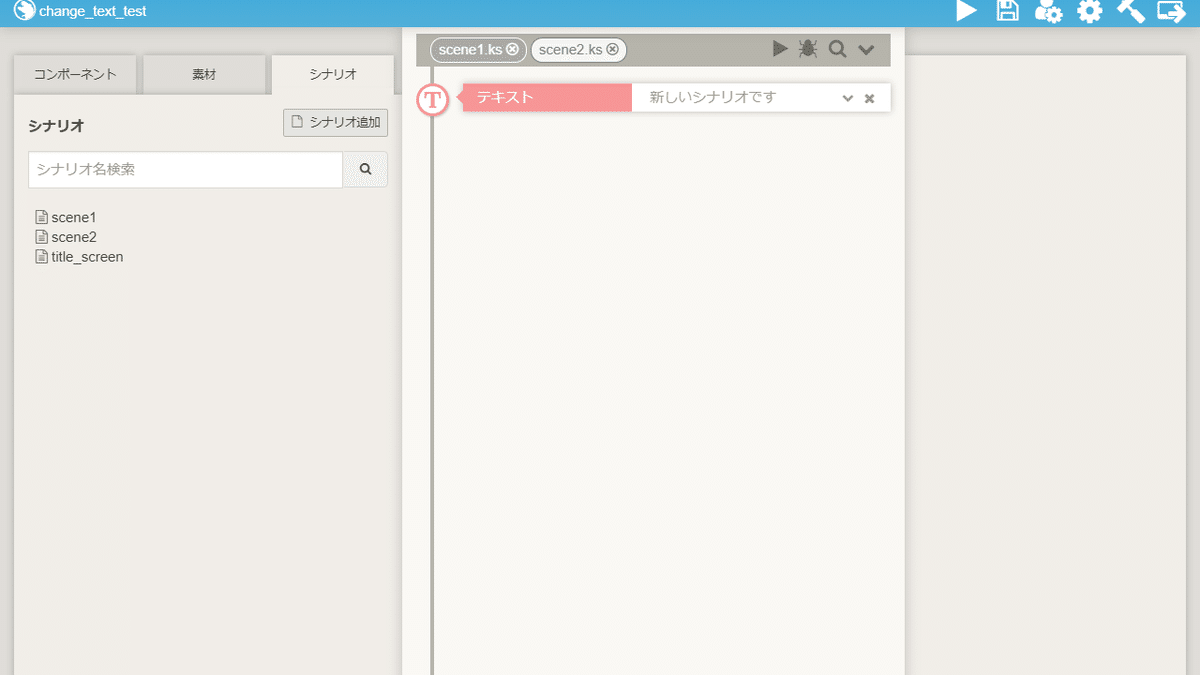
シナリオを追加し、今回はシナリオ名をscene2とします。
これでシナリオの追加は完了です。
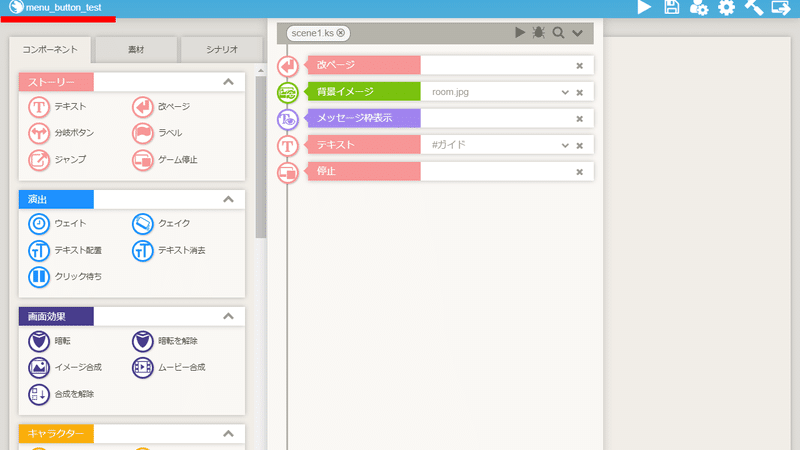
④ティラノスクリプトコンポーネントの配置

ティラノスクリプトコンポーネントを配置します。
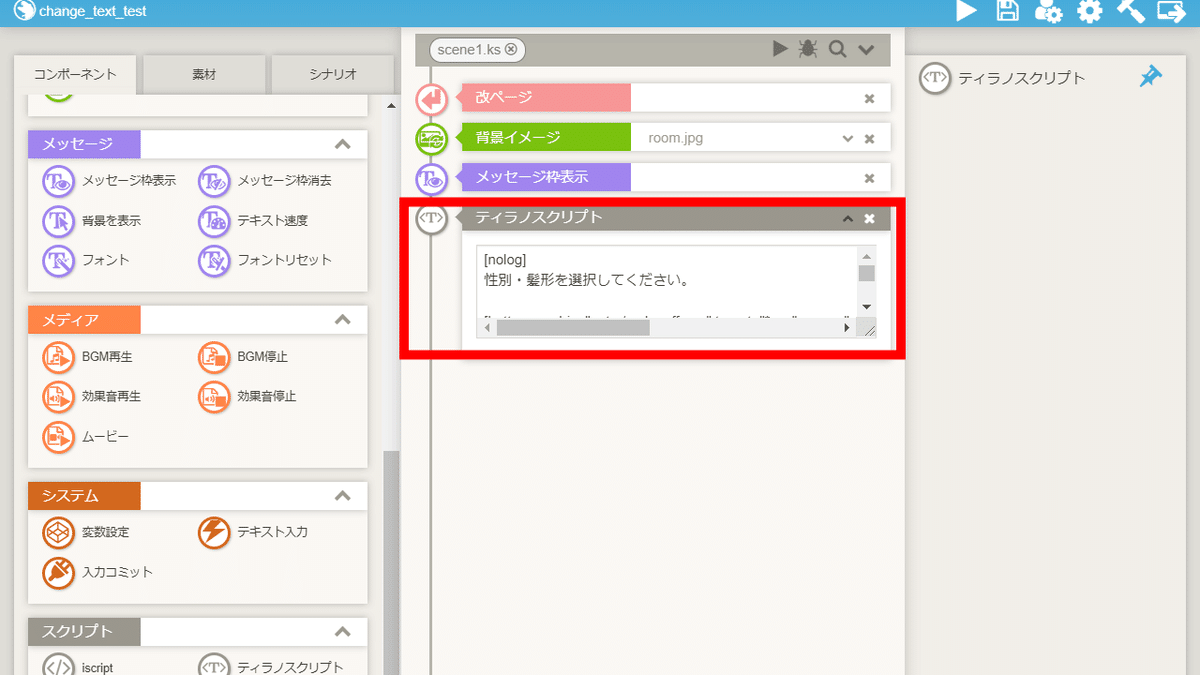
下記のコードを貼り付けます。
[nolog]
性別・髪形を選択してください。

[button graphic="entry/male_off.png" target="*sex" name="entry,male" x="80" y="100" fix="true" exp="f.sex = 'male'"]
[button graphic="entry/female_off.png" target="*sex" name="entry,female" x="280" y="100" fix="true" exp="f.sex = 'female'"]
[button graphic="entry/hairstyle1_off.png" target="*hairstyle" name="entry,hairstyle1"  x="80" y="200" fix="true" exp="tf.hairstyle = 1"]
[button graphic="entry/hairstyle2_off.png" target="*hairstyle" name="entry,hairstyle2" x="280" y="200" fix="true" exp="tf.hairstyle = 2"]
[button graphic="entry/hairstyle3_off.png" target="*hairstyle" name="entry,hairstyle3" x="480" y="200" fix="true" exp="tf.hairstyle = 3"]
[button graphic="entry/hairstyle4_off.png" target="*hairstyle" name="entry,hairstyle4" x="680" y="200" fix="true" exp="tf.hairstyle = 4"]
[button graphic="entry/hairstyle5_off.png" target="*hairstyle" name="entry,hairstyle5" x="880" y="200" fix="true" exp="tf.hairstyle = 5"]
[button graphic="entry/hairstyle6_off.png" target="*hairstyle" name="entry,hairstyle6" x="1080" y="200" fix="true" exp="tf.hairstyle = 6"]

*entry
[glink color="black" target="*check" size="20" text="決定" x="497" y="300" width="200" height=""]
[s]

*sex
[iscript]
if ( f.sex == 'male') {
$(".male").attr("src","./data/image/entry/male_on.png");
$(".female").attr("src","./data/image/entry/female_off.png");
}else{
$(".male").attr("src","./data/image/entry/male_off.png");
$(".female").attr("src","./data/image/entry/female_on.png");
}
[endscript]
[return]

*hairstyle
[iscript]
if ( f.hairstyle == undefined) {
$('.hairstyle' + tf.hairstyle).attr("src",'./data/image/entry/hairstyle' + tf.hairstyle +  '_on.png');
f.hairstyle = tf.hairstyle;
}else if( f.hairstyle != tf.hairstyle ) {
$('.hairstyle' + tf.hairstyle).attr("src",'./data/image/entry/hairstyle' + tf.hairstyle +  '_on.png');
$('.hairstyle' + f.hairstyle).attr("src",'./data/image/entry/hairstyle' + f.hairstyle +  '_off.png');
f.hairstyle = tf.hairstyle;
}
[endscript]
[return]

*check
[if exp="f.sex == undefined && f.hairstyle == undefined"]
性別・髪形を選択してください
[jump target="*entry"]
[elsif exp="f.sex == undefined"]
性別を選択してください
[jump target="*entry"]
[elsif exp="f.hairstyle == undefined"]
髪型を選択してください
[jump target="*entry"]
[endif]

性別・髪形を確定しますか?

[glink color="black" target="*yes" size="20" text="はい" x="314" y="300" width="200" height=""]
[glink color="black" target="*no" size="20" text="いいえ" x="680" y="300" width="200" height=""]
[s]

*yes
[clearfix name="entry"]
[endnolog]
[jump storage="scene2.ks"]

*no
性別・髪形を選択してください。
[jump target="*entry"]
【コードの解説】
glinkと書かれているコードが分岐ボタンに該当します。
■ color
カラー
■ size
サイズ
■ text
テキスト
■ x
横位置
■ y
縦位置
■ width
横幅
■ height
縦幅
⑤scene2の編集

先頭のテキストコンポーネントの入力モードは何もしないにします。
【パターン①】
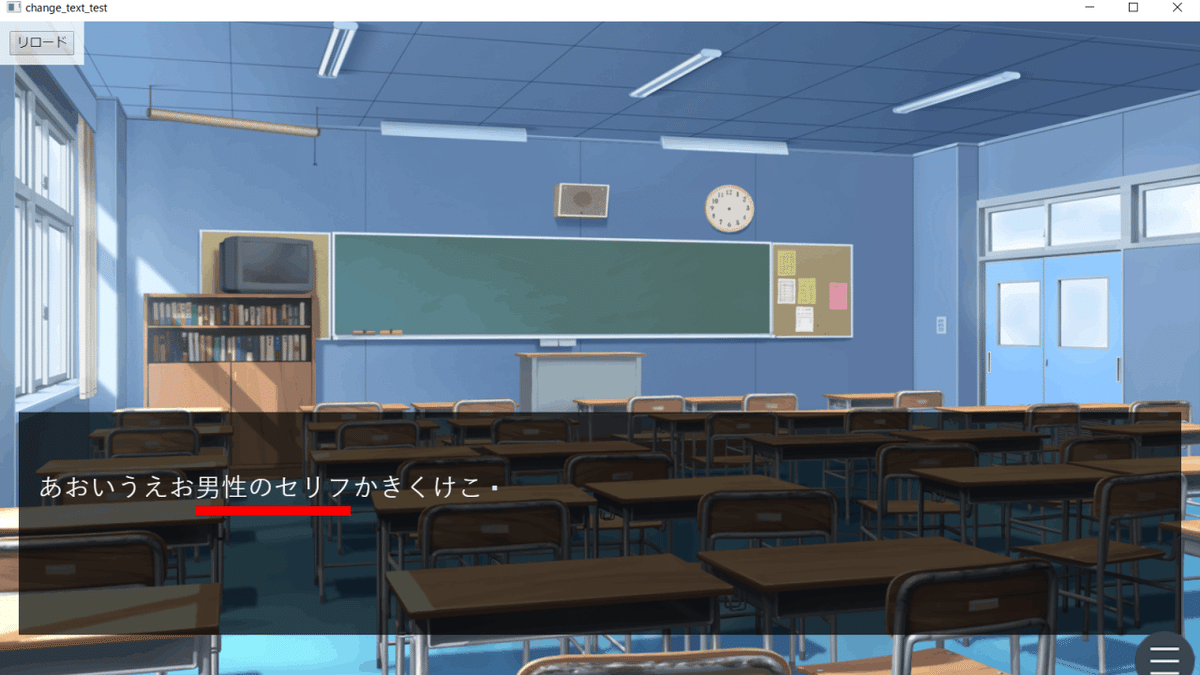

[if exp="f.sex == 'male'"]
男性のセリフ
[elsif exp="f.sex == 'female'"]
女性のセリフ
[endif]
【パターン②】


[if exp="f.hairstyle == 1"]
髪形1のセリフ
[elsif exp="f.hairstyle == 2"]
髪形2のセリフ
[elsif exp="f.hairstyle == 3"]
髪形3のセリフ
[elsif exp="f.hairstyle == 4"]
髪形4のセリフ
[elsif exp="f.hairstyle == 5"]
髪形5のセリフ
[elsif exp="f.hairstyle == 6"]
髪形6のセリフ
[endif]
【パターン③】


[if exp="f.sex == 'male' && f.hairstyle == 1"]
男性・髪形1のセリフ
[elsif exp="f.sex == 'female' && f.hairstyle == 1"]
女性・髪形1のセリフ
[else]
それ以外のセリフ
[endif]
これで、主人公の性別や髪形で、セリフを変化させる手順は完了です。
以上で解説を終わります。おつかれさまでした。
この記事が気に入ったらサポートをしてみませんか?