
超簡単PythonでGmailメッセージ取得(Gmail API利用)

Pythonで超簡単にGmailメッセージ取得(Gmail API利用)
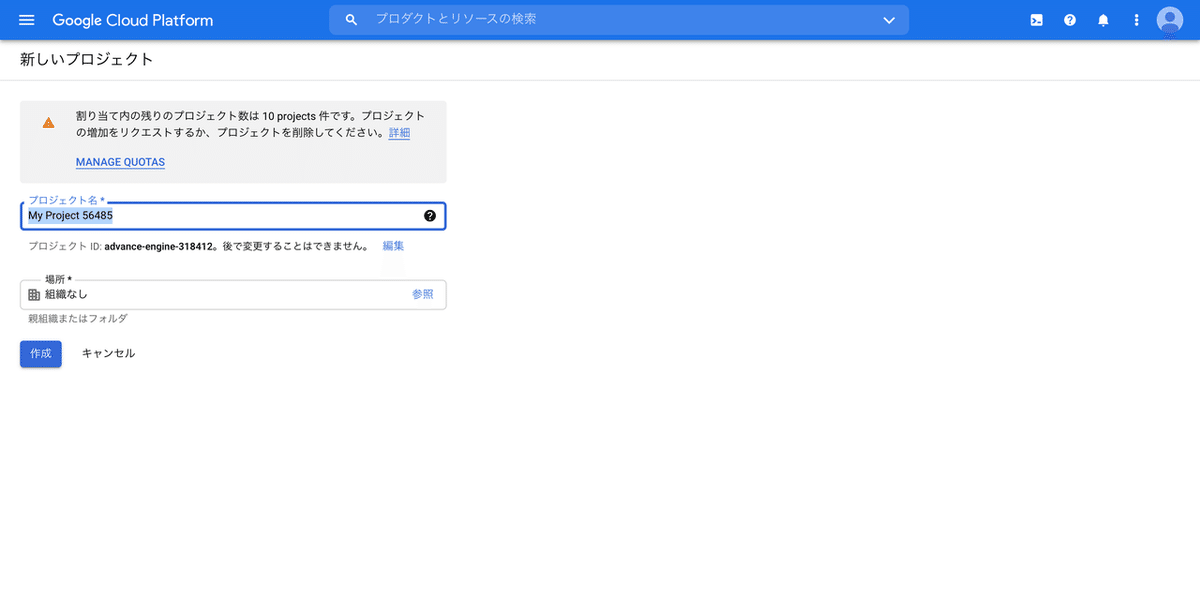
1. プロジェクト作成
Google Cloud Consoleからプロジェクト作成

2. Gmail API有効化
メニューの「APIとサービス」からGmail API有効化


3. 認証情報を作成してダウンロード


4. テストユーザー追加

5. ツールインストール
$ pip install google-api-python-client google-auth-httplib2 google-auth-oauthlib6. ファイル作成
gmail.py
import os.path
from googleapiclient.discovery import build
from google_auth_oauthlib.flow import InstalledAppFlow
from google.auth.transport.requests import Request
from google.oauth2.credentials import Credentials
import base64

SCOPES = ['https://www.googleapis.com/auth/gmail.readonly']

creds = None
if os.path.exists("token.json"):
   creds = Credentials.from_authorized_user_file("token.json", SCOPES)
if not creds or not creds.valid:
   if creds and creds.expired and creds.refresh_token:
       creds.refresh(Request())
   else:
       flow = InstalledAppFlow.from_client_secrets_file("credentials.json", SCOPES)
       creds = flow.run_local_server(port=0)
   with open("token.json", "w") as token:
       token.write(creds.to_json())

service = build('gmail', 'v1', credentials=creds)
lists = service.users().messages().list(userId="me", labelIds="INBOX").execute()
for list in lists["messages"]:
   message = service.users().messages().get(userId="me", id=list["id"]).execute()
   for header in message["payload"]["headers"]:
       if header["name"] == "Subject":
           title = header["value"]
           break
   if message["payload"]["body"]["size"] != 0:
       body = base64.urlsafe_b64decode(
           message["payload"]["body"]["data"]).decode("UTF-8")
   else:
       body = base64.urlsafe_b64decode(
           message["payload"]['parts'][0]["body"]["data"]).decode("UTF-8")
   print(f"{title} {body}")
7. 実行
$ python gmail.py

テストユーザーに追加したアカウントを選択し、権限の付与を許可すれば受信トレイ(INBOX)内のメッセージを取得できます。
以上、超簡単!
8. 参考
この記事が気に入ったらサポートをしてみませんか?