
超簡単PythonでGoogle App Engine入門(Hello World)

Google App Engineで超簡単にPythonでhello World
1. プロジェクト作成
Google Cloud Consoleからプロジェクト作成


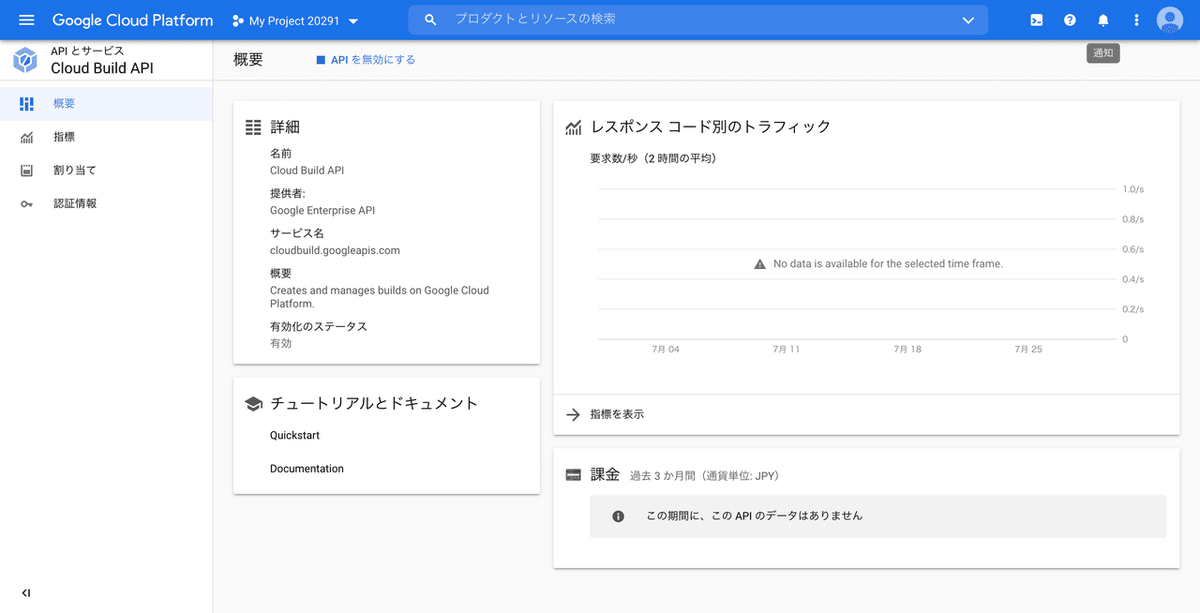
2. Cloud Build API有効化
メニューの「APIとサービス」からCloud Build API有効化


3. Google Cloud SDK のインストールと初期化
下記のドキュメントを参考に環境(Mac・Windows・その他)に合わせてGoogle Cloud SDK のインストールと初期化を行う
4. App Engineアプリ作成&リージョン選択
$ gcloud app create --project=[YOUR_PROJECT_ID]リージョンはasia-northeast1(東京)もしくはasia-northeast2(大阪)を選択
5. gcloud コンポーネントをインストール
$ gcloud components install app-engine-python6. ファイル作成
$ mkdir hello-world && cd hello-world
$ python3 -m venv .venv
$ source .venv/bin/activate
hello-world/main.py
from flask import Flask

app = Flask(__name__)

@app.route('/')
def hello():
   return 'Hello World!'

if __name__ == '__main__':
   app.run(host='127.0.0.1', port=8080, debug=True)
hello-world/app.yaml
runtime: python39hello-world/requirements.txt
Flask==2.0.17. ローカル実行
(.venv) $ pip install -r requirements.txt
(.venv) $ python main.py
ブラウザにてhttp://127.0.0.1:8080/確認
8. App Engine にデプロイ
$ gcloud app deploy9. 確認
$ gcloud app browseまたはhttps://PROJECT_ID.REGION_ID.r.appspot.comへアクセス
以上、超簡単!
10. 参考
11. 関連記事
この記事が気に入ったらサポートをしてみませんか?