
【Photoshop】ぷるっとした質感の文字デザインを作る方法
割引あり

こんにちは、YUTAです!
今回はPhotoshopでゼリーのようにぷるっとした質感の文字デザインを作る方法を紹介します。
VTuberさんのサムネイルやかわいい商品のパッケージデザインなど、
使いどころ満載!
持っておいて絶対に損のないPhotoshop加工テクニックです!
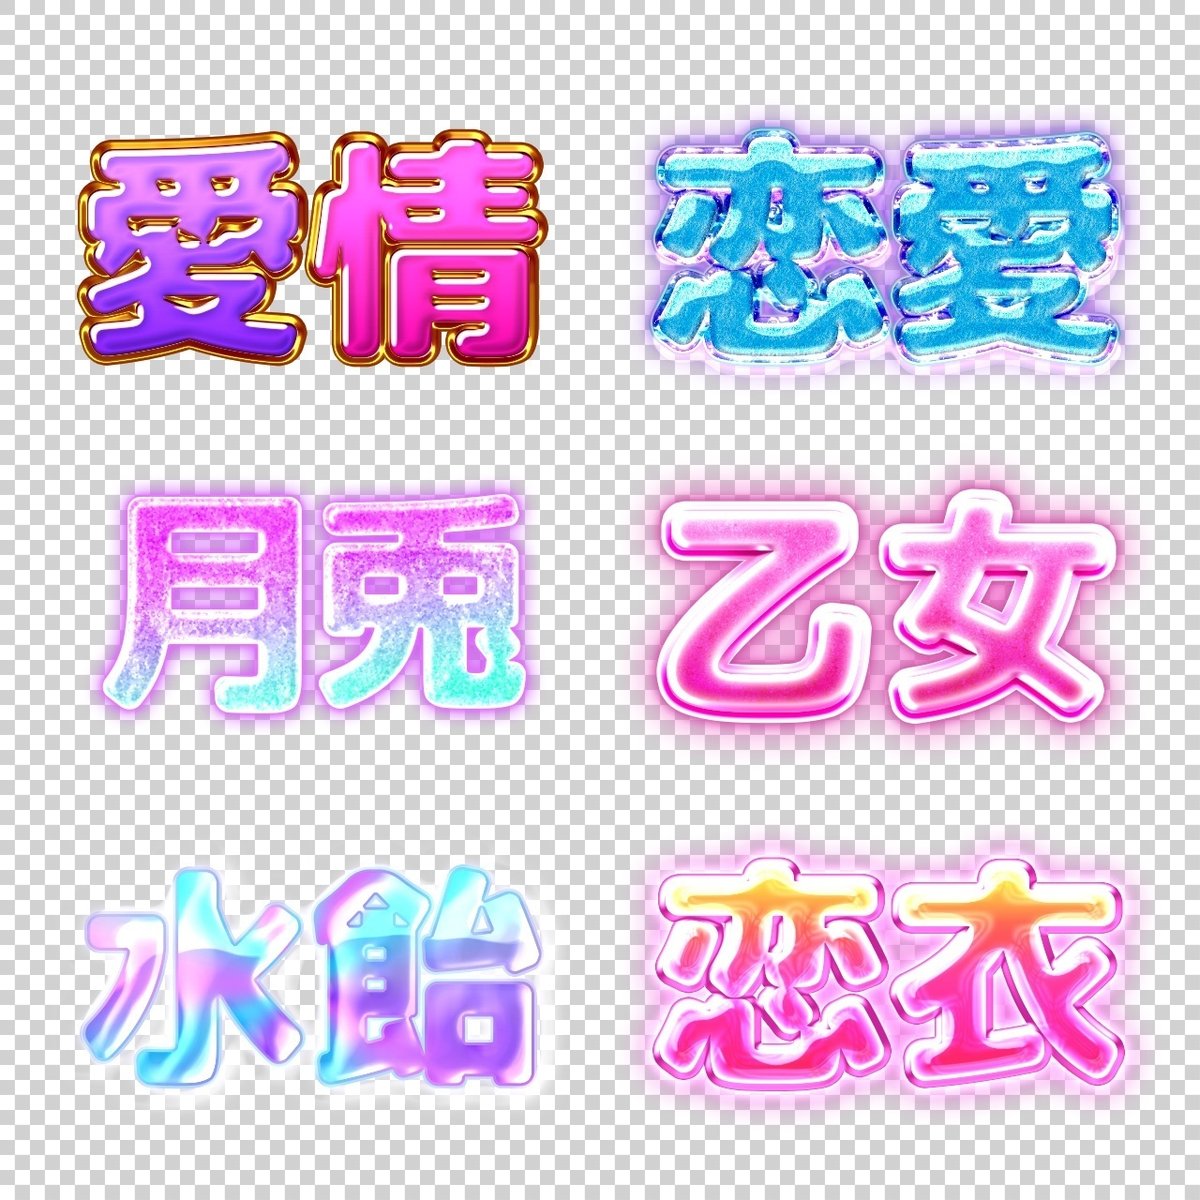
【Vol.11】乙女チックな文字加工デザイン集より
【Vol.11】乙女チックな文字加工デザイン集👸#Photoshop #文字加工デザイン集 pic.twitter.com/hB9vQtIYQh
— YUTA|Photoshop加工デザイン (@yutagpt) September 29, 2023
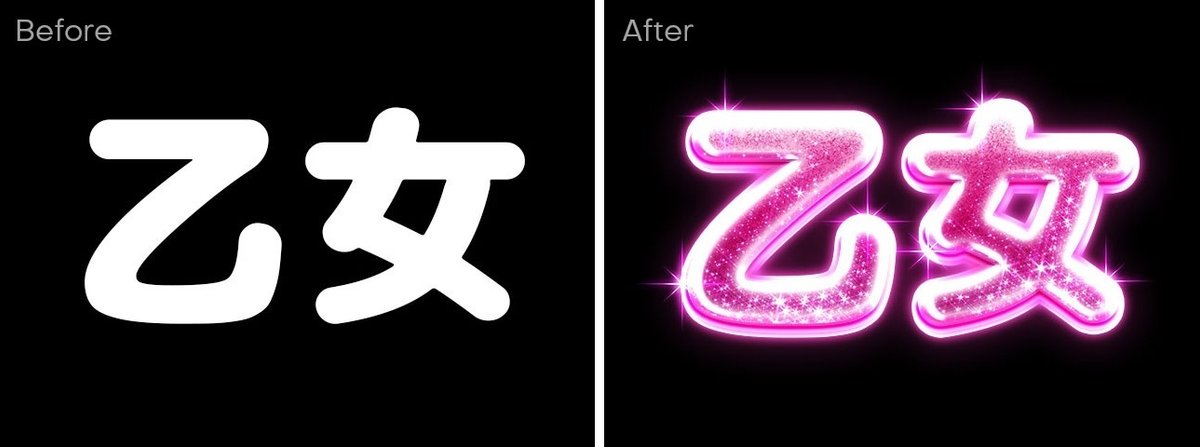
Before/After
【記事購入特典】Photoshopプリセット素材(.psd)
1.ベースデザインの作成
まずは文字のベースとなるデザインを作成します。
ぷるっとした質感をより際立たせるため、今回は少しざらっとしたテクスチャ素材をクリッピングマスクで重ねています。
⇩⇩⇩⇩⇩

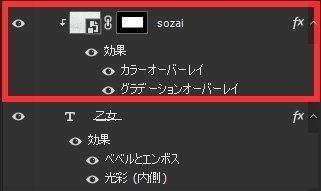
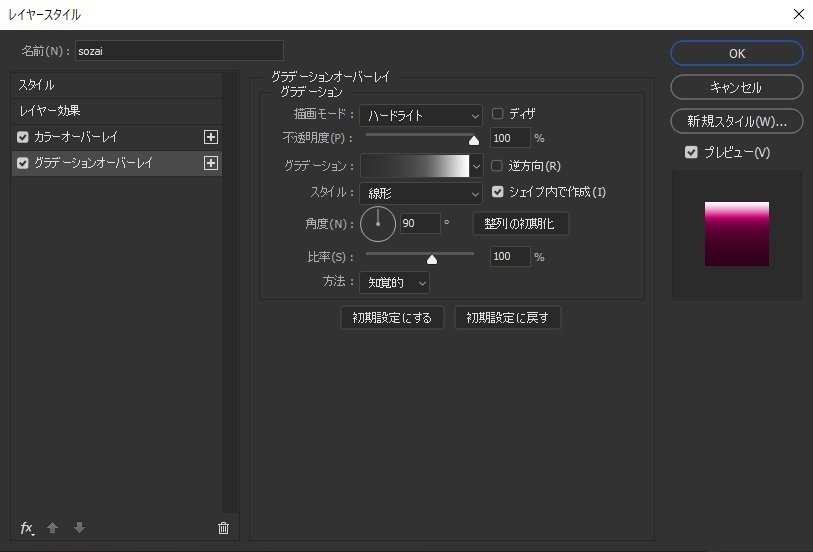
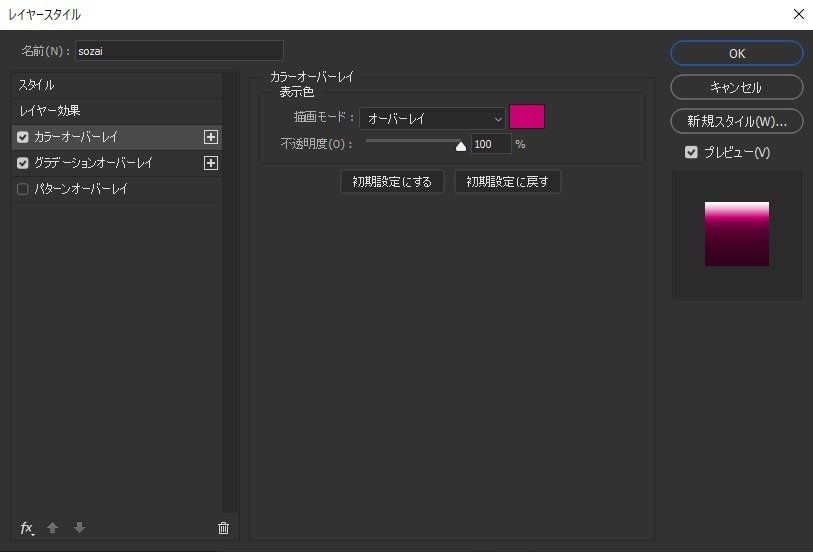
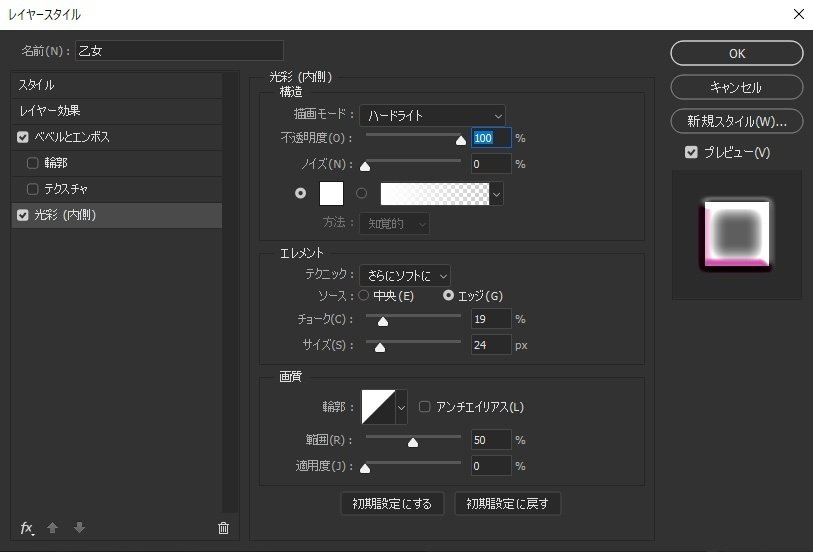
続いて、ベースの文字のレイヤースタイルを調整していきます。
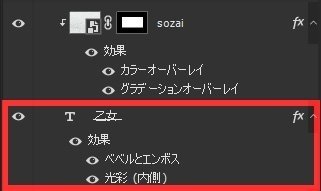
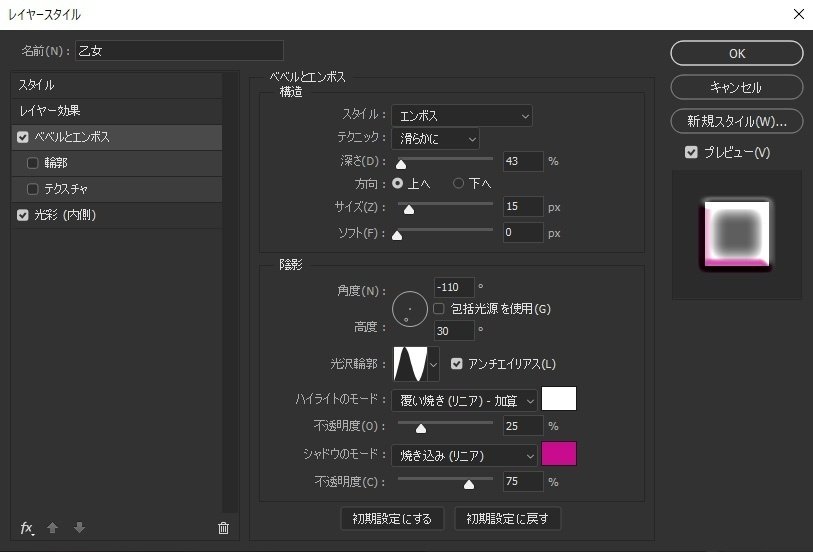
POINT:ベベルとエンボスのスタイルを『エンボス』にする
⇩⇩⇩⇩⇩

ここから先は
986字
/
25画像
/
1ファイル
この記事が気に入ったらチップで応援してみませんか?