
Ecamm Liveの画面構成を行う上でおさえておきたい基本

Ecamm Liveにて画面構成を行う上での基本についてまとめてみました。
シングルソース
単一のソース、または、複数のソースを使うときになる背面のソースは、[Source]メニューから選択する。
Black(⌘ + shift + B)
Camera(⌘ + L)
Share Screen(⌘ + S)
Video File

「Camera」を選択した場合には、[Camera]メニューから選択
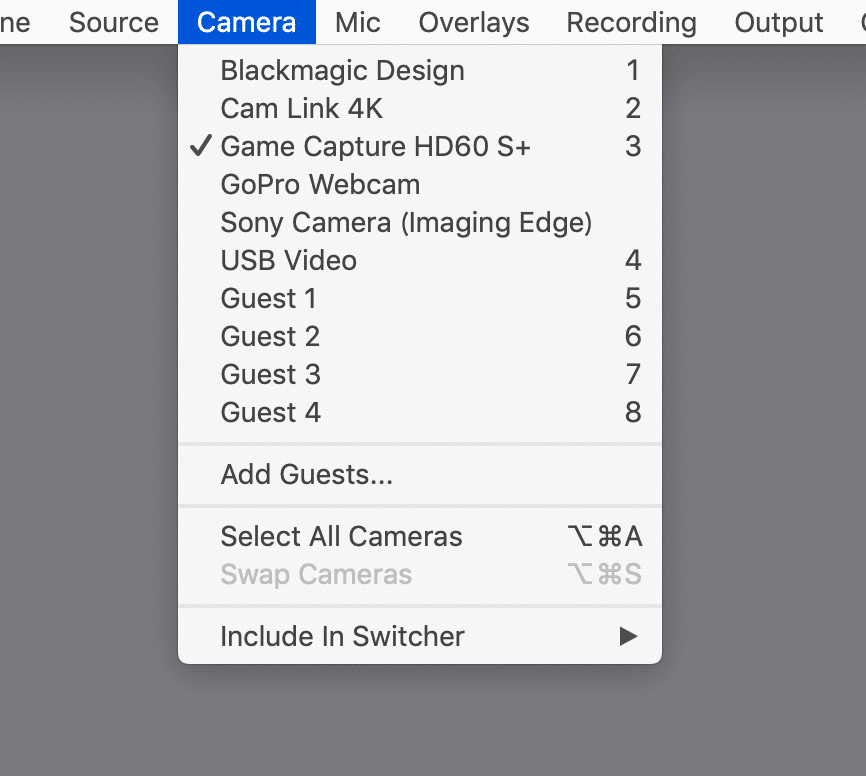
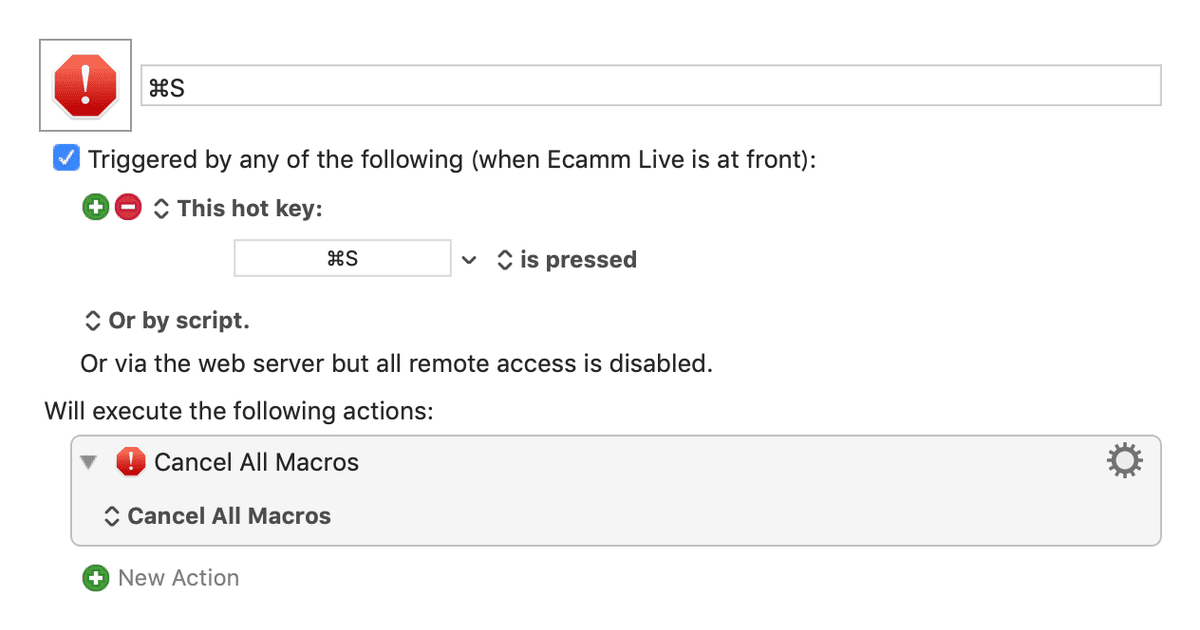
ついつい手癖で⌘ + Sをしてしまう方は、⌘ + SをKeyboard Maestroなどでオフにしておいた方よい。
画面分割(Split Screen)
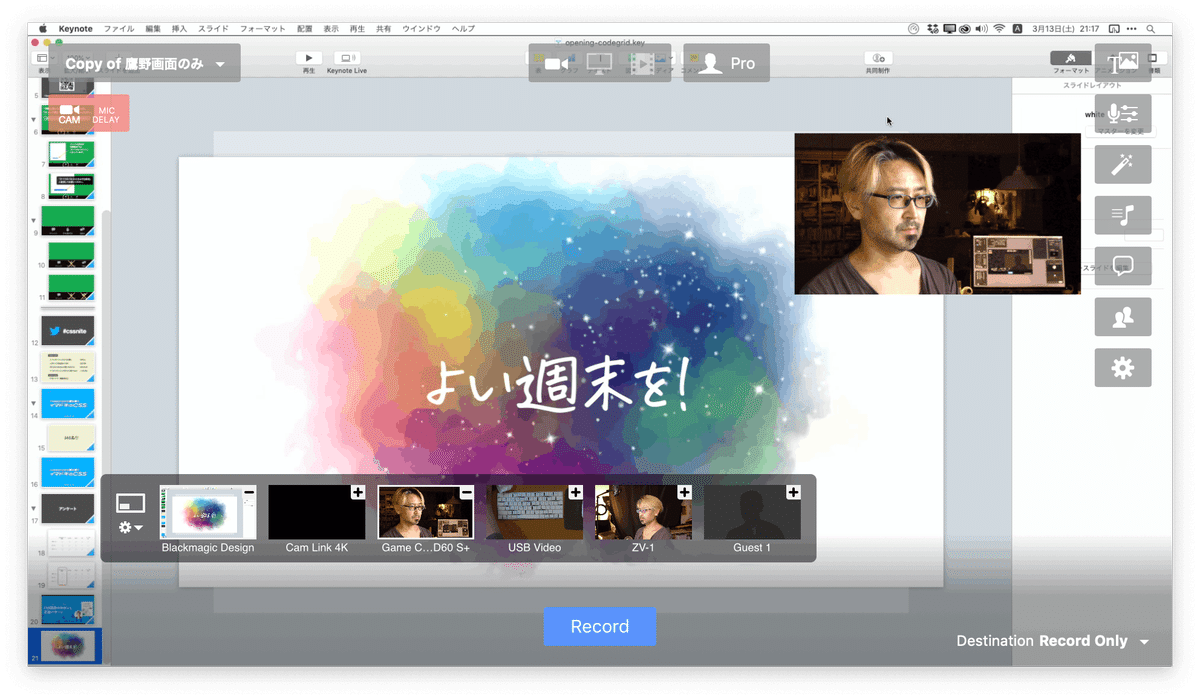
画面分割を行うには、 Main Window上の「The Video Source Switcher」にて追加したいCameraの右上の[+]ボタンをクリックする。

次のように右側に追加される。

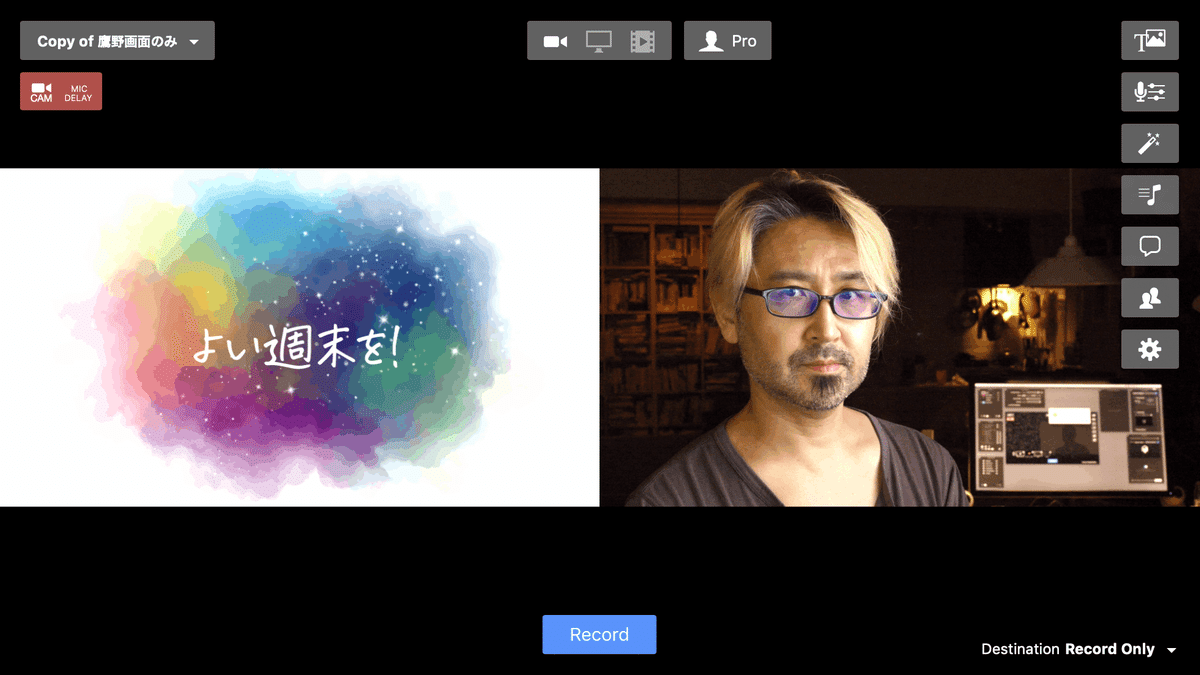
Crop Split Screen
画面分割を行うと、自動的にトリミングされてしまう。次のように表示したい場合にはCrop Split Screenを設定します。
「The Video Source Switcher」の歯車アイコンをクリックして[Crop Split Screen]をクリックします。
3つ以上のCamera
さらに追加すると3分割。残念ですが、個別の幅を変更することはできません。

さらに追加すると4分割(2行2列)になります。

ソースが5つの場合には、上に3つ、下に2つになります。
Picture in Picture
「The Video Source Switcher」左上のアイコンがアクティブの状態でCameraを追加すると、追加したCemaraがオーバーレイする、いわゆる「ワイプ」になります。
Picture in Pictureウィンドウは、画面上、どこにでも移動できます。
なお、3つ以上のCameraを追加しているときには、Picture in Pictureウィンドウ内にて分割されます。
Picture in Picture Shapeの画角の変更
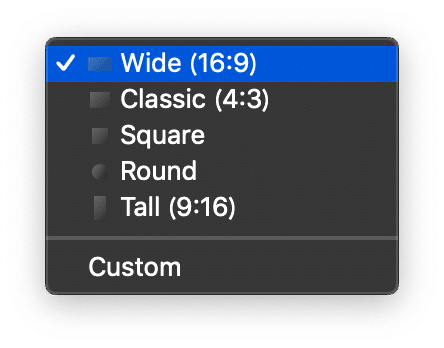
[Options]メニューの[Picture in Picture Shape]から画角の変更を行えます。
Wide(16:9)
Classic(4:3)
Square
Round
Tall(9:16)

Swap Cameras
ソースを入れ替えるには、次のいずれかを行います。
Picture in Pictureウィンドウ左下の♻️アイコンをクリック
[Cameara]メニューの[Swap Cameras]をクリック

画面分割とPicture in Picture
画面分割とPicture in Pictureを切り替えるには、次のいずれかを行います。
⌘ + shift + Pキー
[Options] → [Show Picture-in-Picture]
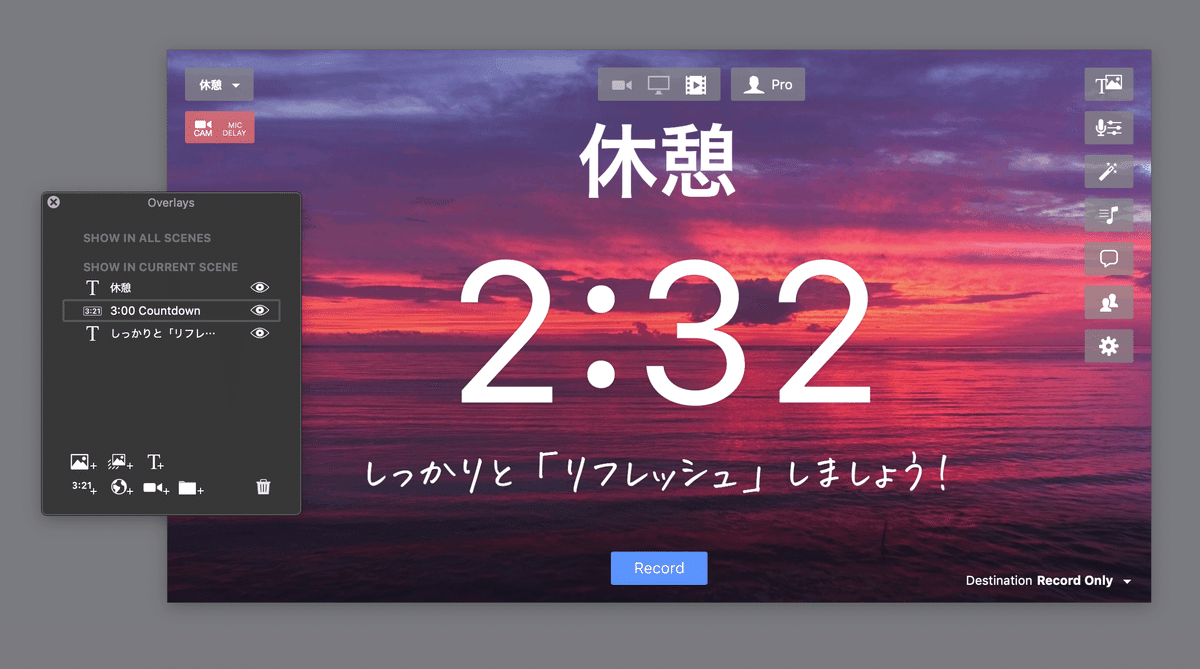
Camera Overlay
[Overlay]メニューの[New Camara Overlay]からCameraを選択すると、「Camera Overlay」が追加されます。

ぱっと見た目はPicture in Pictureですが、ウィンドウ上の✏️アイコンをクリックして、次を変更できます。
Cameraソース
Aspect(画角)

Picture in Pictureでも画角変更を行えますが、「Camera Overlay」ではCustomを選択できます。
Customを選択すると、自由に大きさ変更を行えます。なお、位置変更は[Camera Effects]パネルの[Zoom & Pan]にて行います。

Video
ソースにVideo Fileを選択しているときには、ちょっとトリッキーです。

まず、Video Fileは[Source]ですので、当然[Overlay]パネルには表示されません。
また、Video終了時のアクションを次のように設定できます。
Do Nothing(何もしない)
Loop Video(動画をループ)
Go to Next Scene(次のシーンに移動)
End Broadcast(ライブ放送を終了)

動画をオーバーレイとして扱いたい場合には、Animated Overlayとして追加します。

まとめ
次のように使い分けるのがよさそう。
ベースとして追加するコンテンツは、Sourceとして追加する
スピーカーとGuestの2分割、3分割はSplit Screenで行う
Picture in Pictureは使わずに、Camera Overlayを使う
上物の動画は、Animated Overlayとして追加する
この記事が気に入ったらサポートをしてみませんか?