【FCM入門①】フォアグラウンドで通知を送信する(Firebaseコンソールから)

今回から、Firebase Cloud Messagingを使って
通知機能を開発していきます。
・通知機能を開発するのが初めてだから、手順が分からない…
・Firebase Cloud Messagingの使い方を教えてほしい
そんな方にとって、分かりやすく理解ができるよう
1つずつ解説していきます。
Firebase Cloud Messagingの特徴やメリットについては、
こちらのnoteでまとめているので、参考にしてみてくださいね。
ゴール
今回の実装では、
デバイスに通知が届くところまでをゴールとします。
実装の手順
まずは、実装の手順をみてみましょう。
実装の手順
①トークンを取得する
②通知を受け取るためのコードを実装する
③Firebaseコンソールから通知を送信する
それでは、早速実装に入っていきましょう!
トークンを取得する
まず、通知をデバイスに送信するためには、
デバイス端末が持つトークンをあらかじめ取得しておく必要があります。
初期化のタイミングで、以下のメソッドを呼び出しましょう。
Future<void> getToken() async {
final token = await FirebaseMessaging.instance.getToken();
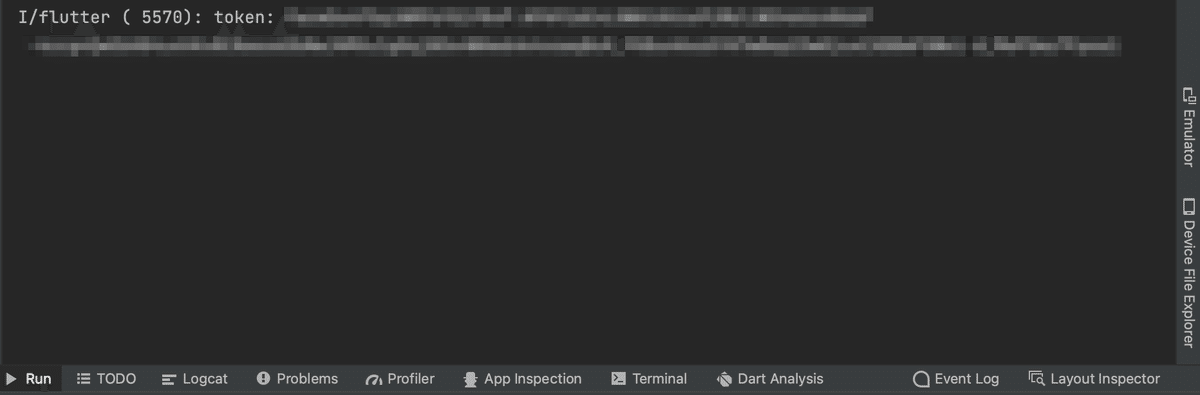
}ログに出すと、トークンが取得できていることを確認できます。
*トークンは後ほど使うので、コピーしておきましょう!
通知を受け取るためのコードを実装する
コードの全文を載せています。(コピペOK👍)
その後で、コードのポイントを解説していきます。
*今回はAndroidのみの実装
// main.dart

final FlutterLocalNotificationsPlugin flutterLocalNotificationsPlugin =
    FlutterLocalNotificationsPlugin();

const AndroidNotificationChannel channel = AndroidNotificationChannel(
  'high_importance_channel',
  'High Importance Notifications',
  description: 'This channel is used for important notifications.',
  importance: Importance.max,
);

Future<void> main() async {
  WidgetsFlutterBinding.ensureInitialized();
  await setupFirebase();

  runApp(
    const ProviderScope(
      child: MyApp(),
    ),
  );
}

Future<void> setupFirebase() async {
  await Firebase.initializeApp();

  FirebaseMessaging.onMessage.listen(_firebaseMessagingForegroundHandler);
}

Future<void> _firebaseMessagingForegroundHandler(RemoteMessage message) async {
  RemoteNotification? notification = message.notification;
  AndroidNotification? android = message.notification?.android;

  if (notification != null && android != null) {
    flutterLocalNotificationsPlugin.show(
      notification.hashCode,
      notification.title,
      notification.body,
      NotificationDetails(
        android: AndroidNotificationDetails(
          channel.id,
          channel.name,
          channelDescription: channel.description,
          icon: 'launch_background',
        ),
      ),
    );
  }
}

class MyApp extends StatelessWidget {
  const MyApp({Key? key}) : super(key: key);

  @override
  Widget build(BuildContext context) {
    initializeDateFormatting('ja');
    return MaterialApp(
      theme: ThemeData(
        primarySwatch: Colors.blue,
        fontFamily: 'NotoSansJP',
      ),
      home: const HomeScreen(),
      debugShowCheckedModeBanner: false,
    );
  }
}
// home_screen.dart
class HomeScreen extends HookConsumerWidget {
const HomeScreen({Key? key}) : super(key: key);
@override
Widget build(BuildContext context, WidgetRef ref) {
return Scaffold(
appBar: AppBar(
title: const Text('Home'),
),
body: Container(),
);
}
}《ポイント解説》
final FlutterLocalNotificationsPlugin flutterLocalNotificationsPlugin =
    FlutterLocalNotificationsPlugin();

const AndroidNotificationChannel channel = AndroidNotificationChannel(
  'high_importance_channel',
  'High Importance Notifications',
  description: 'This channel is used for important notifications.',
  importance: Importance.max,
);
まず、この部分は初めて見ますよね。
これは、Androidのフォアグラウンドで通知を受ける際に
必要なコードとなります。
Future<void> setupFirebase() async {
  await Firebase.initializeApp();

  FirebaseMessaging.onMessage.listen(_firebaseMessagingForegroundHandler);
}
setupFirebase()メソッドの中で、
FirebaseMessaging.onMessageを宣言しています。
onMessageとすることで、フォアグラウンド時の処理が可能になります。
Future<void> _firebaseMessagingForegroundHandler(RemoteMessage message) async {
  RemoteNotification? notification = message.notification;
  AndroidNotification? android = message.notification?.android;

  if (notification != null && android != null) {
    flutterLocalNotificationsPlugin.show(
      notification.hashCode,
      notification.title,
      notification.body,
      NotificationDetails(
        android: AndroidNotificationDetails(
          channel.id,
          channel.name,
          channelDescription: channel.description,
          icon: 'launch_background',
        ),
      ),
    );
  }
}
_firebaseMessagingForegroundHandlerでは、
引数にRemoteMessage型のmessageを受け取ります。
このmessageは通知として送られてきたデータを表しています。
その後、notificationとandroidがnullでなければ、
flutterLocalNotificationsPlugin.show()メソッドで通知をデバイス上に
表示しているという流れです。
これで、通知を受け取る準備ができましたね!
Firebaseコンソールから通知を送信する
通知を受け取る準備ができたので、
いよいよFirebaseコンソールから通知を送信してみましょう。
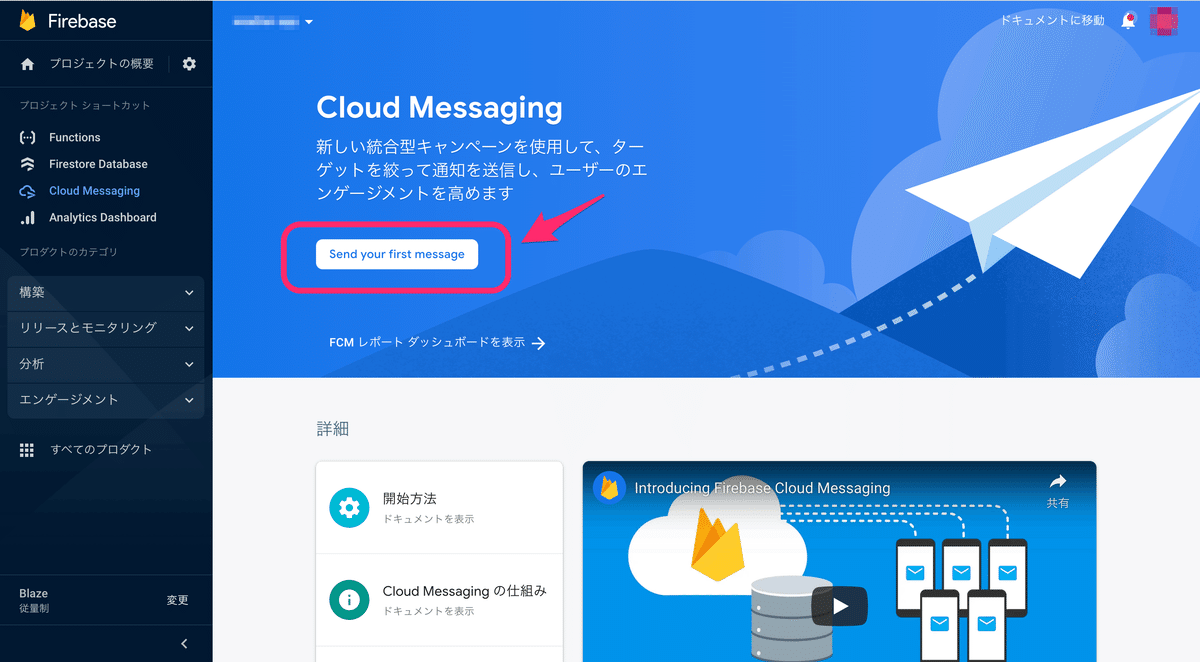
まずは、FirebaseコンソールのCloud Messagingのページに移動します。
Send your first messageボタンをクリックしましょう。
続いて、通知の作成になります。
通知のタイトルと通知テキストを入力します。
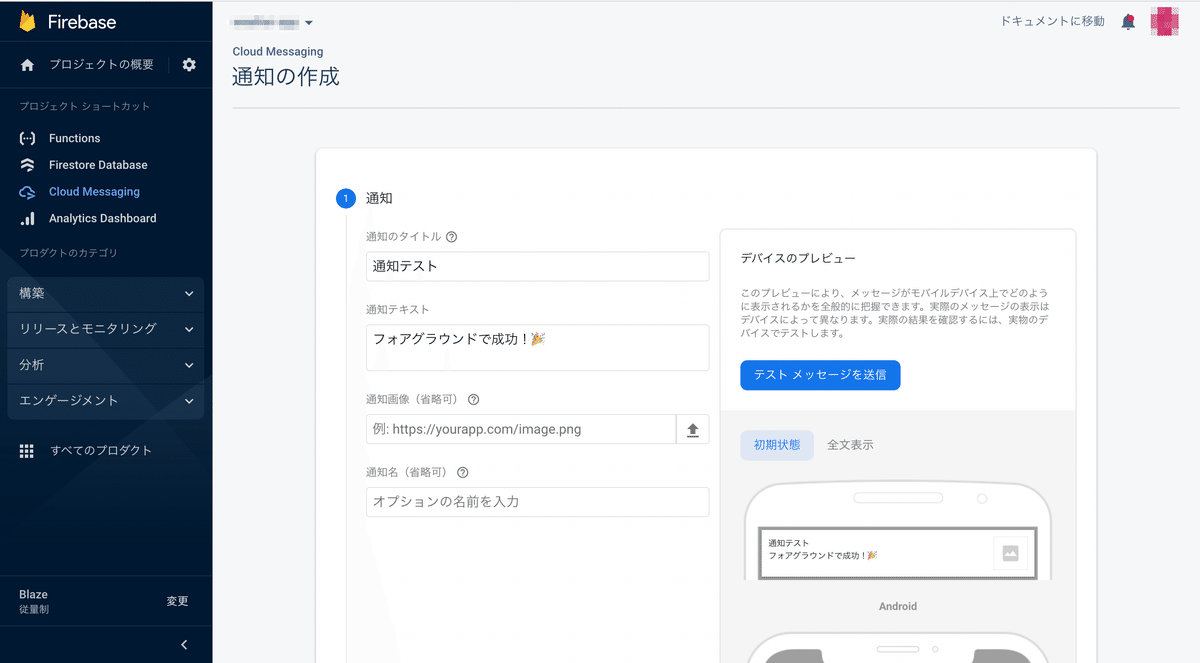
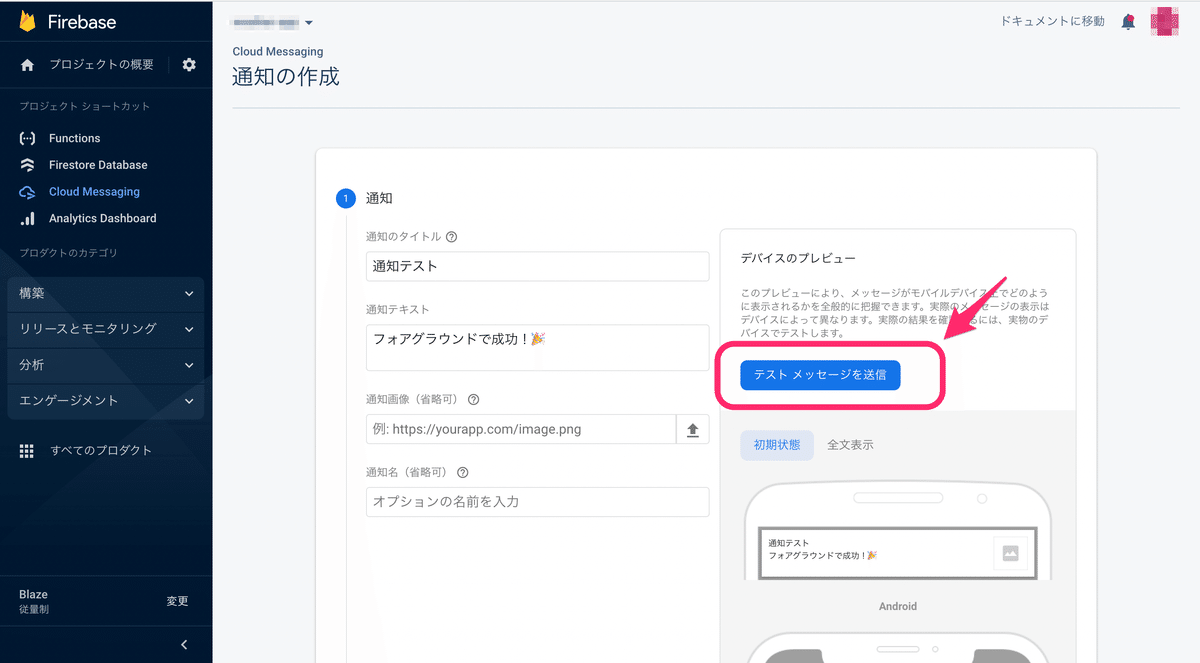
テストメッセージを送信ボタンをクリックしましょう。
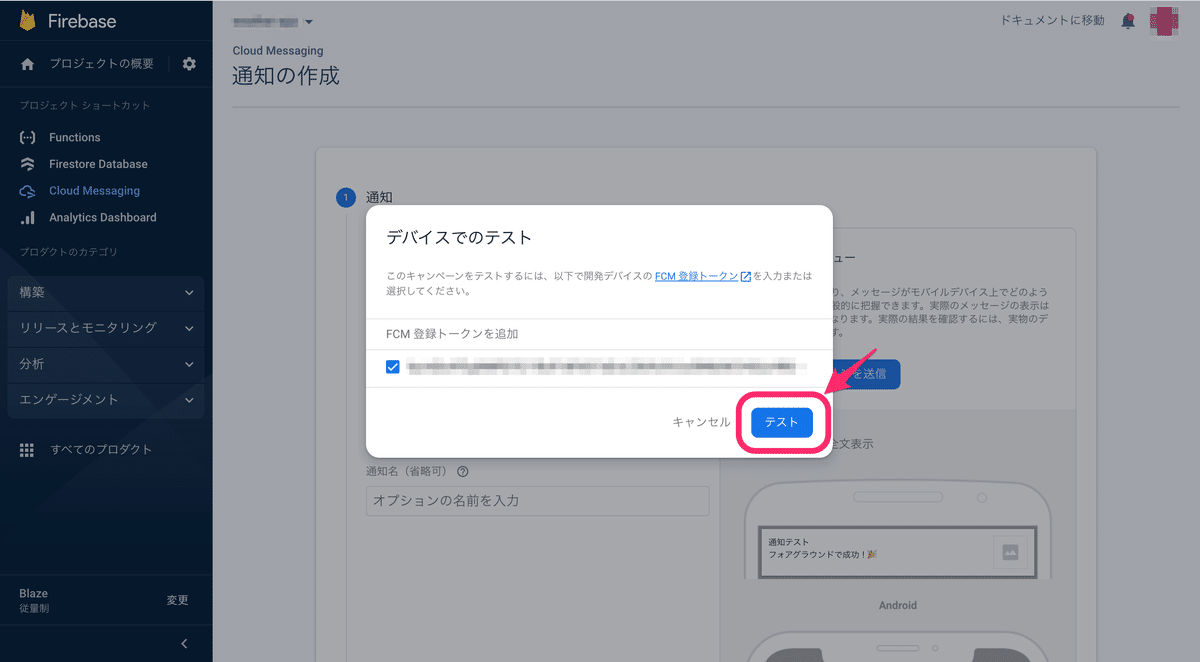
先ほどターミナルでコピーしたトークンを入力していきます。

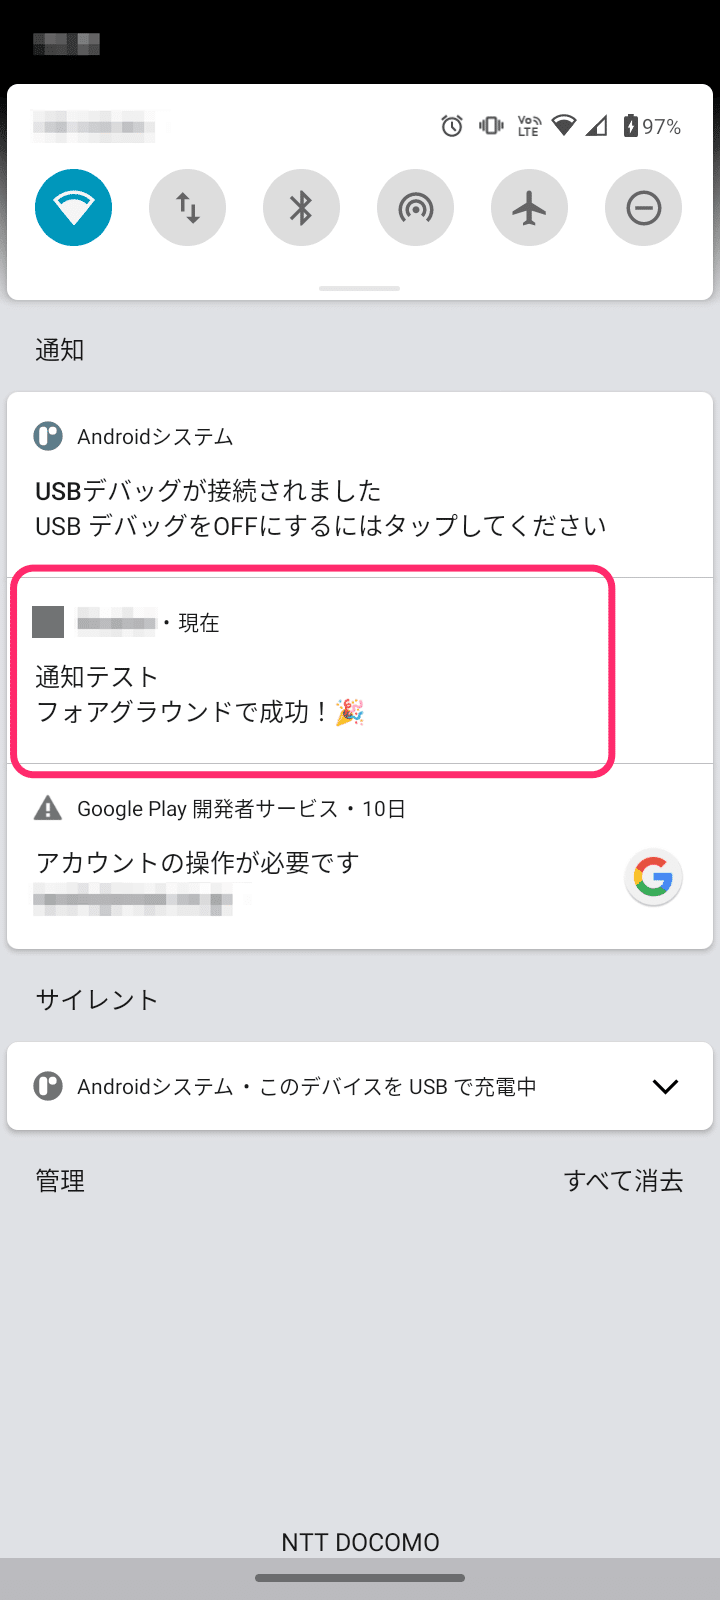
こんな感じです!
あとは、テストボタンをクリックするとデバイスに通知が送信されます。
デバイスに通知が届きましたね!

最後に
いかがでしたでしょうか?
通知が実際に届くと感動しますね!
今回は、Firebase Cloud Messagingの
フォアグラウンドでの通知について解説しました。
この調子でFirebase Cloud Messagingのスキルを身につけて
エンジニアとしてのレベルをもっと上げていきましょう✌️
次回は、バックグラウンドで通知を受け取る方法に
ついて解説するので、ぜひ一緒に学んでいきましょう!
この記事が気に入ったらサポートをしてみませんか?