
Rembgを使ってVRoid Studio画像の背景を透過する

前回はグリーンバックにしてGIMPで色を抜く方法をお伝えしましたが、
なにやらさいきんはAIをつかって背景を透過してくれるべんりなRembgという機能があるのだとか。
さっそくじっけ…使用してみます。
Miniconda3環境なのでまずは仮想環境をつくります。なまえはrembgにしました。
> conda create -n rembgつくった仮想環境に切り替えます。
> activate rembgrembg自体はpipでのインストールになりますが、このままpipするとRootに入れられてしまうので、まずcondaでpipをインストールします。
> conda install pipつぎにpipでrembgをインストールします。
> pip install rembgcdでVRoid Studioで撮影したpng画像のあるフォルダに移動し、
> rembg i ファイル名.png 透過した画像を保存したいファイル名.pngところが…
Access denied with the following error:

        Too many users have viewed or downloaded this file recently. Please
        try accessing the file again later. If the file you are trying to
        access is particularly large or is shared with many people, it may
        take up to 24 hours to be able to view or download the file. If you
        still can't access a file after 24 hours, contact your domain
        administrator.

You may still be able to access the file from the browser:

        (Google DriveのURL)
Google Driveのダウンロード数超過だったようです。
Google DriveにログインしてブラウザでURLを開くといけました。
とりあえず4つのモデルすべてをダウンロードし、C:\Users\ユーザ名\.u2net\に配置します。
再度チャレンジ。
> rembg i ファイル名.png 透過した画像を保存したいファイル名.png透過前がこちら。
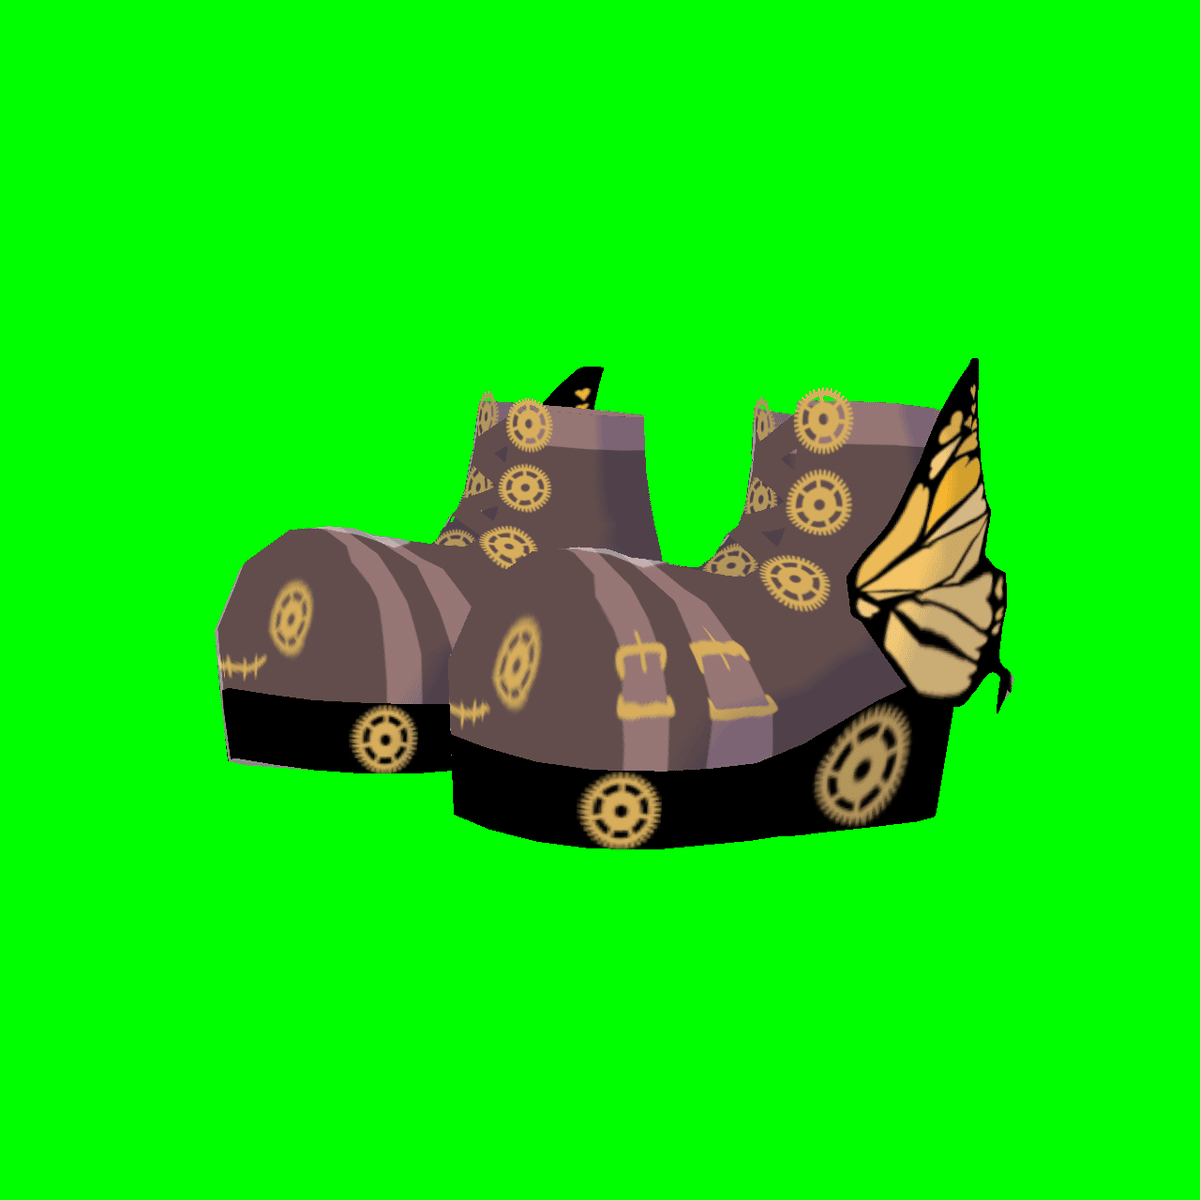
透過後がこちら。

よく見ると歯車の内側とか抜けてないですね…。
グリーンバックなら従来の画像加工ソフトでじゅうぶんということなのでしょうか。
以上、VRoid Studioの画像に対してRembgをつかってみたじっけんでした。