
Lesson7 ボタンをつくろう
割引あり

今回はゲーム画面で使用するコマンドボタンをつくります。
画像データ
まず画像データを配ります。
以前ダウンロードしてあれば次に進んでください。
全部で8枚です。また「image」フォルダに入れてください。
structure.py
structure.py というファイルを開いてください。
中身はいつものようにコードを書く場所が指定されています。
######## structure.py ########
# ここに構造物の基本形式を設定します
############################################################################################
#### ライブラリの読み込み ####


############################################################################################
# ボタンの基本設定


############################################################################################
# 四角の基本設定


############################################################################################
そこに以下のコードをコピペして保存してください。
#### structure.py ####

########################################################################################
#### ライブラリの読み込み ####
import pygame

########################################################################################
# ボタンの基本設定
class Button(pygame.sprite.Sprite):
    def __init__(self, x, y, normal_image_path, selected_image_path,button_num):
        super().__init__()  # pygame.sprite.Spriteの初期化メソッドを呼び出す
        self.x = x                                  # 初期位置 x
        self.y = y                                  # 初期位置 y
        self.normal_image = normal_image_path       # 画像1
        self.selected_image = selected_image_path   # 画像2
        self.button_num = button_num                # ボタンナンバー
        self.key_pressed = False  # キーが押されているかどうかの状態

    # 描画関数
    def draw_button(self, screen,selected_button,player_turn,image_player):
        if player_turn:
            if self.button_num == selected_button:  # 選択されたボタンの場合
                screen.blit(self.selected_image, (self.x, self.y))  # 選択中のボタン表示
                screen.blit(image_player, (self.x + 11, self.y + 4))  # ボタン内にプレイヤーアイコン表示
            else:
                screen.blit(self.normal_image, (self.x, self.y))    # ボタン(非選択)表示
        else:
            screen.blit(self.normal_image, (self.x, self.y))        # ボタン(非選択)表示


########################################################################################
stage1.py
前回の続きとして stage1.py を開いてください。
そこに以下のコードを追加でコピペしてください。
#### stage1.py ####

############################################################################################
#### ライブラリの読み込み ####

from structure import Button

############################################################################################

#### メインプログラム ####
def main(hp,mp,idx):            # 追加済み

    ########################################################################################
    #### コマンドボタンのスプライト ####
    button_width = 200
    button_height = 50
    image101 = pygame.image.load("image/command_1A.png")
    image102 = pygame.image.load("image/command_1B.png")
    image103 = pygame.image.load("image/command_2A.png")
    image104 = pygame.image.load("image/command_2B.png")
    image105 = pygame.image.load("image/command_3A.png")
    image106 = pygame.image.load("image/command_3B.png")
    image107 = pygame.image.load("image/command_4A.png")
    image108 = pygame.image.load("image/command_4B.png")
    button1_1 = pygame.transform.scale(image101, (button_width, button_height))
    button1_2 = pygame.transform.scale(image102, (button_width, button_height))
    button2_1 = pygame.transform.scale(image103, (button_width, button_height))
    button2_2 = pygame.transform.scale(image104, (button_width, button_height))
    button3_1 = pygame.transform.scale(image105, (button_width, button_height))
    button3_2 = pygame.transform.scale(image106, (button_width, button_height))
    button4_1 = pygame.transform.scale(image107, (button_width, button_height))
    button4_2 = pygame.transform.scale(image108, (button_width, button_height))
    buttons_params = [
        {'x':50,'y':height - button_height - 10,'normal_image_path': button1_1, 'selected_image_path':button1_2,'button_num':1},
        {'x':250,'y':height - button_height - 10,'normal_image_path': button2_1, 'selected_image_path':button2_2,'button_num':2},
        {'x':450,'y':height - button_height - 10,'normal_image_path': button3_1, 'selected_image_path':button3_2,'button_num':3},
        {'x':650,'y':height - button_height - 10,'normal_image_path': button4_1, 'selected_image_path':button4_2,'button_num':4},
    ]
    buttons = [Button(**params) for params in buttons_params]

    def command_button():
        for button in buttons:
            button.draw_button(screen,selected_button,player_turn,image_player)

    #######################################################################################
    #### ゲームループ ####
    while True:                                 # 追加済み

        #### ステージ共通の要素 ####

        command_button()


         #### キー操作設定 ####
        # 単押し
        for event in pygame.event.get():        # 追加済み
            if event.type == pygame.QUIT:       # 追加済み
                pygame.quit()                   # 追加済み
                sys.exit()                      # 追加済み

            if event.type == pygame.MOUSEBUTTONDOWN and event.button == 1:              # 追加済み
                return hp,mp,idx                                                        # 追加済み

            if event.type == pygame.KEYDOWN:                                            # 追加済み

                ## 省略 ##

                if event.key == pygame.K_LEFT and player_turn:
                    selected_button = max(1,selected_button - 1)
                if event.key == pygame.K_RIGHT and player_turn:
                    selected_button = min(4,selected_button + 1)
すべてコピペができたら以下を実行してください。
>python main.py
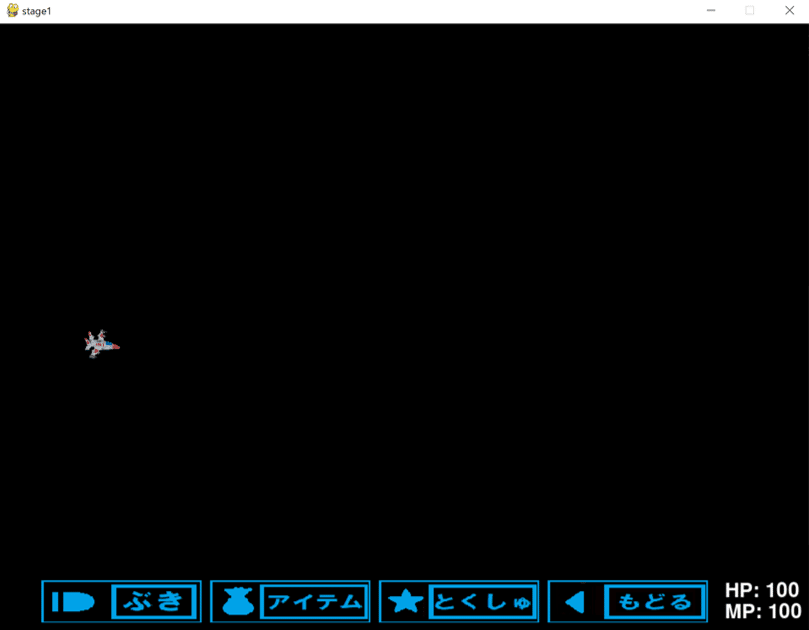
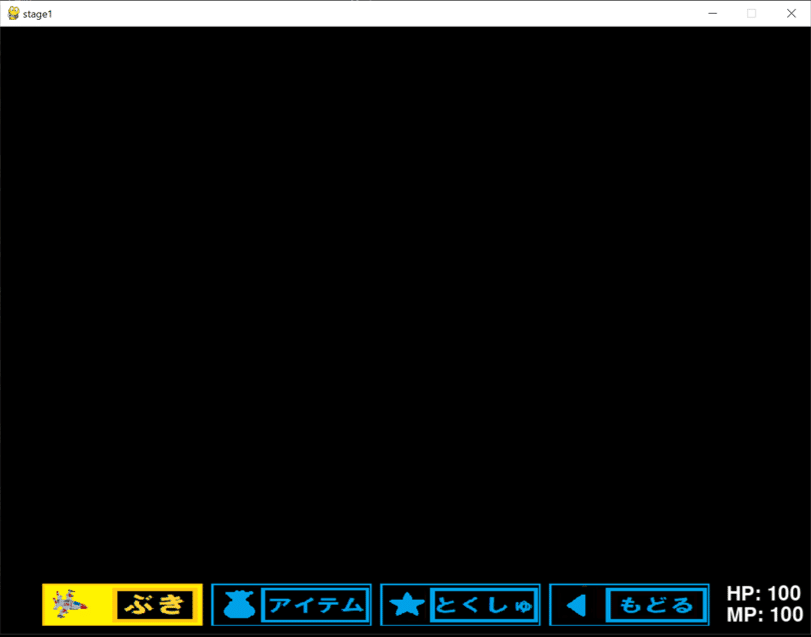
スペースキーを押すと
「←・→」キーを押すと
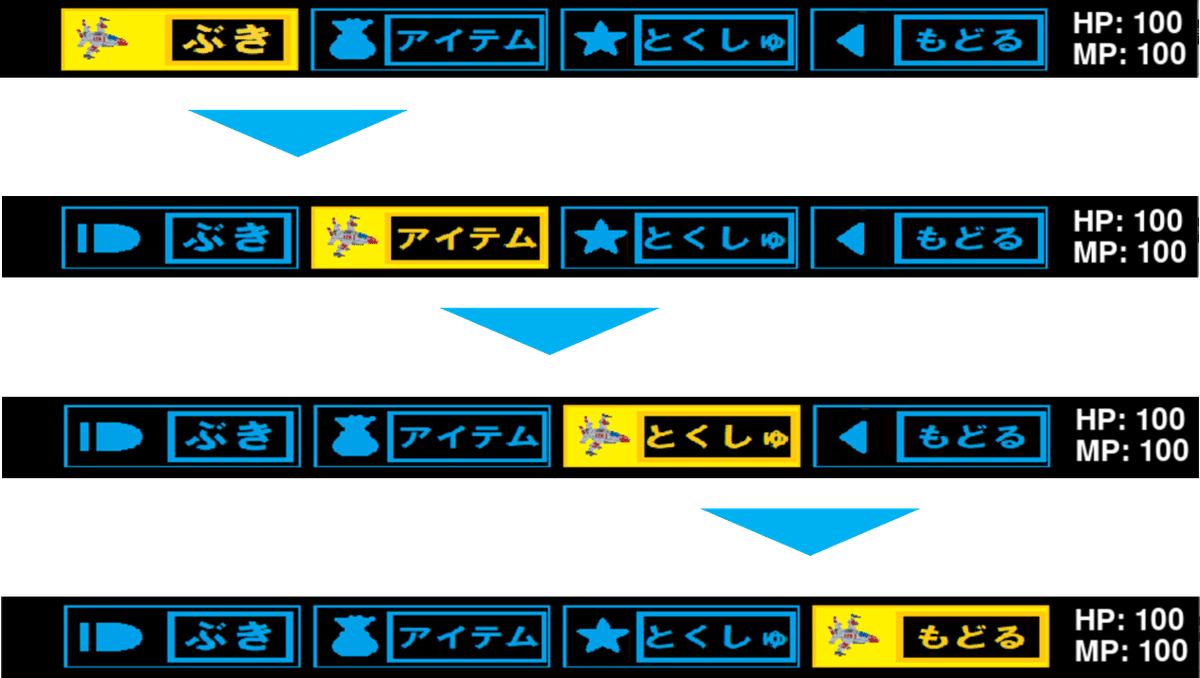
こんな感じでコマンドを選ぶことができます。ただしコマンドの中身などは全然入ってません。ボタンを選べるってだけです。コマンドの内容は Lesson18 で追加予定です。
ちなみにもう一度スペースキーを押せば元に戻ります。
ね、ゲームっぽい。
それではここから解説をします。いつものように有料ゾーンです。ぜひⅩ(旧Twitter)でリポストして無料で学習してください★
ここから先は
10,878字
この記事が気に入ったらサポートをしてみませんか?