ComfyUI で AnimateLCM を試す

「ComfyUI」で「AnimateLCM」を試したので、まとめました。
1. AnimateLCM
「AnimateLCM」は、最小限のステップで忠実度の高い動画生成を可能にする手法です。
2. ComfyUIでの実行
「ComfyUI」での実行手順は、次のとおりです。
(1) 「ComfyUI」のインストール。
(2) 「ComfyUI Manager」のインストール。
「ComfyUI/custom_nodes」で以下のコマンドを実行します。
!git clone https://github.com/ltdrdata/ComfyUI-Manager.git「CompyUI」起動時に左のメニューに「Manager」が追加されます。

(3) モデルの準備。
各モデルを以下の場所に配置します。上2つが「AnimateLCM」で提供されてるモデルで、下2つは任意のSD1.5モデルとVAEになります。
・sd15_t2v_beta.ckpt : ComfyUI/models/animatediff_models
・sd15_lora_beta.safetensors : ComfyUI/models/loras
・IrisMix-v3.safetensors : ComfyUI/models/checkpoints
・vae-ft-mse-840000-ema-pruned.safetensors : ComfyUI/models/vae
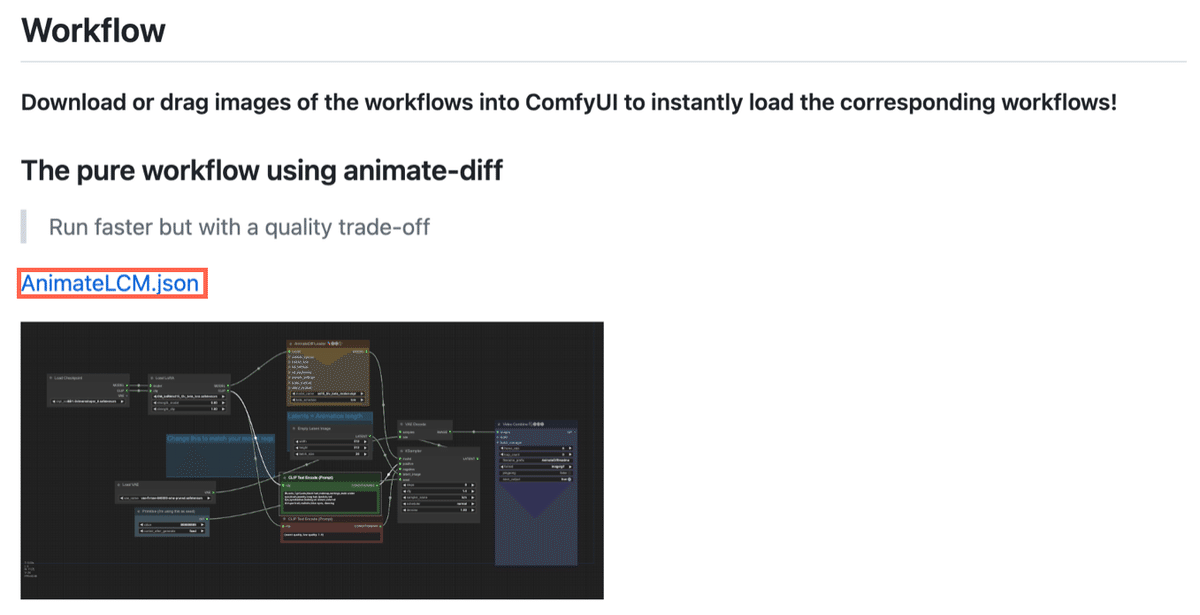
(4) 「ComfyUI-AnimateLCM」リポジトリからWorkflow「animatelcm.json」をダウンロードして、「ComfyUI」の画面にドロップ。
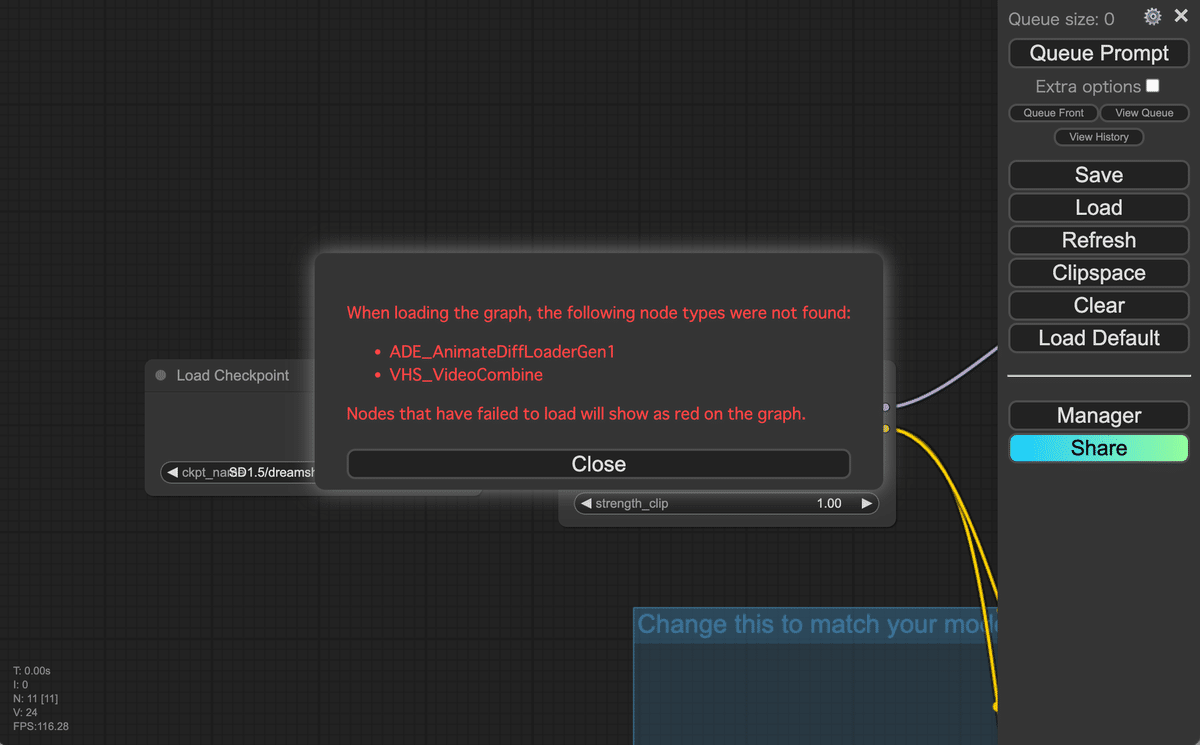
(5) エラーメッセージから足りないノードを確認。
・ADE_AnimateDiffLoaderGen1
・VHS_VideoCombine
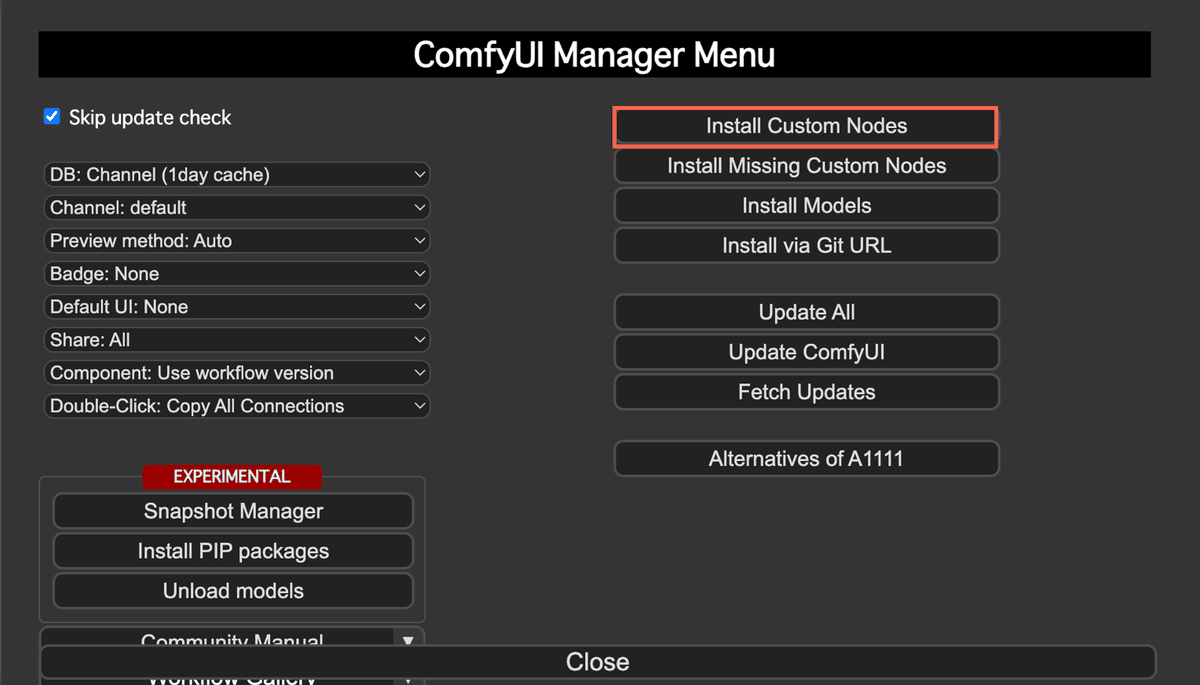
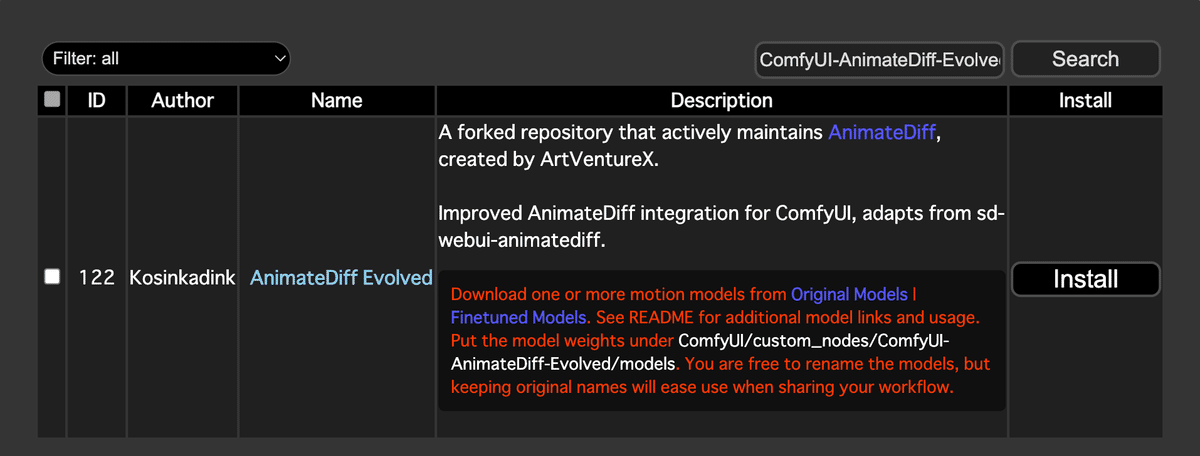
(6) 「Manager」ボタンを押し、「Install Custom Nodes」ボタンを押し、以下の2つを検索して「Install」ボタンを押して、「ComfyUI」を再起動。

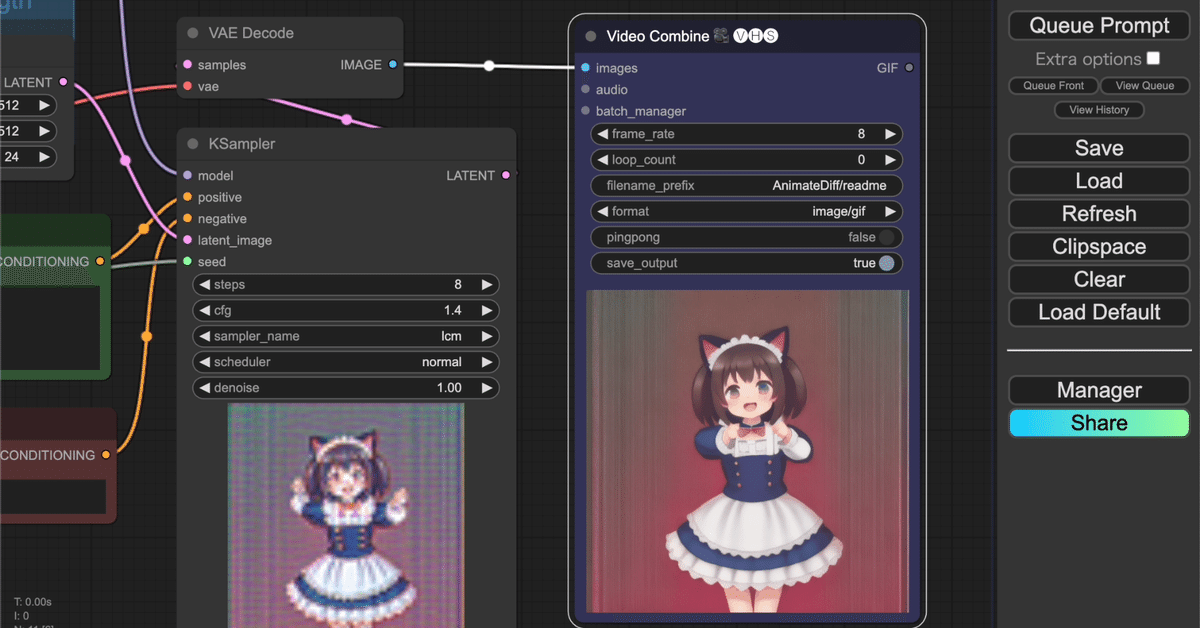
(7) エラーがでなくなったことを確認してから、4つのモデルとプロンプト (8k,solo,1girl,solo,cute,cat-ear,maid,dancing) を設定。

(8) 「Queue Prompt」を押す。
mac で ComfyUI の AnimateLCM を試す。https://t.co/TsYxs4DE6t pic.twitter.com/oVnlKolfKm
— 布留川英一 / Hidekazu Furukawa (@npaka123) February 10, 2024
この記事が気に入ったらサポートをしてみませんか?