Google Colab で Stable Diffusion 2.0 を試す - diffusers版
「Google Colab 無料版」+「diffusers」で「Stable Diffusion 2.0」を試したのでまとめました。
・diffusers v0.9.0
【最新版の情報は以下で紹介】
1. Stable Diffusion 2.0
「Stable Diffusion 2.0」は以下のリポジトリで公開されています。
2. Colabでの実行
Colabでの実行手順は、次のとおりです。
(1) 新規のColabのノートブックを開き、メニュー「編集 → ノートブックの設定」で「GPU」を選択。
(2) GPUを確認。
T4またはP100であることを確認します。
# GPUの確認
!nvidia-smi
+-----------------------------------------------------------------------------+
| NVIDIA-SMI 460.32.03 Driver Version: 460.32.03 CUDA Version: 11.2 |
|-------------------------------+----------------------+----------------------+
| GPU Name Persistence-M| Bus-Id Disp.A | Volatile Uncorr. ECC |
| Fan Temp Perf Pwr:Usage/Cap| Memory-Usage | GPU-Util Compute M. |
| | | MIG M. |
|===============================+======================+======================|
| 0 Tesla T4 Off | 00000000:00:04.0 Off | 0 |
| N/A 35C P8 10W / 70W | 0MiB / 15109MiB | 0% Default |
| | | N/A |
+-------------------------------+----------------------+----------------------+(3) パッケージのインストール。
# パッケージのインストール
!pip install diffusers[torch]==0.9 transformers
!pip install --upgrade --pre triton
(4) xformersのインストール。
A100などで使うには、xformersを自分でビルドするか、fast-stable-diffusionなどで提供されてるビルド済みwheelを使う必要があります。
# xformersのインストール (T4 / P100用)
!pip install -q https://github.com/metrolobo/xformers_wheels/releases/download/1d31a3ac_various_6/xformers-0.0.14.dev0-cp37-cp37m-linux_x86_64.whl
(5) パイプラインの準備。
from diffusers import StableDiffusionPipeline, EulerDiscreteScheduler
import torch

# パイプラインの準備
model_id = "stabilityai/stable-diffusion-2"
pipe = StableDiffusionPipeline.from_pretrained(
    model_id,
    scheduler=EulerDiscreteScheduler.from_pretrained(
        model_id,
        subfolder="scheduler"
    ),
    torch_dtype=torch.float16,
    revision="fp16"
).to("cuda")
pipe.enable_attention_slicing()
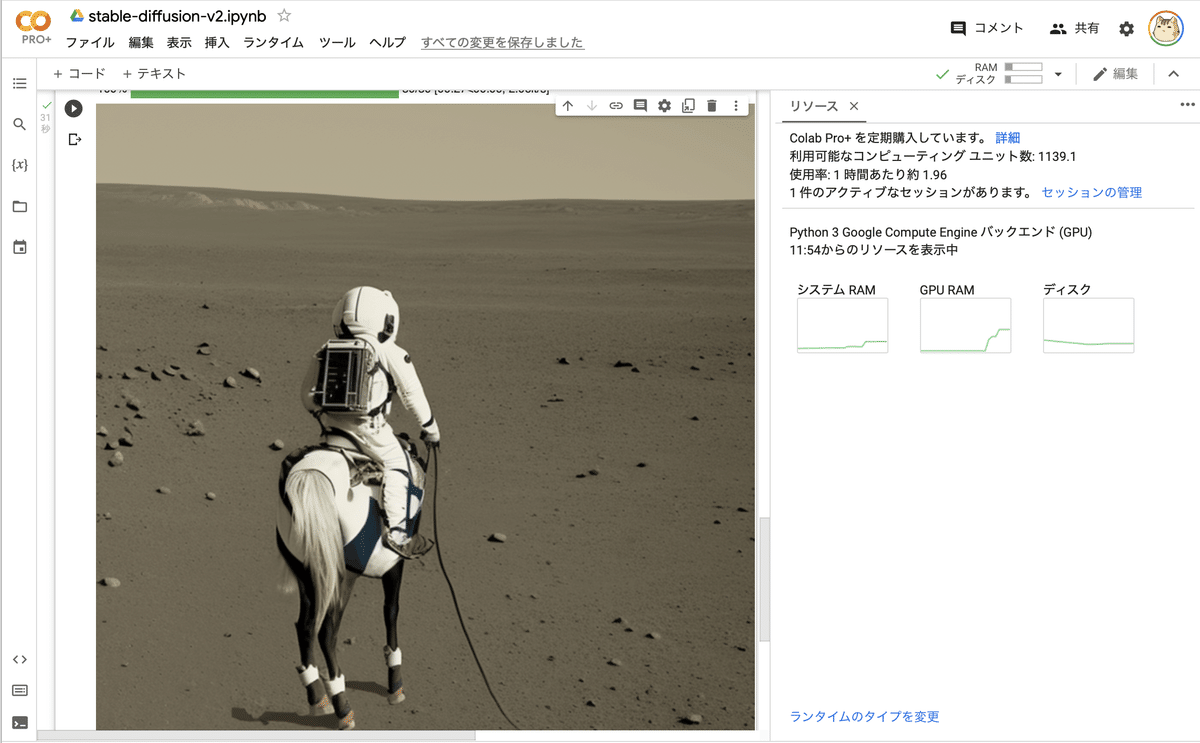
(6) 推論の実行。
# 推論の実行
prompt = "a photo of an astronaut riding a horse on mars"
image = pipe(prompt, height=768, width=768).images[0]

# 保存と表示
image.save("output.png")
image
