第12回 Laravel10 環境構築メモ(Laravel+Typescript+React+inertiaでCreateしてみる)

はじめに
前回、一覧表示はできたので、今回は、データの登録画面を作成してみます。今回から、少しそれっぽい感じの画面にしてますが、php artisan breeze:install react --typescriptを実行した際に作成された、アリもののcomponentを使いまわしているだけです。
Controllerを修正
GreetingControllerに処理を追加していきます。前回、オプションに--resourceを付けてmakeした場合は、勝手にcreateとstoreのメソッドが用意されてるので、中身を追加します。createの方は登録画面を表示しているだけです。storeの方がリクエストから値に対して、validationをしながら、データのcreateをしています。問題なくcreateされたら一覧画面に最後は遷移させてます。前回、Route::resourceを使ってるので、routeの追加は不要です。
app/Http/Controllers/GreetingController.php
   /**
     * Show the form for creating a new resource.
     */
    public function create()
    {
        return Inertia::render('Greeting/create');
    }

    /**
     * Store a newly created resource in storage.
     */
    public function store(Request $request)
    {
        Greeting::create($request->validate([
            'country' => ['required', 'max:200'],
            'message' => ['required', 'max:200'],
        ]));
        return to_route('greetings.index');
    }
Modelを修正
$fillableにcountryとmessageを設定します。こいつを設定しないとエラーではじかれてしまいます。画面から入力したいカラムを指定するという事です。
<?php

namespace App\Models;

use Illuminate\Database\Eloquent\Factories\HasFactory;
use Illuminate\Database\Eloquent\Model;

class Greeting extends Model
{
    use HasFactory;
    protected $fillable = [
        'country',
        'message'
    ];
}
componentを作成
Greetigの登録画面を作成します。簡単な説明はコメントに記載したので、見といてもらえればと。
resources/js/Pages/Greeting/create.tsx
import { Head, router, usePage } from '@inertiajs/react'
import { type FC, useState } from 'react'
import GuestLayout from '@/Layouts/GuestLayout'
import InputLabel from '@/Components/InputLabel'
import TextInput from '@/Components/TextInput'
import PrimaryButton from '@/Components/PrimaryButton'
import InputError from '@/Components/InputError'

const Create: FC = () => {
  const { errors } = usePage().props // validationにエラーになったメッセージを取得
  const [values, setValues] = useState({ //useStateの説明はしないが、値の状態を保存
    country: '',
    message: ''
  })

  const handleChange = (e): void => { // onChangeで入力があった値をvaluesにset
    const key = e.target.id;
    const value = e.target.value
    setValues(values => ({
      ...values,
      [key]: value,
    }))
  }

  const handleSubmit = (e): void => { // onSubmitで値をpostする
    e.preventDefault()
    router.post('/greetings', values)
  }

  return (
    <GuestLayout>
    <Head title='Greeting - Create' />
    <form onSubmit={handleSubmit}>
      <div>
        <InputLabel htmlFor="country">Country:</InputLabel>
        <TextInput id="country" value={values.country} onChange={handleChange} className="mt-1 block w-full"/>
        <InputError message={errors.country} className="mt-2" />
      </div>
      <div>
        <InputLabel htmlFor="message">Message:</InputLabel>
        <TextInput id="message" value={values.message} onChange={handleChange} className="mt-1 block w-full"/>
        <InputError message={errors.message} className="mt-2" />
      </div>
      <div className="flex items-center justify-end mt-4">
        <PrimaryButton className="ms-4" type="submit">
          Submit
        </PrimaryButton>
      </div>
    </form>
    </GuestLayout>
  )
}
export default Create
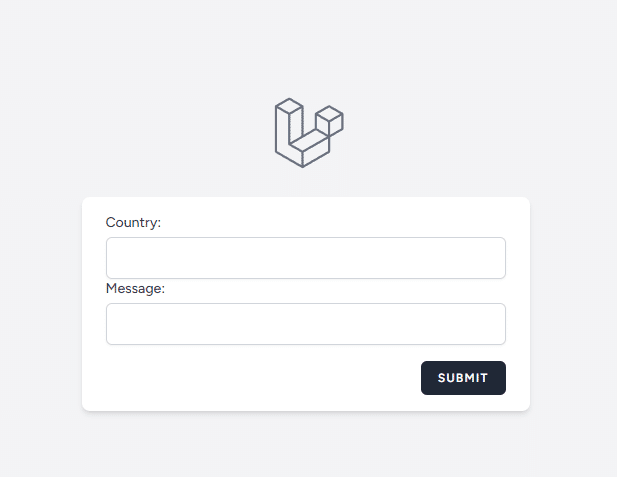
実際に画面を表示してみる
まず、http://localhost/greetings/createにアクセスする。
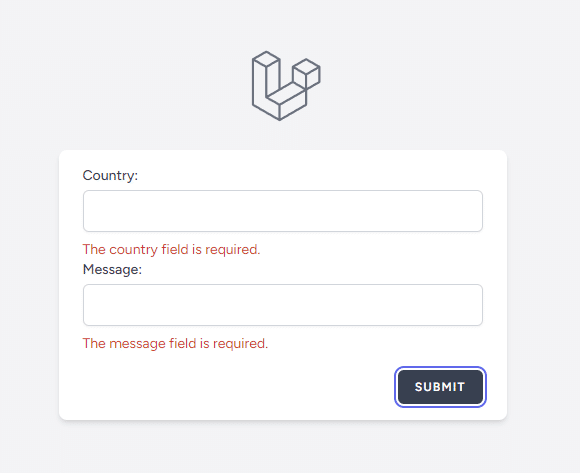
何も入力しないで、SUBMITしてみる。
最後に値を入力してからSUBMITしてみる
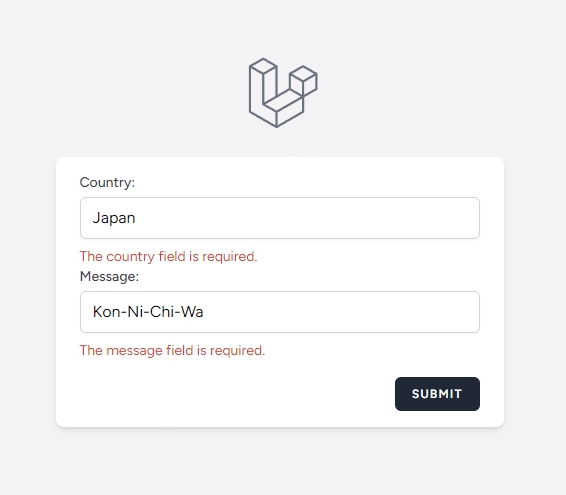

画面の一番したに入力したデータが表示されました。つまるところ、登録成功です。
#21 - Japan
Kon-Ni-Chi-Wa
さいごに
今回は、inertiajsの下記のページをちゃんと読みながら作っただけです。ポイントは、ちゃんと読むことかなと思います。
この記事が気に入ったらサポートをしてみませんか?