
【C++練習日記1】クラスの定義。コンストラクタ。

こんにちは('ω')ノ
生後3か月の猫の横で「猫でもわかるC++」を読んでる。
— カマキリ🐲Python頑張る昆虫 (@t_kun_kamakiri) October 11, 2021
家で飼っている猫ちゃんはこちらです。
猫ちゃんの話はさておき、「猫でもわかるC++」を読んでC++の勉強をしていますので、その練習日記を書いていきます。
基本的な文法(条件分岐、繰り返し文、関数)は他の言語と書き方が違うだけでないように違いはないため、今回はいきなりクラスの練習から始めます。
クラス
クラスと言えばプログラム実行のための設計図のようなものです。
●クラスの定義
●クラスのインスタンス化(実態を作る)
●クラス内のメンバ関数、メンバ変数にアクセス
こちらを意識していれば良いでしょう。
#include <iostream>
using namespace std;
class MyClass{ //クラスの宣言
private:
int a;
public:
int b;
int set_a();
int show_a();
}; //クラスの最後に;が必要
int MyClass::set_a() //メンバ関数の定義
{
cout << "a----" << endl;
cin >> a;
return 0;
}
int MyClass::show_a() //メンバ関数の定義
{
cout << "set_a() a = "<< a << endl;
return 0;
}
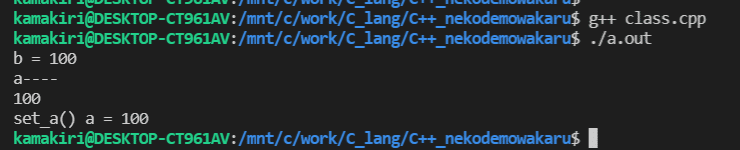
int main()
{
MyClass mc; //クラスのインスタンス化
mc.b = 100;
cout << "b = " << mc.b << endl;
mc.set_a();
mc.show_a();
return 0;
}【実行結果】
もう少し意味のあるコードを書いてみましょう。
身長と体重からBMIを計算するプログラムです。
#include <iostream>
using namespace std;

class BMI {
   private:
       double bw;
       double bl;
       double bmi;

   public:
       int setdata();
       int showbmi();

}; //クラスの後ろに;はいる。

int BMI::showbmi()
{
   cout << "BMI" << bmi << endl;
   return 0;
}

int BMI::setdata()
{
   cout << "身長(cm)----";
   cin >> bl;
   cout << "体重(kg)----";
   cin >> bw;

   bmi = bw/((bl/100.0)* (bl/100.0));

   return 0;
}

int main()
{
   BMI b; //クラスのインスタンス化

   b.setdata();
   b.showbmi();

   return 0;
}
【実行結果】

ポインタを使ってメンバ関数にアクセス
クラスオブジェクトをポインタを使ってメンバ関数にアクセスすることができます。
ptr -> setx(); //ポインタを介してメンバ関数を呼び出す
↑このようなアロー演算子によりメンバ関数にアクセスできます。
#include <iostream>
using namespace std;
class MyClass{
int x;
public:
int setx();
int showx();
};
int MyClass::setx()
{
cout << "xの値を入力----" ;
cin >> x;
return 0;
}
int MyClass::showx()
{
cout << "x = " << x << endl;
return 0;
}
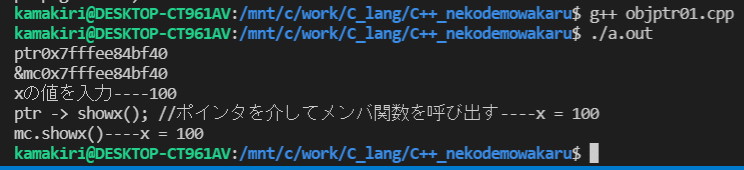
int main()
{
MyClass *ptr; //MyClassのオブジェクトの指すポインタ
MyClass mc; //MyClassオブジェクト
ptr = &mc; //mcオブジェクトのアドレスをポインタに代入
cout << "ptr" << ptr << endl;
// cout << "*ptr" << *ptr << endl;
// cout << "mc" << mc << endl;
cout << "&mc" << &mc << endl;
ptr -> setx(); //ポインタを介してメンバ関数を呼び出す
cout << "ptr -> showx(); //ポインタを介してメンバ関数を呼び出す----";
ptr -> showx(); //ポインタを介してメンバ関数を呼び出す
cout << "mc.showx()----";
mc.showx();
return 0;
}【実行結果】
コンストラクタ:初期値
クラスのインスタンス化した時点で実行してくれる関数を定義します。
それがコンストラクタと呼ばれるものです。
コンストラクタの実装 コンストラクタ名はクラス名と同じにしなければなりません。
#include <iostream>
using namespace std;

class Const{
   public:
       int a;
       int b;
       Const(); //コンストラクタの宣言
};

Const:: Const() //コンストラクタの実装 コンストラクタ名はクラス名と同じにしなければなりません。
   :a(100), b(150)
   {
       cout << "コンストラクタが呼ばれました!" << endl;
       cout << "データメンバaに値を設定しました。" << endl;
   }

int main()
{
   Const c; //クラスのインスタンス化
   cout << "main関数からaの値を読みだします。" << endl;
   cout << "c.a= " << c.a << endl;
   cout << "main関数からbの値を読みだします。" << endl;
   cout << "c.b= " << c.b << endl;

   return 0;
}
【実行結果】

コンストラクタに引数を設定
コンストラクタによる初期化関数にデフォルト引数を指定することができます。
#include <iostream>
#include <string> //stringを使うので必要
using namespace std;
class Person{
string name;
int age;
string sex;
public:
Person(const string &, int, const string);
int show();
};
Person::Person(const string &nm, int n, const string s)
:name(nm), age(n), sex(s)// データメンバを引数で初期化
{
}
int Person::show()
{
cout << "氏名:" << name << endl;
cout << "年齢:" << age << "歳" << endl;
cout << "性別:" << sex << endl;
return 0;
}
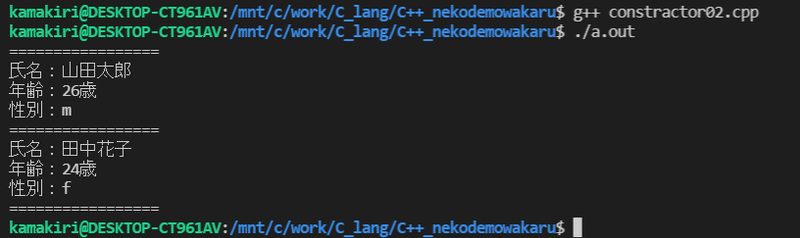
int main()
{
Person yamada("山田太郎", 26, "m");
Person tanaka("田中花子", 24, "f");
cout << "=================" << endl;
yamada.show();
cout << "=================" << endl;
tanaka.show();
cout << "=================" << endl;
return 0;
}【実行結果】
Twitter➡@t_kun_kamakiri
Instagram➡kamakiri1225
ブログ➡宇宙に入ったカマキリ(物理ブログ)
ココナラ➡物理の質問サポートサービス
コミュニティ➡製造業ブロガー
この記事が気に入ったらサポートをしてみませんか?