9/17blender
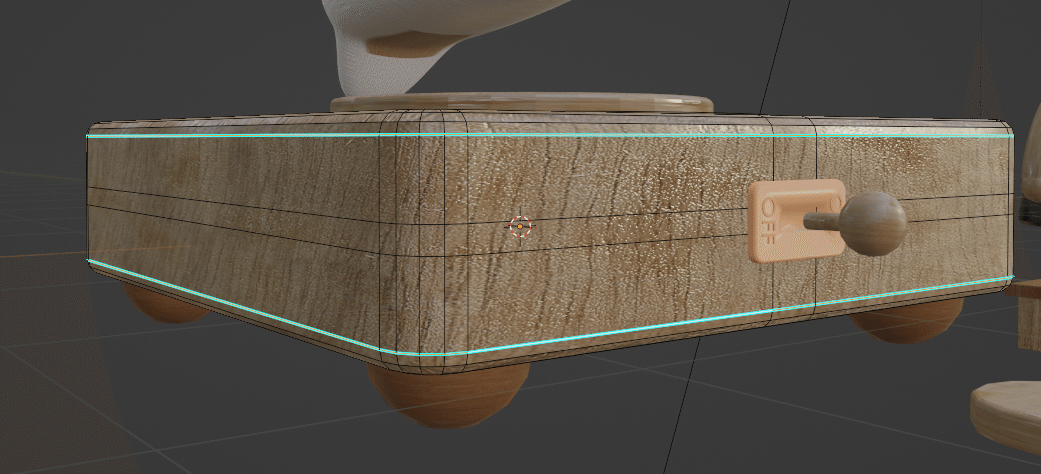
▲物件的圓角、硬邊再分清楚一點

先選擇圓角最外圍的線> Ctrl+E> Mark Sharp
Mark Sharp(套用)
Clear Sharp(取消套用)
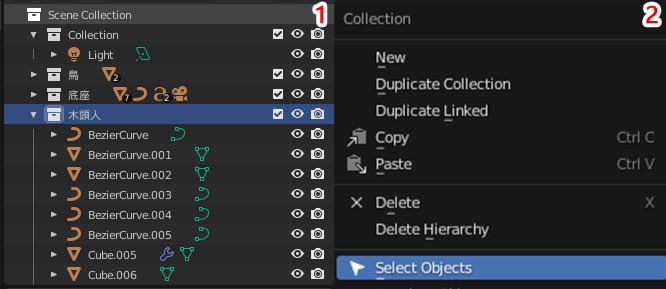
▲全選的另一種方法
對物件的資料夾按右鍵>選擇Seclect Objects
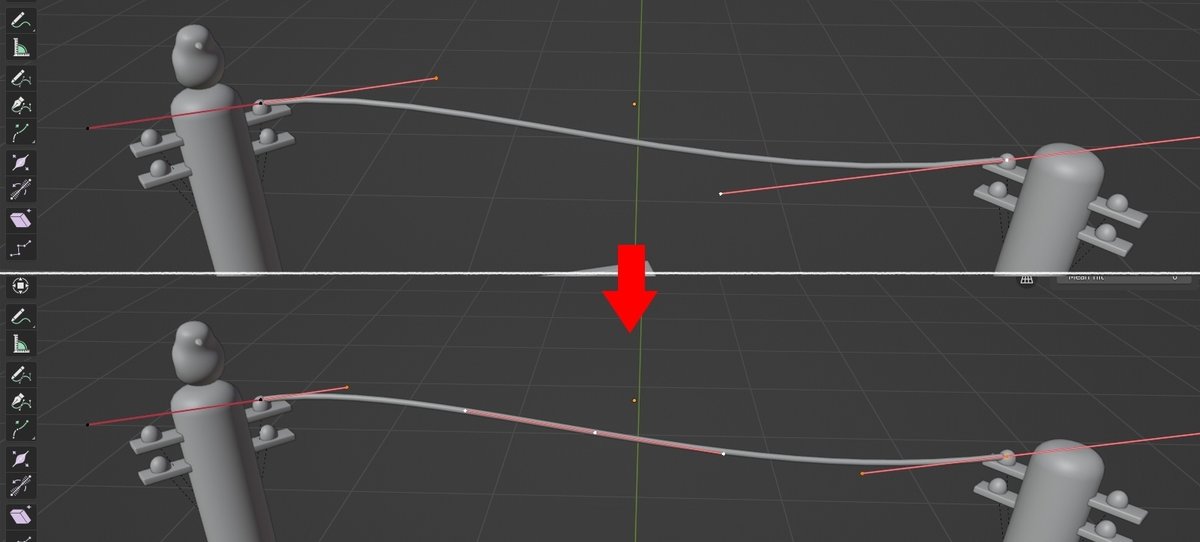
▲貝茲取線新增節點
進入編輯模式,選取兩邊的節點>W>Subdivide
就可以做更細微的調整
●貝茲的粗細調整

▲物件與物件貼齊
看要對齊的依據是點、線、面哪一個(這裡選擇面
選擇要對齊的物件後按住 Ctrl 移動

*套用旋轉、變形、位置…設定
套用的功能代表數字都會變成最初的數值(數值變回0),無法再做還原
所以通常都建議先套用Scale(大小)就好,除非真的很確定,再全部都套用
▲常用的燈光設定

(功能在相機裡)
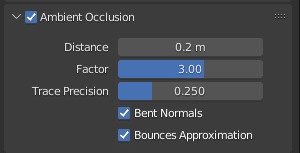
●AO
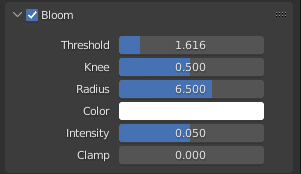
●Bloom / 光暈
讓整體帶一點空氣感
●Screen Space Reflections>Reflections
讓物體的反射更加漂亮


(功能在燈光裡)
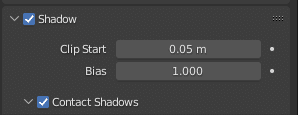
●Contact Shadows
使物體陰影更出來
