
M5Stack プログラミングメモ 集

わからなくて、調べたことを、随時、追記していきます。
1.std::vectorクラス
C++の標準テンプレートライブラリ (STL) に含まれる動的配列を実現するためのクラス。
template<typename _Tp, typename _Alloc = std::allocator<_Tp> >
    class vector : protected _Vector_base<_Tp, _Alloc>
    {
#ifdef _GLIBCXX_CONCEPT_CHECKS
      // Concept requirements.
      typedef typename _Alloc::value_type		_Alloc_value_type;
# if __cplusplus < 201103L
テンプレートパラメータ
@tparam _Tp Type of element.(std::vector が格納する要素の型)
@tparam _Alloc Allocator type, defaults to allocator<_Tp>.(アロケータの型)アロケータはメモリの確保と解放を行う役割。
規定クラス:_Vector_base
実際の要素を保持し、メモリの確保と解放を担当するクラス
#include <M5Core2.h>
void writeVectorData();
//vectorクラス
std::vector<String> texts;
void setup()
{
int i;
M5.begin();
//vectorクラスに要素を追加
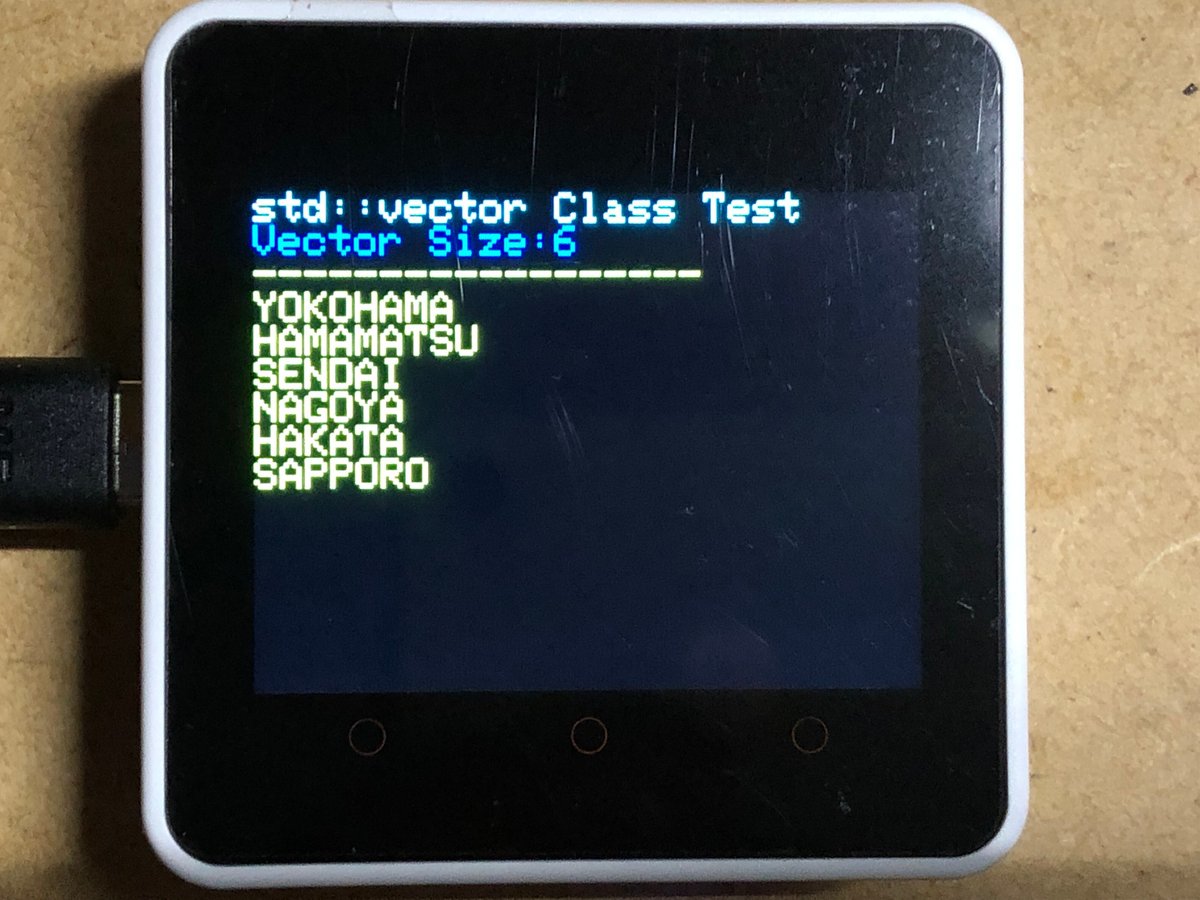
texts.push_back("YOKOHAMA");
texts.push_back("HAMAMATSU");
texts.push_back("SENDAI");
texts.push_back("NAGOYA");
texts.push_back("HAKATA");
texts.push_back("SAPPORO");
// サイズの取得
size_t vsize = texts.size();
M5.Lcd.setTextColor(TFT_CYAN);
M5.Lcd.setTextSize(2);
M5.Lcd.println("std::vector Class Test");
M5.Lcd.setTextColor(TFT_BLUE);
M5.Lcd.printf("Vector Size:%d\r\n",vsize);
M5.Lcd.setTextColor(TFT_GREENYELLOW);
M5.Lcd.println("------------------");
//要素の表示
for(i=0; i<vsize; i++)
{
String str = texts[i];
M5.Lcd.printf("%s\n\r",str);
}
}
//グローバル変数にstaticを付けるとファイル内のみで参照。
static bool repaint;
void loop()
{
if(repaint)
writeVectorData();
M5.update();
if(M5.BtnA.isPressed())
{
texts.clear();
M5.Lcd.clear();
delay(200);
repaint=true;
}
if(M5.BtnB.isPressed())
{
//vectorクラスに要素を追加
texts.push_back("YOKOHAMA");
texts.push_back("HAMAMATSU");
texts.push_back("SENDAI");
texts.push_back("NAGOYA");
texts.push_back("HAKATA");
texts.push_back("SAPPORO");
M5.Lcd.clear();
delay(200);
repaint=true;
}
delay(10);
}
void writeVectorData()
{
repaint=false;
// サイズの取得
size_t vsize = texts.size();
M5.Lcd.setCursor(0,0);
M5.Lcd.setTextColor(TFT_CYAN);
M5.Lcd.setTextSize(2);
M5.Lcd.println("std::vector Class Test");
M5.Lcd.setTextColor(TFT_BLUE);
M5.Lcd.printf("Vector Size:%d\r\n",vsize);
M5.Lcd.setTextColor(TFT_GREENYELLOW);
M5.Lcd.println("------------------");
//要素の表示
for(int i=0; i<vsize; i++)
{
String str = texts[i];
M5.Lcd.printf("%s\n\r",str);
}
if(vsize==0)
{
M5.Lcd.println("none");
}
}std::vector 主なメソッド
要素の追加:
push_back(const T& value): ベクターの最後に要素を追加します。
要素の削除:
pop_back(): ベクターの最後の要素を削除します。
erase(iterator position): 指定された位置の要素を削除します。
要素の大きさ:size()
2.Stringクラスとprintf("%s",str)の扱い。
printf("%s", str)のstrは”char型の配列”である必要があります。なので、Stringクラスのインスタンスをそのまま渡すことはできません。Stringクラスのインスタンスをchar型の配列に変換する方法として、c_str()メソッドを使用することができます。c_str()メソッドは、Stringクラスインスタンスのポインタを返します。
変換指定子%s
文字列へのポインタを実引数に指定し、null文字が出現する直前まで表示
null,空文字はASCIIコードでは、0x00で表現されます。
void loop() {
  String myString = "Hello";
  SerialBT.printf("%s", myString.c_str());
  delay(500);
}
3.Stringクラス 文字列の中から特定の文字を指定して、インデックスを取得し、文字列を抽出する。
char charAt(unsigned int index) const;
charAtメソッドを使って特定文字の位置番号を取得します。これを使って、文字列の抽出に応用します。
/// @brief 文字列で特定文字のインデックスを見つける
/// @param str 走査文字列
/// @param target 検索文字
/// @return
int findIndex(const String &str, char target)
{
  int len = str.length();

  for (int i = 0; i < len; ++i) {
    if (str.charAt(i) == target) {
      return i; // インデックスが見つかればその位置を返す
    }
  }

  return -1; // インデックスが見つからなければ-1を返す
}
String substring(unsigned int beginIndex, unsigned int endIndex) const;
オーバーライド
String substring(unsigned int beginIndex) const { return substring(beginIndex, len());}
先ほどのfindIndex関数とsubstringを組み合わせて、目的の文字列を取り出します。
String str="24/01/16D 13:54:31T TueX\n"
int i = findIndex(str, 'D');
String Str1 = str.substring(0,n);   //先頭から、n番目までで文字列を抽出。24/01/16
int  j = findIndex(str, 'T');
String Str2 = str.substring(n+1,j); //n+1番目からj番目まで抽出。13:54:31
int  k = fineIndex(str, 'X');
String Str3 = str.substring(j+1,k); //j+1番目からk番目まで抽出。Thu
※Stringクラスには、indexOfメソッドもある。
4.Stringクラスインスタンスをbyte列に変換する。
// StringをUTF-8エンコーディングのバイト列に変換
byte* byteArray = (byte*)myString.c_str();

// バイト列の内容を表示
for (int i = 0; i < myString.length(); i++) {
  Serial.print(byteArray[i]);
  Serial.print(" ");
}
5.String::c_strの振る舞い
Stringインスタンスの長さ+1のメモリを確保したのちに、文字列をコピーする。そのあと、’¥0’を最後尾に追加する。
考えられる実装
const char* String::c_str() const {
  // 文字列の長さを取得
  size_t len = this->length();
  // ヌル文字を含むバッファを確保
  char* buffer = new char[len + 1];
  // 文字列をバッファにコピー
  std::copy(this->begin(), this->end(), buffer);
  // バッファの最後にヌル文字を追加
  buffer[len] = '\0';
  // バッファのポインタを返す
  return buffer;
}
この記事が気に入ったらサポートをしてみませんか?