Amplify Docsのチュートリアルを 試してみる

最近、AWS Amplifyに興味があります。
学習のためにAWSのハンズオンチュートリアルをやってみたり、Udemyのオンラインコースを受講してみたりしているのですが、それらを作成した時点のバージョンと最新バージョンに違いがあるようで、同じように動かしてもうまくいかないことが多々あります。
そうなると信じられるのは公式ドキュメントだけ、ということで、その公式ドキュメントのチュートリアルをやってみることにしました。
ちなみにフロントエンドはReactです。
前提条件
https://docs.amplify.aws/start/getting-started/installation/q/integration/react/
・Node.js v12.x 以降
・npm v5.x 以降
・git v2.14.1 以降
インストール済みなのでバージョンを確認します。
$ node -v
v17.4.0

$ npm -v
8.3.1

$ git --version
git version 2.32.0 (Apple Git-132)
これ以外に「JavaScript/ES6 and Reactに精通していること」という条件があります。一応こちらの本は読破したので、基礎は身についているはず。
AWSアカウントにサインアップ
ここからAWSの管理コンソールにログインしておきます。
Amplify CLIのインストールと設定
$ sudo npm install -g @aws-amplify/cli$ amplify configure
Follow these steps to set up access to your AWS account:
Sign in to your AWS administrator account:
https://console.aws.amazon.com/
Press Enter to continueブラウザにAWSの管理コンソールが表示されたら、ターミナルでエンターキーを押します。
Specify the AWS Region
? region: ap-northeast-1
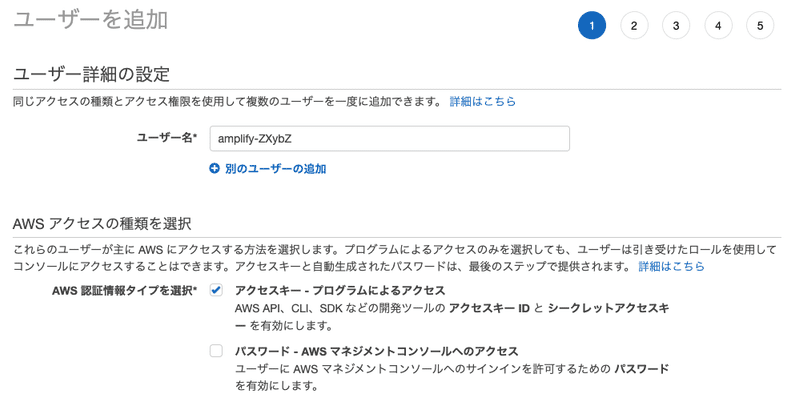
Specify the username of the new IAM user:
? user name: amplify-ZXybZ
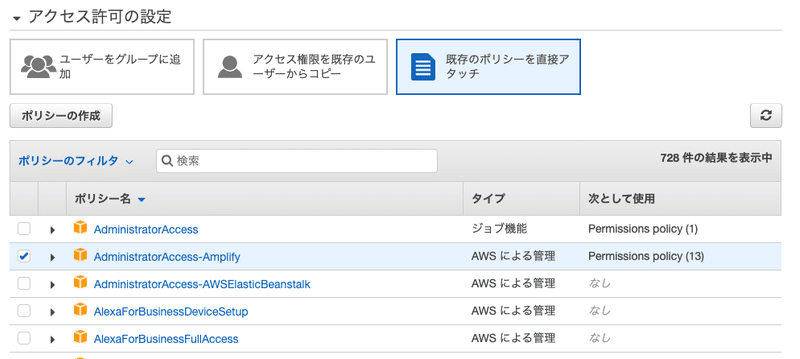
Complete the user creation using the AWS console
https://console.aws.amazon.com/iam/home?region=ap-northeast-1#/...
Press Enter to continueIAMの管理コンソールが表示されます。

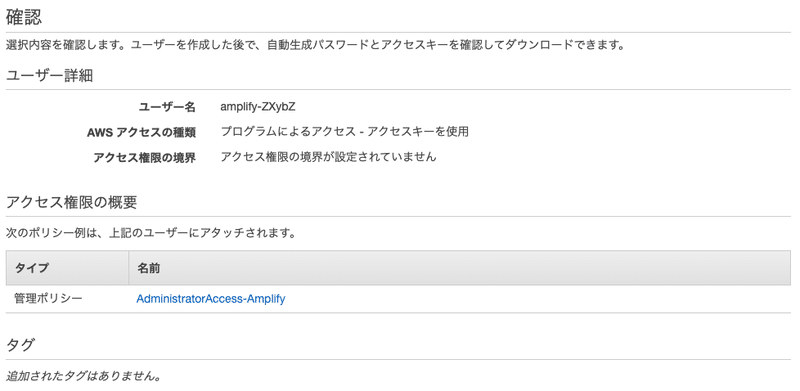
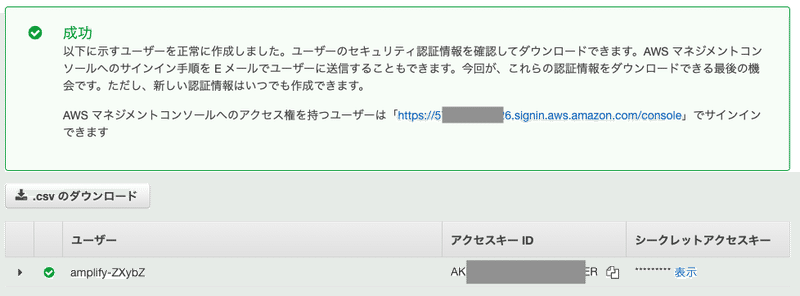
ユーザー作成完了。念のためCSVをダウンロードしておきます。
? accessKeyId:  ********************
? secretAccessKey:  ****************************************
This would update/create the AWS Profile in your local machine
? Profile Name:  default
Successfully set up the new user.
アクセスキー ID、シークレットアクセスキーを入力すると、新規ユーザー設定が完了します。
フルスタックプロジェクトの設定
https://docs.amplify.aws/start/getting-started/setup/q/integration/react/
Reactアプリケーションの新規作成
$ npx create-react-app react-amplified
$ cd react-amplified
$ npm start
「react-amplified」の箇所は任意。
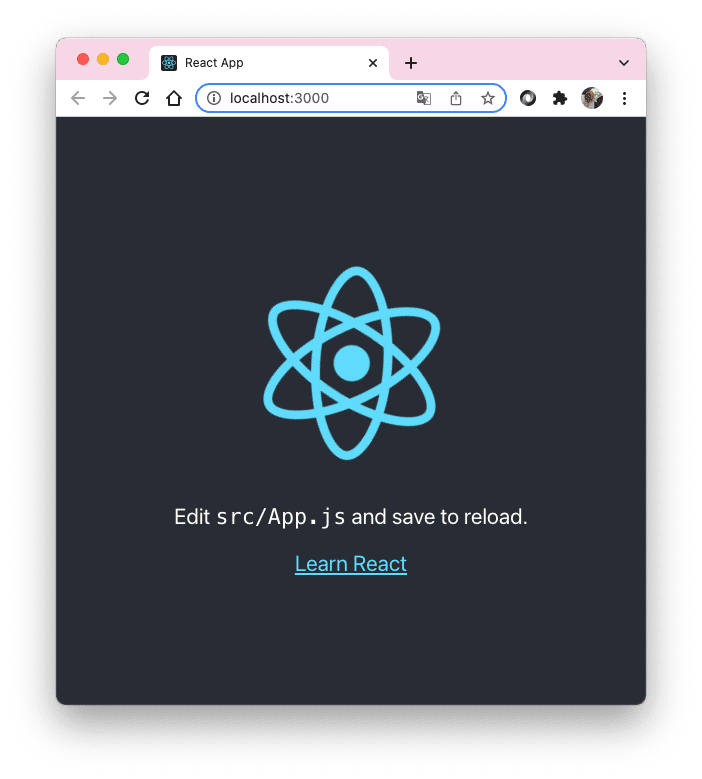
アプリが起動すればOK。終了したい場合はターミナルでCtrl + C。
バックエンドの初期化
$ amplify init

Project information
| Name: reactamplified
| Environment: dev
| Default editor: Visual Studio Code
| App type: javascript
| Javascript framework: react
| Source Directory Path: src
| Distribution Directory Path: build
| Build Command: npm run-script build
| Start Command: npm run-script start

? Initialize the project with the above configuration? (Y/n) Y
デフォルト値のまま登録します。
Amplify Docsの記載は「Name: react-amplified」になっていますが、仕様が変更されたのかアルファベット以外は使えず、ハイフンが削除されています。
? Select the authentication method you want to use: AWS profile
? Please choose the profile you want to use default
ここもデフォルト値のまま。
初期化後は以下のディレクトリやフォルダが生成・変更されています。
amplifyディレクトリ - バックエンド定義が格納されます。このチュートリアルではGraphQL APIや認証などの機能が追加されます。
src/aws-exports.jsファイル - Amplifyで作成したサービスのすべての設定が保持されます。Amplifyクライアントは、バックエンドサービスに関する必要な情報をここから取得できます。
.gitignoreファイル - 生成されたいくつかのファイルが無視リストに追加されています。
Amplifyライブラリのインストール
$ npm install aws-amplify @aws-amplify/ui-react@1.2.26aws-amplifyパッケージは、アプリでAmplifyを操作するためのメインライブラリです。 @aws-amplify/ui-reactパッケージには、アプリのビルド時に使用するReactのUIコンポーネントが含まれています。
末尾のバージョンの部分、Amplify Docsの記載は「1.x.x」となっていました。執筆時点での最新バージョンは2.2.2なので、1.x.xの(多分)最終バージョンである1.2.26をインストールしました。
フロントエンドの設定
Visual Stadio Codeでsrc.index.jsを開きます。
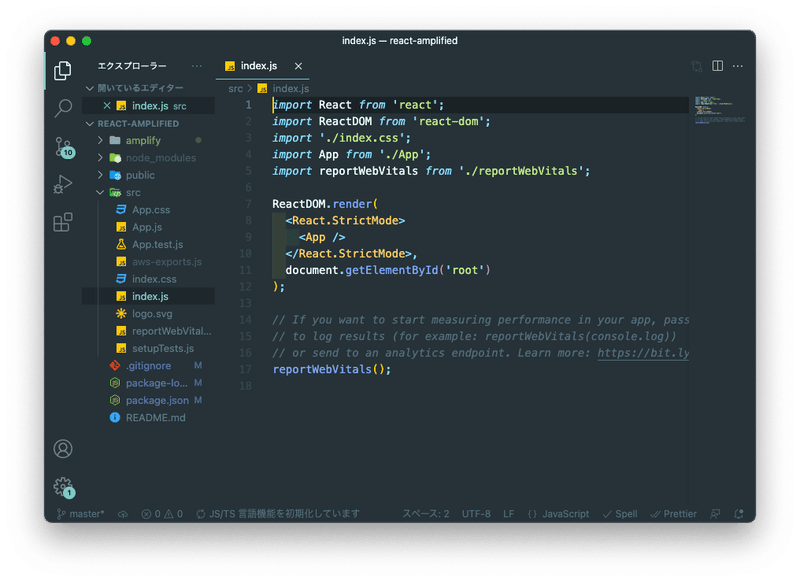
importの末尾に以下の3行を追加します。
import Amplify from "aws-amplify";
import awsExports from "./aws-exports";
Amplify.configure(awsExports);
Amplifyを構成するために必要なのはこれだけです。カテゴリを追加または削除し、Amplify CLIを使用してバックエンド設定を更新すると、aws-exports.jsの設定が自動的に更新されます。
以前、どこかのハンズオンでやったときには、アプリを起動すると「awsExports」の箇所でエラーになっていました。そのときはui-reactのバージョンを指定していなかったので、最新の2.x.xがインストールされていたと思われます。今回1.x.xを指定したことでエラーにならなくなるのではないかと期待しています。
アプリとAPI/データベースの接続
Reactアプリを構成し、新しいAmplifyプロジェクトを初期化したので、機能を追加できます。追加する最初の機能はAPIです。
Amplify CLIは、RESTとGraphQLの2種類のAPIカテゴリの作成と操作をサポートしています。
このステップで作成するAPIは、AWS AppSyncを使用するGraphQL API(マネージドGraphQLサービス)であり、データベースはAmazon DynamoDB(NoSQLデータベース)です。
GraphQL APIとデータベースの作成
次のコマンドを実行することで、アプリにGraphQL APIが追加され、データベースが自動的にプロビジョニングされます。
$ amplify add api

? Select from one of the below mentioned services: GraphQL
? Here is the GraphQL API that we will create. Select a setting to edit or continue Continue
? Choose a schema template: Single object with fields (e.g., “Todo” with ID, name, description)
✔ Do you want to edit the schema now? (Y/n) · yes
? Choose your default editor: Visual Studio Code
Visual Studio Codeでamplify/backend/api/myapi/schema.graphqlファイルが開かれます。Todoアプリ用のスキーマが生成されていることが分かります。
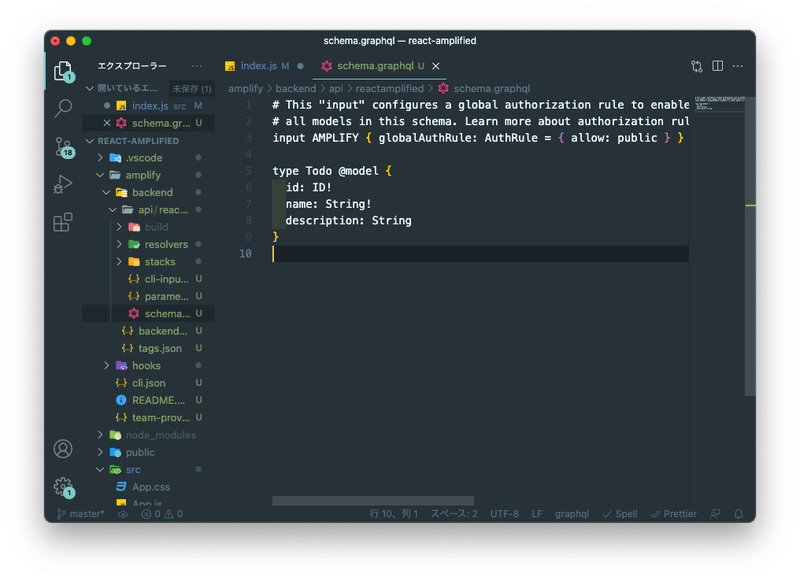
GraphQL Transform Libraryは、スキーマで使用できるカスタムディレクティブを提供します。これにより、データモデルの定義、認証と承認のルールの設定、サーバーレス関数のリゾルバーとしての設定などが行えます。
@modelディレクティブで装飾された型は、型のデータベーステーブル(Todoテーブル)、CRUD(作成、読み取り、更新、削除)およびリスト操作のスキーマ、およびすべてを連携させるために必要なGraphQLリゾルバーをスキャフォールドします。
Amplify Docsの記載を訳してみましたが、ちょっと何言っているか分からなかったです。ディレクティブとか、リゾルバーとか、スキャフォールドとか。
APIのデプロイ
$ amplify push

? Are you sure you want to continue? Yes
? Do you want to generate code for your newly created GraphQL API Yes
? Choose the code generation language target javascript
? Enter the file name pattern of graphql queries, mutations and subscriptions src/graphql/**/*.js
? Do you want to generate/update all possible GraphQL operations - queries, mutations and subscriptions Yes
? Enter maximum statement depth [increase from default if your schema is deeply
nested] 2
TodoアプリのためのAPIがデプロイされました。次のコマンドでAmplifyのステータスを確認できます。
$ amplify status

    Current Environment: dev
┌──────────┬────────────────┬───────────┬───────────────────┐
│ Category │ Resource name  │ Operation │ Provider plugin   │
├──────────┼────────────────┼───────────┼───────────────────┤
│ Api      │ reactamplified │ No Change │ awscloudformation │
└──────────┴────────────────┴───────────┴───────────────────┘
次のコマンドにより、ブラウザにAppSyncコンソールが表示されます。
$ amplify console api

? Select from one of the below mentioned services: GraphQL
次のコマンドにより、ブラウザにAmplifyコンソールが表示されます。
$ amplify console

✔ Which site do you want to open? · Console
(オプション)APIのテスト
注:amplify mock apiの実行にはJavaが必要のようです。
$ amplify mock apiGraphiQL Explorerが起動しました。
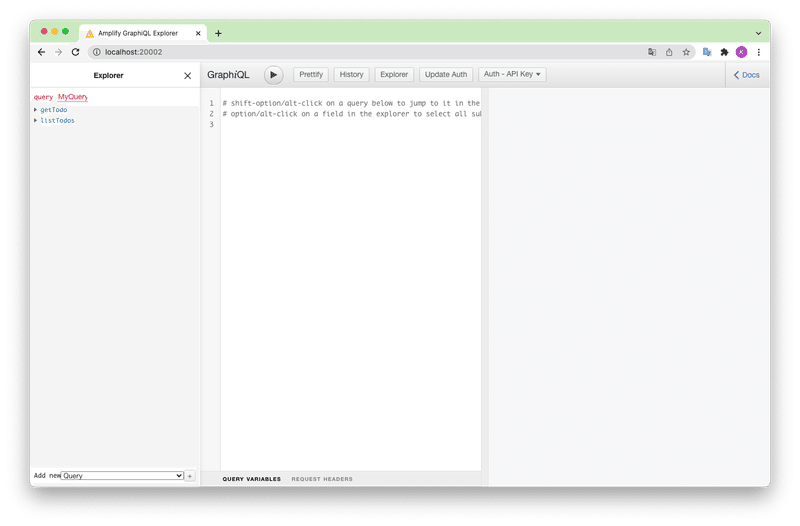
ミューテーションを実行してみます。
mutation createTodo {
  createTodo(input: {
    name: "Build an API"
    description: "Build a serverless API with Amplify and GraphQL"
  }) {
    id
    name
    description
  }
}
なにやらエラーが返ってきました。

{
  "data": {
    "createTodo": null
  },
  "errors": [
    {
      "message": "Inaccessible host: `localhost' at port `62224'. This service may not be available in the `us-fake-1' region.",
      "errorType": "DynamoDB:UnknownEndpoint",
      "data": null,
      "errorInfo": null,
      "path": [
        "createTodo"
      ],
      "locations": [
        {
          "line": 2,
          "column": 3,
          "sourceName": "GraphQL request"
        }
      ]
    }
  ]
}
エラーメッセージでググったらいくつか解決方法っぽいサイトが見つかりましたが、面倒だったのでここはスルーします。まあオプションですし。
フロントエンドとAPIの接続
src/App.jsを編集します。
/* src/App.js */
import React, { useEffect, useState } from "react";
import Amplify, { API, graphqlOperation } from "aws-amplify";
import { createTodo } from "./graphql/mutations";
import { listTodos } from "./graphql/queries";

import awsExports from "./aws-exports";
Amplify.configure(awsExports);

const initialState = { name: "", description: "" };

const App = () => {
  const [formState, setFormState] = useState(initialState);
  const [todos, setTodos] = useState([]);

  useEffect(() => {
    fetchTodos();
  }, []);

  function setInput(key, value) {
    setFormState({ ...formState, [key]: value });
  }

  async function fetchTodos() {
    try {
      const todoData = await API.graphql(graphqlOperation(listTodos));
      const todos = todoData.data.listTodos.items;
      setTodos(todos);
    } catch (err) {
      console.log("error fetching todos");
    }
  }

  async function addTodo() {
    try {
      if (!formState.name || !formState.description) return;
      const todo = { ...formState };
      setTodos([...todos, todo]);
      setFormState(initialState);
      await API.graphql(graphqlOperation(createTodo, { input: todo }));
    } catch (err) {
      console.log("error creating todo: ", err);
    }
  }

  return (
    <div style={styles.container}>
      <h2>Amplify Todos</h2>
      <input
        onChange={(event) => setInput('name', event.target.value)}
        style={styles.input}
        value={formState.name}
        placeholder="Name"
      />
      <input
        onChange={(event) => setInput('description', event.target.value)}
        style={styles.input}
        value={formState.description}
        placeholder="Description"
      />
      <button style={styles.button} onClick={addTodo}>Create Todo</button>

      {
        todos.map((todo, index) => (
          <div key={todo.id ? todo.id : index} style={styles.todo}>
            <p style={styles.todoName}>{todo.name}</p>
            <p style={styles.todoDescription}>{todo.description}</p>
          </div>
        ))
      }
    </div>
  );
};

const styles = {
  container: {
    width: 400,
    margin: "0 auto",
    display: "flex",
    flexDirection: "column",
    justifyContent: "center",
    padding: 20,
  },
  todo: { marginBottom: 15 },
  input: {
    border: "none",
    backgroundColor: "#ddd",
    marginBottom: 10,
    padding: 8,
    fontSize: 18,
  },
  todoName: { fontSize: 20, fontWeight: "bold" },
  todoDescription: { marginBottom: 0 },
  button: {
    backgroundColor: "black",
    color: "white",
    outline: "none",
    fontSize: 18,
    padding: "12px 0px",
  },
};

export default App;
いくつかの関数を見ていきましょう。
useEffect - コンポーネントがロードされると、useEffectフックが呼び出され、fetchTodos関数が呼び出されます。
fetchTodos - Amplify APIカテゴリを使用して、listTodosクエリでAppSync GraphQLAPIを呼び出します。データが返されると、items配列がsetTodos関数に渡され、ローカル状態が更新されます。
addTodo - Amplify APIカテゴリを使用して、createTodoミューテーションによりAppSync GraphQLAPIを呼び出します。 listTodosクエリとcreateTodoミューテーションの違いは、createTodoがミューテーションに必要な変数を含む引数を受け取る点です。
ローカル実行
$ npm start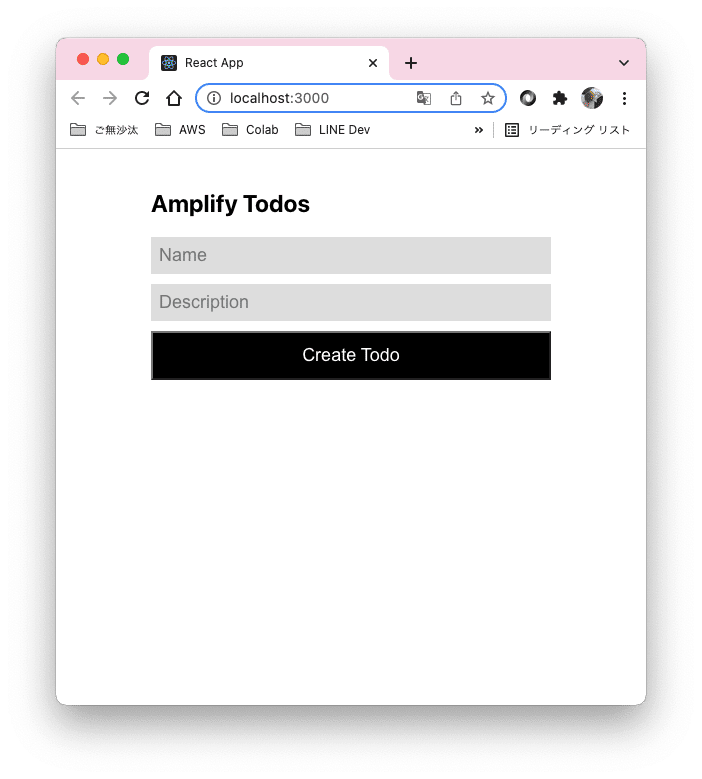
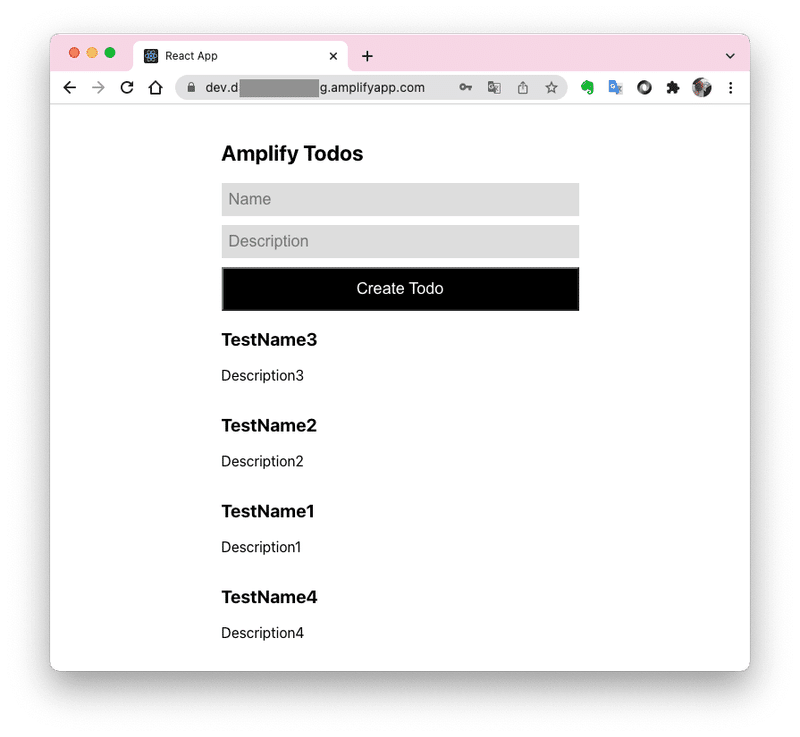
起動できました。
Name、Descriptionを入力して、Create Todoボタンを押してみます。
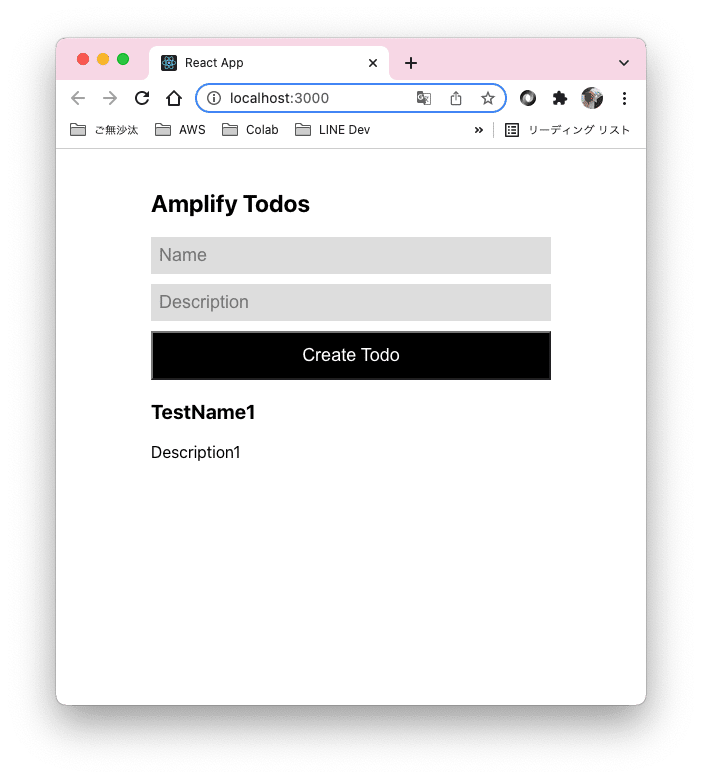
うまくいきました。もう1件。
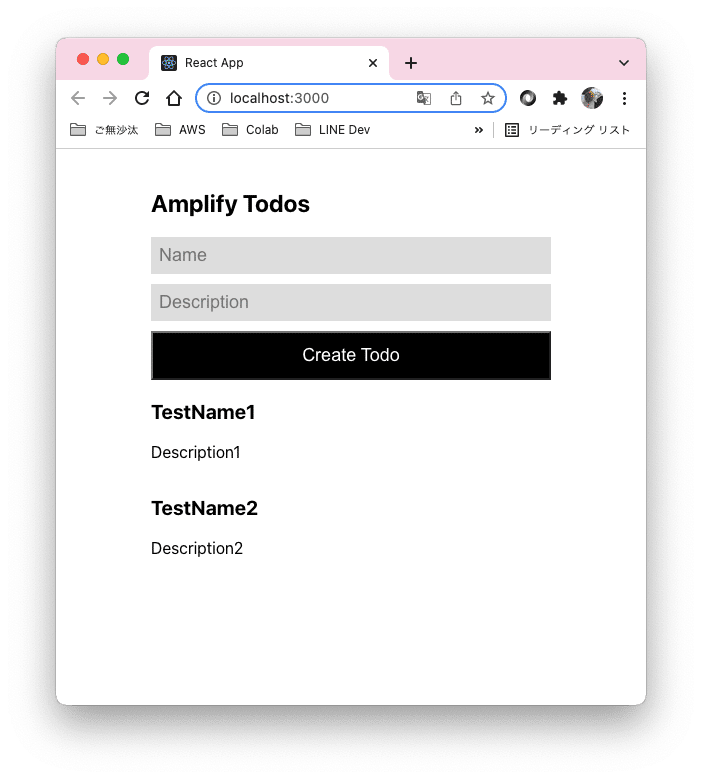
いい感じです。
認証機能の追加
Amplifyによる認証
Amplify Frameworkは、AmazonCognitoをメインの認証プロバイダーとして使用します。 Amazon Cognitoは、ユーザー登録、認証、アカウント回復、その他の操作を処理する堅牢なユーザーディレクトリサービスです。 このチュートリアルでは、AmazonCognitoとユーザー名を使用してアプリケーションに認証を追加する方法を学習します。
認証サービスの作成
$ amplify add auth

 Do you want to use the default authentication and security configuration? Default configuration
 How do you want users to be able to sign in? Username
 Do you want to configure advanced settings? No, I am done.
これらの設定は後から変更できないため注意が必要なようです。
pushコマンドで認証サービスをデプロイします。
$ amplify push

┌──────────┬────────────────────────┬───────────┬───────────────────┐
│ Category │ Resource name          │ Operation │ Provider plugin   │
├──────────┼────────────────────────┼───────────┼───────────────────┤
│ Auth     │ reactamplified5daafe6b │ Create    │ awscloudformation │
├──────────┼────────────────────────┼───────────┼───────────────────┤
│ Api      │ reactamplified         │ No Change │ awscloudformation │
└──────────┴────────────────────────┴───────────┴───────────────────┘
? Are you sure you want to continue? Yes
ログインUIの作成
Amplify Frameworkには、aws-exports.jsファイルで指定された構成を使用して、認証フロー全体を提供する認証UIコンポーネントがあります。
src/App.jsを次のように編集します。
1.withAuthenticatorコンポーネントをインポートします
import { withAuthenticator } from '@aws-amplify/ui-react'2.デフォルトのエクスポートを、メインコンポーネントをラップするwithAuthenticatorに変更します。
export default withAuthenticator(App);アプリを起動してみます。
$ npm start認証画面が表示されました。アカウント作成やログイン処理も問題なくできます。
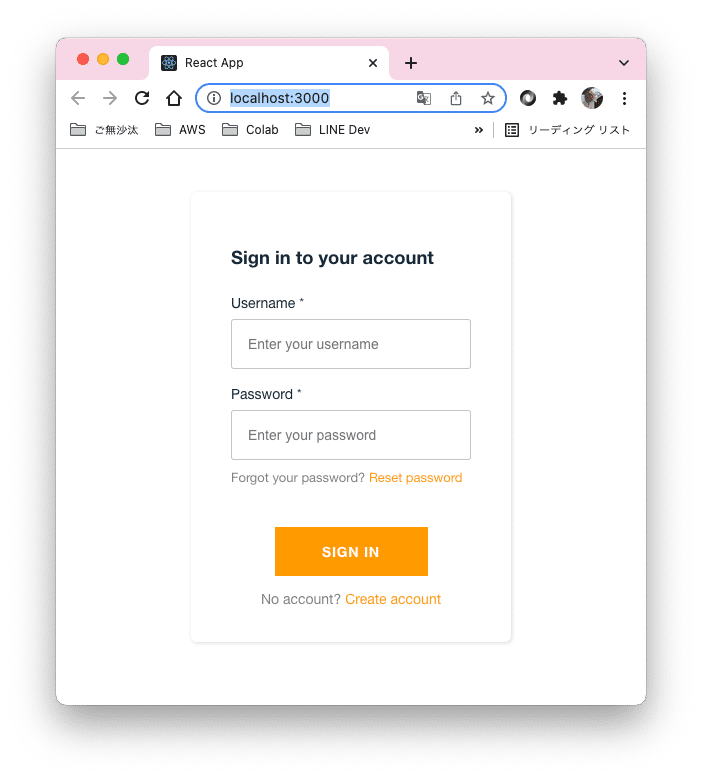
この例では、Amplify React UIライブラリとwithAuthenticatorコンポーネントを使用して、実際の認証フローをすぐに開始して実行しました。
このコンポーネントをカスタマイズして、フィールドの追加または削除、スタイルの更新、またはその他の設定を行うこともできます。
Authには、signUp、signIn、forgotPassword、signOutなどの30を超えるメソッドがあり、ユーザー認証フローをすべて制御できます。ここでAPIを確認してください。
アプリのデプロイとホスト
ホスティングの追加
デプロイには手動と自動があり、ここでは手動デプロイをやるようです。自動デプロイについてはこちら。
$ amplify add hosting

? Select the plugin module to execute Hosting with Amplify Console (Managed hosting with custom domains, Continuous deployment)
? Choose a type Manual deployment
アプリの公開
$ amplify publish

┌──────────┬────────────────────────┬───────────┬───────────────────┐
│ Category │ Resource name          │ Operation │ Provider plugin   │
├──────────┼────────────────────────┼───────────┼───────────────────┤
│ Hosting  │ amplifyhosting         │ Create    │ awscloudformation │
├──────────┼────────────────────────┼───────────┼───────────────────┤
│ Api      │ reactamplified         │ No Change │ awscloudformation │
├──────────┼────────────────────────┼───────────┼───────────────────┤
│ Auth     │ reactamplified5daafe6b │ No Change │ awscloudformation │
└──────────┴────────────────────────┴───────────┴───────────────────┘
? Are you sure you want to continue? Yes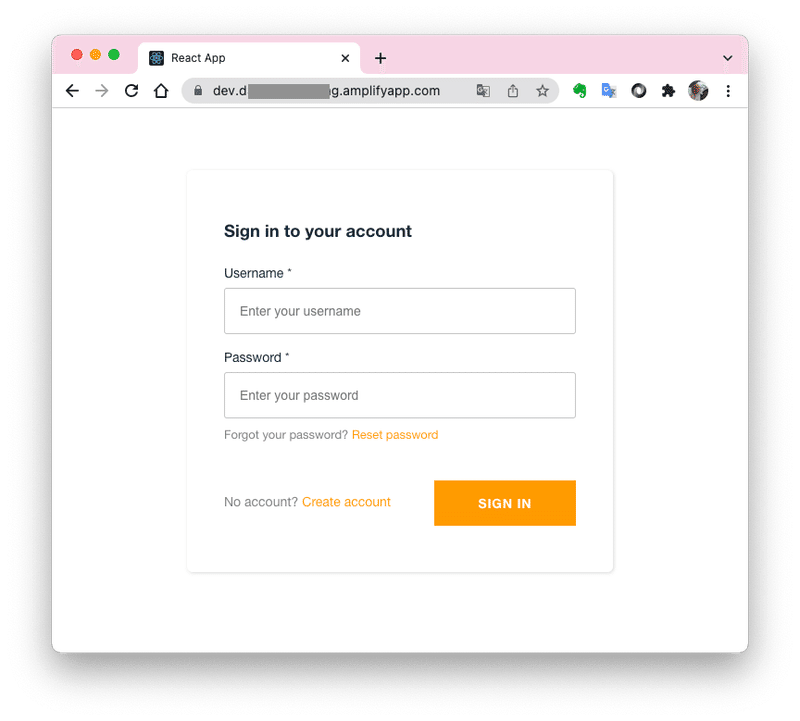
無事公開できました。
ちゃんと使えました。
Amplifyのチュートリアルやハンズオン、最後までできたの初めてかもしれません。
アプリの配布ディレクトリが正しく設定されていないと、「AccessDenied」エラーが発生する場合があります。これを修正するには、amplify configure projectを介して配布ディレクトリーを変更してから、amplify publishを再実行します。
注:プロジェクトのすべての環境をクラウドから削除し、Amplify CLIによって作成されたすべてのローカルファイルを消去するには、amplify deleteコマンドを実行します。Amplifyプロジェクトのリソースが削除されたことを確認するには、amplify statusコマンドを実行します。
次のステップ
次にアプリに追加するものはこちら。
・Authentication
・DataStore
・User File Storage
・Serverless APIs
・Analytics
・AI/ML
・Push Notification
・PubSub
・AR/VR
全部は無理ですが、こちらも折を見て記事にしていきたいと思います。
この記事が気に入ったらサポートをしてみませんか?