GPT store にGPTを公開する(ドメイン取得)

GPT Storeが開始されたので、私が、GPTを公開する際に行なった手順を紹介します。GPTの公開にはTXTレコード認証だけでよいので、webサイトは必要ありませんが、せっかくドメインを購入するためgithub pagesで無料でwebページを公開する方法も併せて紹介します。
※この記事に記載されている設定は、私が行ったものであり、すべてのケースに適用できるとは限りません。したがって、これに基づいて発生したいかなる損害も保証することはできません。ご自身の判断と責任で対応してください。
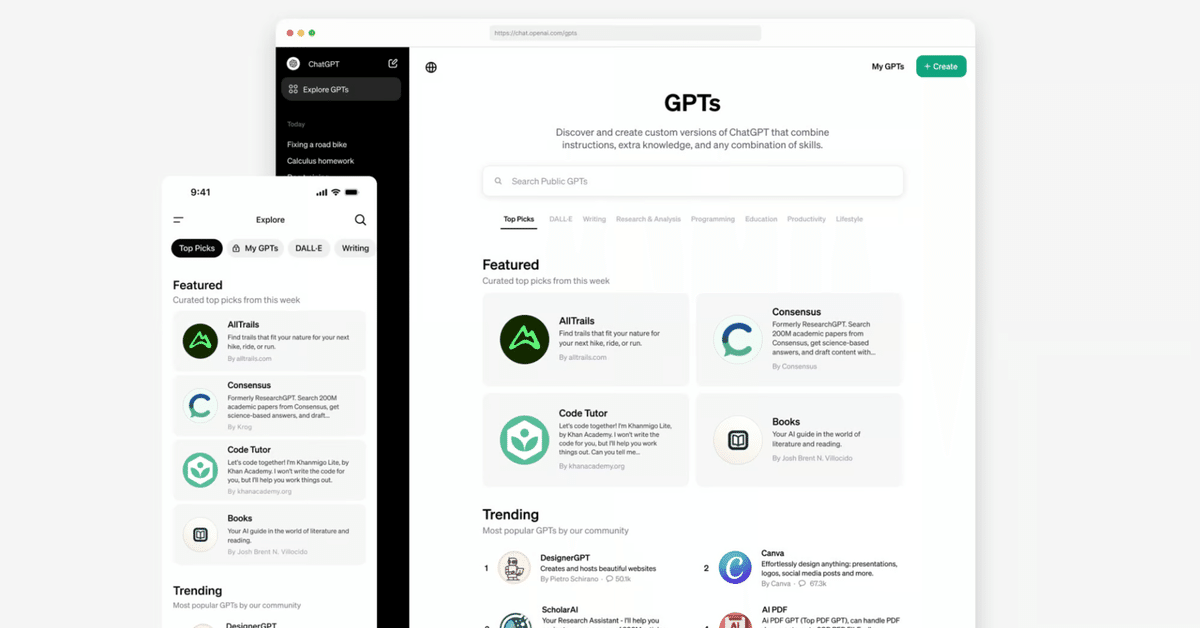
GPT Storeの利用方法
まず公式のドキュメントの内容を確認してみます。
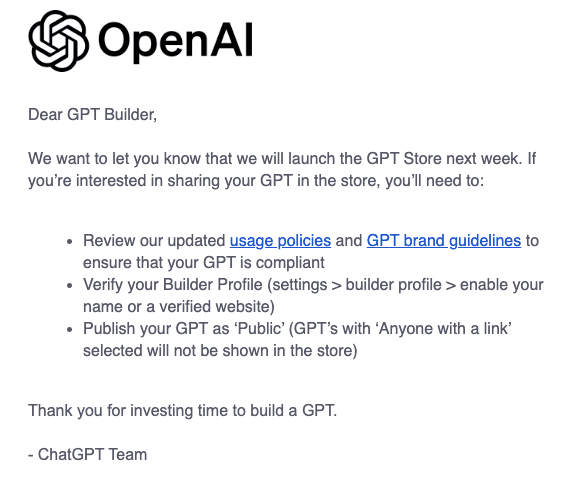
ポリシーとガイドラインの確認: まず、GPTの使用ポリシーとブランドガイドラインを確認して、自分のGPTがこれらの基準に合っていることを確認します。
プロファイルの確認: 設定から「ビルダープロファイル」を選択し、自分の名前やウェブサイトを有効にしてプロファイルを確認します。
GPTを「公開」で公開: 自分のGPTを「公開」設定で公開します。「リンクを持つ人だけ」ではストアに表示されません。
GPTを公開するには、請求情報に紐づく氏名を公開するか、認証されたドメインを登録する必要があるようです。今回は認証されたドメインを登録する方法を選択しました。
認証されたドメインを取得(GPTの公開に必要)
まずは、Google Domainsでドメインを購入しました。
Github PagesでWebサイトの公開(GPTの公開には不要)
とりあえず簡単な静的なページをホスティングできればよかったので、無料で利用できるGithub Pagesを利用することにしました。静的サイトジェネレータと組み合わせれば、凝ったサイトも作れるようです。
1. GitHubアカウントの作成
まだGitHubアカウントを持っていない場合は、GitHubのウェブサイトにアクセスしてアカウントを作成します。
2. 新しいリポジトリの作成
GitHubにログインします。
右上の「+」アイコンをクリックし、「New repository」を選択します。
リポジトリ名を入力し、公開(Public)を選択します。
「Create repository」ボタンをクリックしてリポジトリを作成します。
3. GitHub Pagesの設定
作成したリポジトリに移動します。
「Settings」タブをクリックします。
「Pages」セクションを見つけます(左側のサイドバーにあります)。
Sourceセクションで、ブランチを選択します(通常は「main」または「master」ブランチです)。フォルダは「/(root)」を選択します。
「Save」ボタンをクリックします。
4. ウェブサイトのコンテンツの追加
ウェブサイト用のHTML、CSS、JavaScriptなどのファイルをリポジトリに追加します。(ChatGPTに適当なindex.htmlを作成してもらいました。)
これらのファイルは直接GitHubのウェブサイト上で追加するか、Gitを使用してローカルからプッシュすることができます。
5. ウェブサイトの公開
GitHub Pagesの設定を完了すると、ウェブサイトは自動的に公開されます。
ウェブサイトのURLは通常、`https://{username}.github.io/{repository}/` の形式です。
6. カスタムドメインの設定
GitHubでの設定:
GitHub上の対象リポジトリに移動し、「Settings」を開きます。
「Pages」セクションを選択し、「Custom domain」フィールドにカスタムドメインを入力します。
設定を保存します。
Google Domainsでの設定
ドメインレジストラにログイン:
ドメインを購入したドメインレジストラ(例えばGoDaddy、Namecheapなど)にログインします。私の場合は、Google Domainsになります。
DNS管理ページへのアクセス:
購入したドメイン名を選択し、DNS設定またはDNS管理ページを開きます。
Aレコードの設定:
ドメインのルート(example.comなど)に対するAレコードを設定します。GitHub PagesのIPアドレスを指定する必要があります。GitHubは複数のIPアドレスを提供しているため、それらをすべて設定することが推奨されます。
GitHubが提供する公式のIPアドレスは、GitHubのドキュメントで確認できます。
CNAMEレコードの設定(サブドメインの場合):
サブドメイン(例:www.example.com)を使用する場合は、CNAMEレコードを設定します。
このCNAMEレコードには、<your-username>.github.io(あなたのGitHubユーザー名)を指すように設定します。
変更の保存と伝播:
設定を保存します。DNSの変更が完全に伝播するには最大48時間かかる場合があります。
参考
GPTの公開
設定から「ビルダープロファイル」を選択し、自分のウェブサイトを有効にして作成したドメインを登録します。
TXTレコードの追加を求められるので、提示された認証情報をGoogle DomainsのDNSに設定します。
GPTを作成して、公開範囲をeveryoneとして公開します。
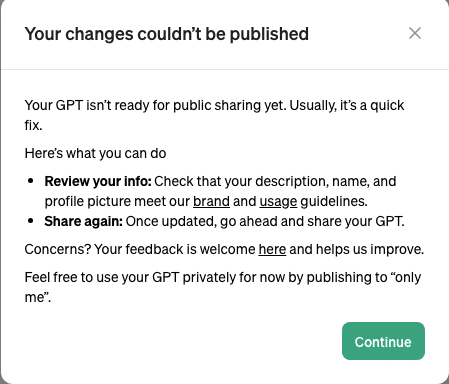
トラブルシュート、公開をしようとしたら以下のエラーが発生しました。私の場合は、Instructionsをコピーして同じGPTを作り直したら作成できました。https://community.openai.com/t/not-able-to-share-gpt-as-public/506686
詳細な手順は、こちらを参考にできます。
* Create an OpenAI Account: If you haven’t done so already, sign up for an account with OpenAI. This will give you access to the necessary tools and resources.
* Access Builder Dashboard: Once you have an OpenAI account, log in and navigate to the ‘Builder’ dashboard. This is where you can manage your GPT applications.
* Create a New Project: Start a new project for your GPT application. You’ll be prompted to enter basic information about your project, like its name and description.
* Configure Domain Settings:
• To publish your GPTs publicly, you’ll need to have a domain name. If you don’t have one, purchase a domain from a registrar like GoDaddy, Namecheap, etc.
• Once you have your domain, you need to verify ownership with OpenAI. This is where the TXT file comes in.
* Verify Domain Ownership:
• OpenAI will provide you with a TXT record. This is a type of DNS (Domain Name System) record used to prove domain ownership.
• Log in to your domain registrar’s control panel and navigate to the DNS settings section.
• Add a new TXT record, pasting the value provided by OpenAI. The exact steps for this may vary depending on your domain registrar, but generally, you’ll need to specify the TXT record type, enter ‘@’ in the host field (or your domain), and paste the value from OpenAI in the value field.
• Save your changes. It may take some time (up to 48 hours, usually less) for DNS changes to propagate.
* Wait for Verification: After adding the TXT record, return to the OpenAI Builder dashboard and confirm that you’ve added the record. OpenAI will then verify your domain, which may take a short while.
* Publish Your GPTs:
• Once your domain is verified, you can proceed to publish your GPT applications.
• Use the Builder tools to configure and customize your GPT model as per your requirements.
• After setting it up, you can publish your GPT application. It will now be accessible publicly through your domain.
* Monitor and Update: Keep an eye on your GPT application for usage, performance, and feedback. Regularly update and maintain your application to ensure it functions smoothly.
公開したGPT
以前以下の記事にてLangChainを使って実装した、思考の木(Tree of Thoughts)をGPT化して公開しました。
この記事が気に入ったらサポートをしてみませんか?