
discord.pyでBotを作ったのでわかりやすく解説しようと思う。 [Part.2]

Part.1はこちら
Part.1ではBotの導入からメッセージを送る->メッセージを返す、メンションを飛ばす、まで行きました。
基本的な機能はあれで終わりなのでここからは機能を一つ一つ説明していきながら、必要なら各々取り込んでもらって…という形式でお願いします。
Webサイト等に遷移させるボタンを表示させる機能
ロゴの下に並んでいるのが今回説明するボタンという機能。
簡単な機能説明
ボタン(button)という形式を使用する。
クリックすることでBotに処理を実行させたりWebサイトへ遷移させる事ができる。

ボタンA(Style: Primary)
アクティブなボタン、基本的に〇〇を実行とかはこれでいい。
ボタンを複数並べる時でも全部これでいい
ボタンB(Style: Secondaly)
名前からわかる通り副ボタン、その他くらいでしか使わない。
それ以外には、ボタンAで1列目、ボタンBで2列目みたいなデザインで使う。
決定(Style: Success)
押すことで処理が決定するものや確認とかで使う。
キャンセル(Style: Danger)
押すことで処理が却下、キャンセルする時に使う。
外部サイト(Style: Link)
Webサイトへの遷移で使う、ボタンBと色が似ているが混同させないようにしよう、コードが地獄のような醜さになる。
Discord.pyを実行する上で必要なもの
Part.1のコードの上の方にコードに書いたが、
from discord_buttons_plugin
from dislash import …….
buttons = ButtonsClient(bot)
slash = InteractionClient(bot)
は必要なので書こうインストール(Part.1の環境のrequirements.txt)も忘れずに
import discord
import traceback
from discord.ext import commands
from discord_buttons_plugin import *
from discord.utils import get
from dislash import InteractionClient, SelectMenu, SelectOption
from os import getenv
# Botの起動とDiscordサーバーへの接続
ADMIN_ID = #adminIDのcode
token = getenv('DISCORD_BOT_TOKEN')
bot = commands.Bot(
command_prefix = "!",
case_insensitive=True, #コマンドの大文字小文字を無視する(True)
help_command = None #標準のhelpコマンドを無効化する(None)
)
intents=discord.Intents.all()
client = discord.Client(intents=intents)
buttons = ButtonsClient(bot)
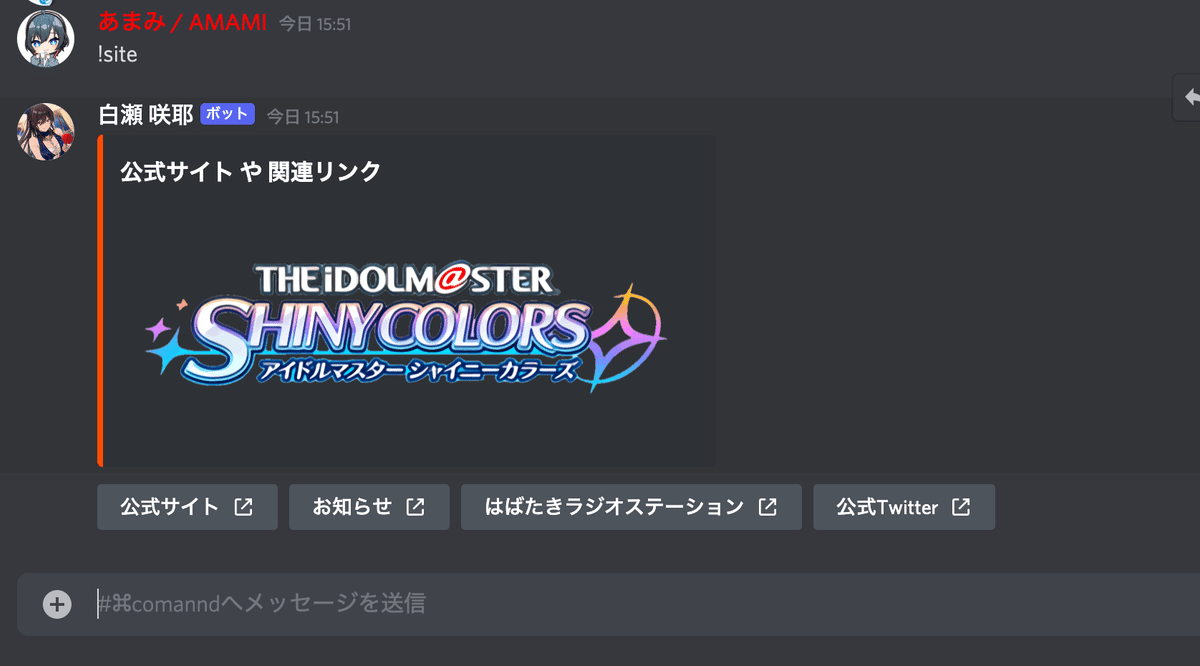
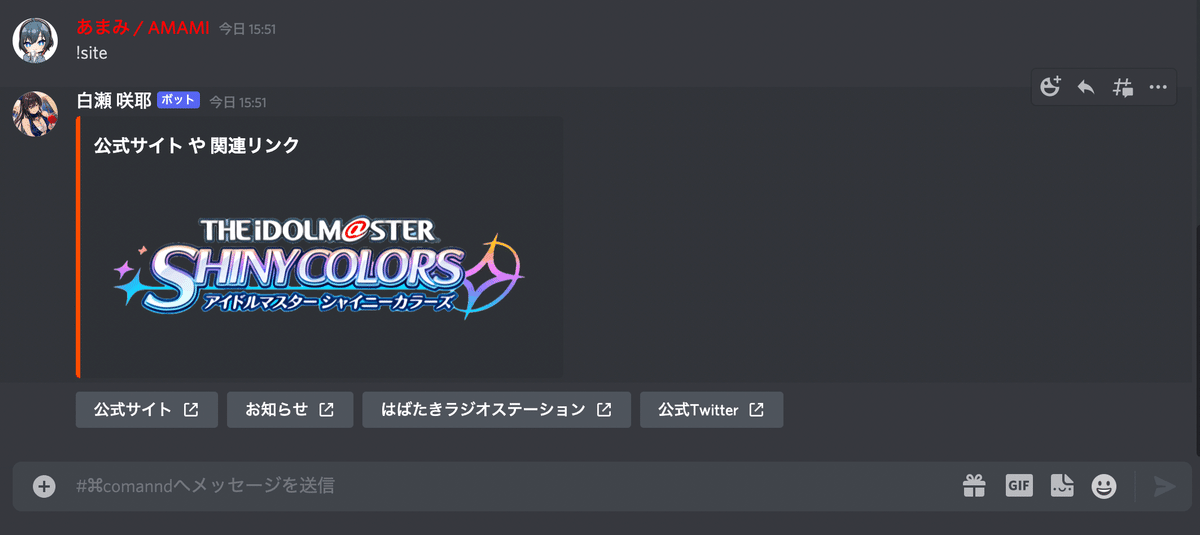
slash = InteractionClient(bot)コード例(!siteと入力することでWebサイトへのリンクを4つ表示させる。)
@bot.command()
async def site(message):
    """ 公式サイトへの案内 """
    if message.author.bot:
        return
    else:
        await buttons.send(
            channel = message.channel.id,
            components = [
                ActionRow([
                    Button(
                        style   = ButtonType().Link,
                        label   = "公式サイト",
                        url     = 'https://shinycolors.idolmaster.jp/',
                        disabled= False
                    ),
                    Button(
                        style   = ButtonType().Link,
                        label   = "お知らせ",
                        url     = 'https://shinycolors.idolmaster.jp/news/',
                        disabled= False
                    ),
                    Button(
                        style   = ButtonType().Link,
                        label   = "はばたきラジオステーション",
                        url     = 'https://asobistore.jp/content/title/Idolmaster/shinyradio/',
                        disabled= False
                    ),
                    Button(
                        style   = ButtonType().Link,
                        label   = "公式Twitter",
                        url     = 'https://twitter.com/imassc_official/',
                        disabled= False
                    )
                ])
            ]
)ボタンの作成の感覚や練習はAutocodeでやると良い。(癖があるのでコードに書き直す際はきちんと修正すること)
componentsというものにリンクやラベルを一つずつActionRowに入れていく。
実行すると
#Support 出来なかったら?分からなかったら?
Twitter: あまみ / AMAMI
discord: あまみ / AMAMI#0398
に出来ないところとかをスクショしたりして送ってくれれば答えます。
もし満足いただけたらサポートの方、お願いします! いただいたサポートは今後の活動を支える重要な資産になります!