
DiscordBotでyoutubeの音声をボイスチャットに流す

動作環境
・Python3.6.8
・Windows10
目次
0.前置き
1.コード
2.herokuへのデプロイ
3.まとめ
0.前置き
musicbot というものが既にあるからわざわざ作らなくても良いんだけど、自分の理解の範疇に負えないものを追加するのも嫌なので理解できた部分だけで実装してやるぞ。とまあ勉強用。
1.コード
今回実装したのは予めコードに仕込んでおいたyoutubeのURLを参照して再生するというもの。
必要なもの
youtube_dl
PyNaCl
ffmpeg
上記2つはpipでok。
$ pip install youtube_dl
$ pip install pynacl
ffmpeg のページにアクセスし、Windowsビルドのものをダウンロードする。
ダウンロードしたファイルを解凍し、binフォルダの中にある"ffmpeg.exe"をdiscordbotのpyファイルと同じ階層に置いておく。
Discordbotの導入・起動方法等については過去記事の
Discordのサーバーリージョンをコマンドで変更できるbotを作る
を参照してください。
今回テスト再生に使ったURL
柴又
以下コード
youtubeplay.py
import discord

discord_token = '***' # Discordbotのアクセストークンを入力
discord_voice_channel_id = '' # 特定のボイスチャンネルを指定
youtube_url = 'https://www.youtube.com/watch?v=FIw-HUP7XK0' # youtubeのURLを指定

voice = None
player = None

client = discord.Client()

@client.event
async def on_ready():
    print('Botを起動しました。')

@client.event
async def on_message(message):
    global voice, player
    msg = message.content
    if message.author.bot:
        return

    if msg == '!play':
        if message.author.voice_channel is None:
            await client.send_message(message.channel ,'ボイスチャンネルに参加してからコマンドを打ってください。')
            return
        if voice == None:
            # ボイスチャンネルIDが未指定なら
            if discord_voice_channel_id == '':
                voice = await client.join_voice_channel(message.author.voice_channel)
            # ボイスチャンネルIDが指定されていたら
            else:
                voice = await client.join_voice_channel(client.get_channel(discord_voice_channel_id))
        # 接続済みか確認
        elif(voice.is_connected() == True):
            # 再生中の場合は一度停止
            if(player.is_playing()):
                player.stop()
            # ボイスチャンネルIDが未指定なら
            if discord_voice_channel_id == '':
                await voice.move_to(message.author.voice_channel)
            # ボイスチャンネルIDが指定されていたら
            else:
                await voice.move_to(client.get_channel(discord_voice_channel_id))
        # youtubeからダウンロードし、再生
        player = await voice.create_ytdl_player(youtube_url)
        player.start()
        return

    # 再生中の音楽を停止させる
    if msg == '!stop':
        if(player.is_playing()):
                player.stop()
                return

    # botをボイスチャットから切断させる
    if msg == '!disconnect':
        if voice is not None:
            await voice.disconnect()
            voice = None
            return

client.run(discord_token)
対応コマンド
!play
再生
!stop
停止
!disconnect
botをボイスチャットから切断させる
その他
コード上部にある"discord_voice_channel_id"はなんらかの理由で特定のボイスチャンネルに流したいという場合に設定すること。
設定してない場合はコマンドの発言者がいるボイスチャンネルに来ます。
ボイスチャンネルIDの取得方法については以下の手順で。
ユーザー設定→テーマ→開発者モードをON
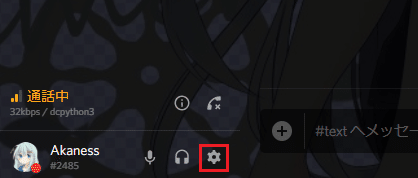

対象のボイスチャンネルを右クリックし、IDをコピー
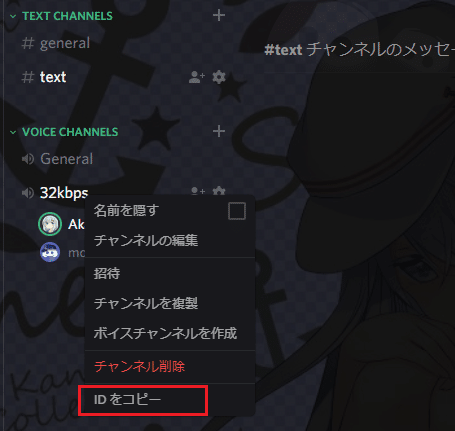
すると数字の羅列がコピーされるので、それがボイスチャンネルのIDになる。
2.herokuへのデプロイ
さて、自分のPC上(Windows)で稼働させる分には上記で終了。
herokuへデプロイするためにはffmpegとdiscordの音声再生に関する問題でもう一手間かかる。大変だった。
必要なもの
heroku用のffmpeg
heorku用のlibopus
上記2つのbuildpacksを使う。最終的にたどり着いたのが
heroku-buildpack-ffmpeg-latest
heroku-buildpack-libopus
の2つ。既存のappに追加するのは以下の通り
$ heroku buildpacks:add https://github.com/jonathanong/heroku-buildpack-ffmpeg-latest.git
$ heroku buildpacks:add https://github.com/Crazycatz00/heroku-buildpack-libopus.git
そしたらpushして完了。
3.まとめ
今回のコード
Discord_YoutubeMusicPlayer - akaness1git
参考記事
Discord.pyで音声を流すbotを作る
Discord.py APIリファレンス
herokuにffmpegを導入した時の話
この記事が気に入ったらサポートをしてみませんか?