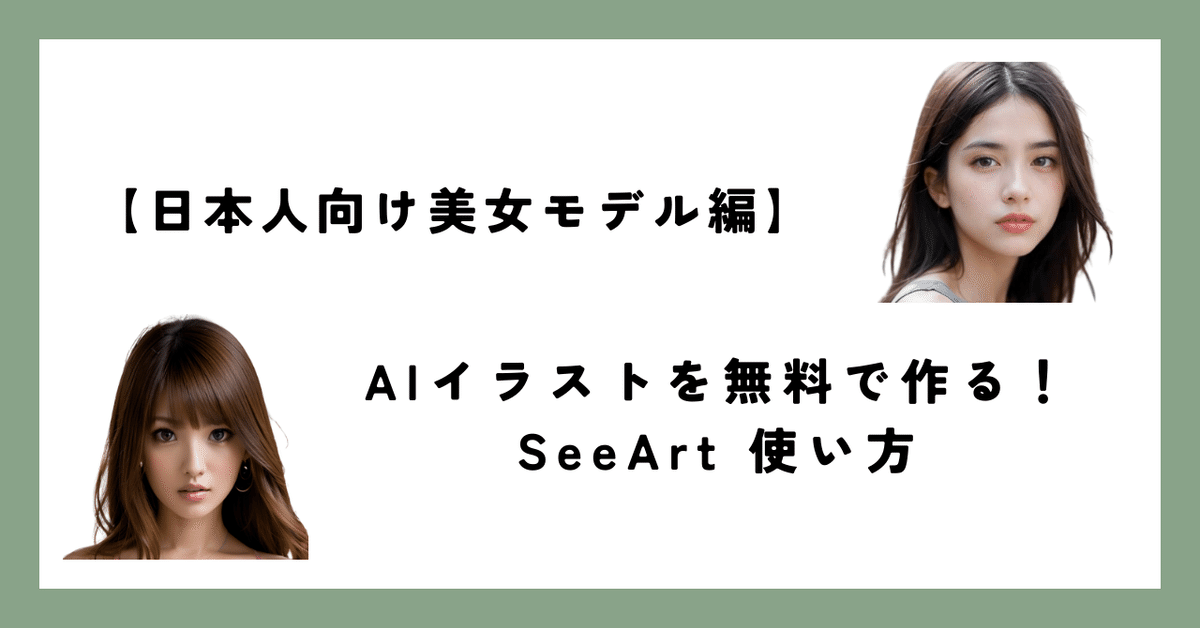
【日本人向け美女モデル編】AIイラストを無料で作る!SeeArt 使い方

こんにちは。
65歳からのSNSライフ なおこちゃんです。
今回は、イラスト生成AI「SeeArt」を使ってイラストを無料で作る方法についてお伝えします。
SeaArtはこちら!
↓ ↓ ↓
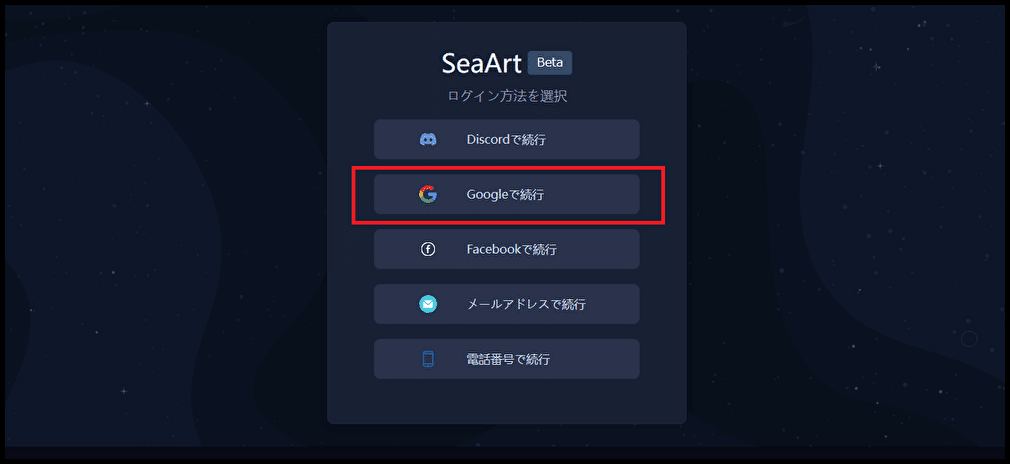
SeaArtにログイン

(Googleアカウントが簡単)
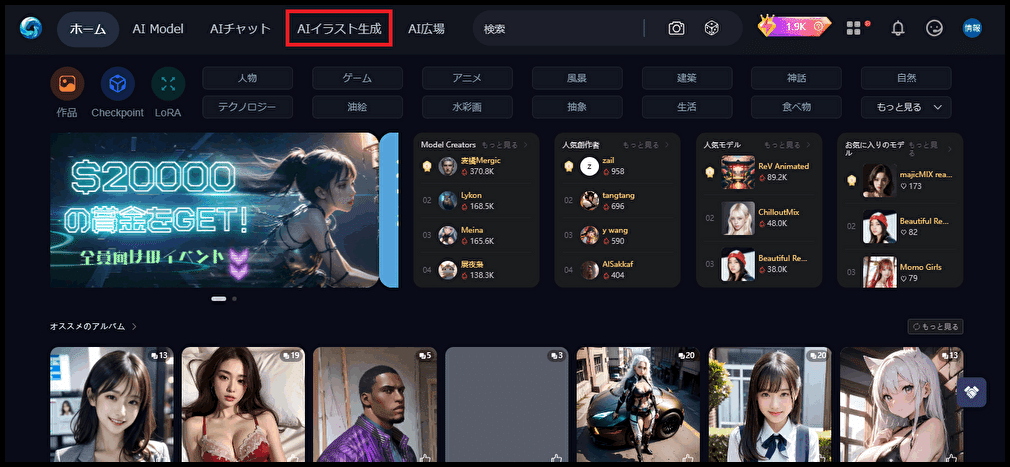
「AIイラスト生成」をクリックする
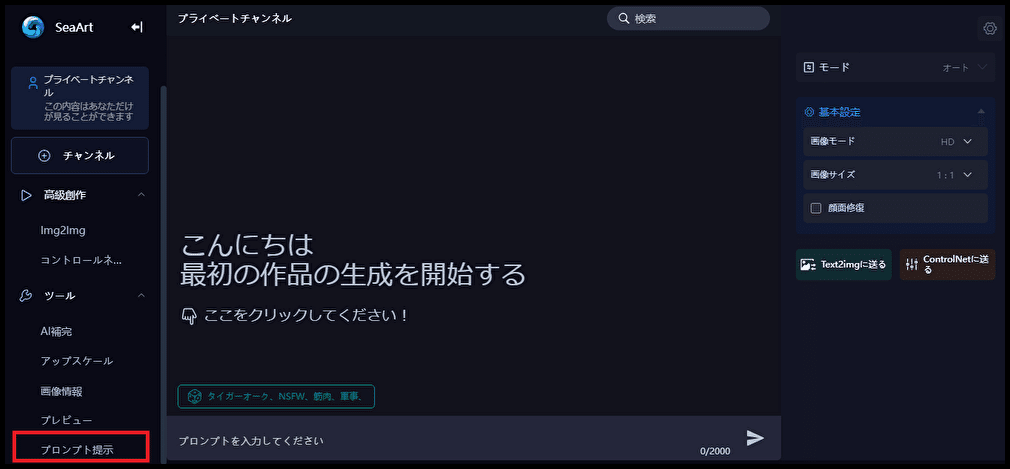
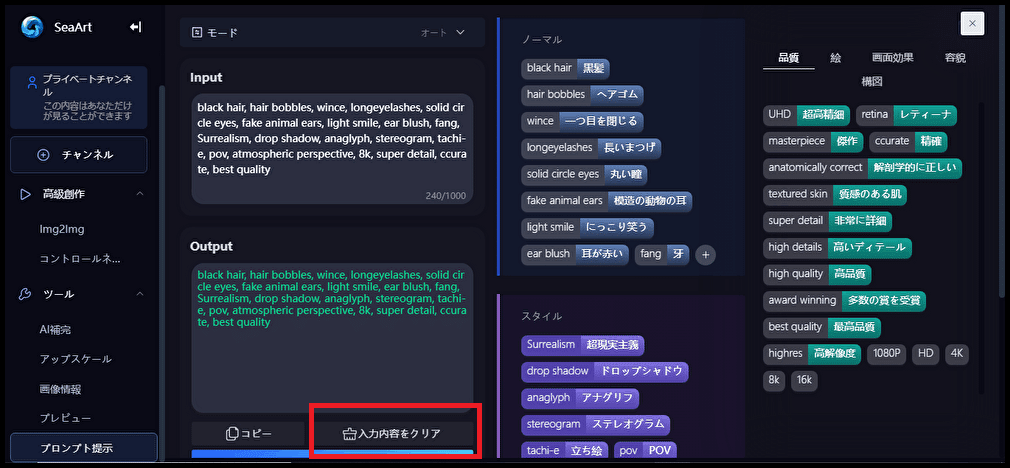
「プロンプト提示」をクリックする
以前の設定が残っている場合は、「入力内容をクリア」をクリックする
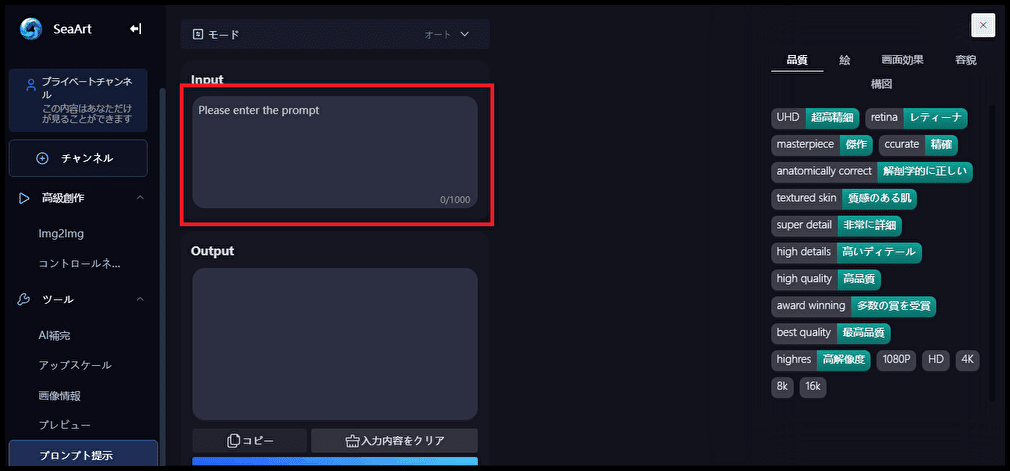
「Input」に画像生成の命令文「プロンプト」を作成していきます。
プロンプトの作成手順
それでは、実際にプロンプトを作成していきます。今回は、実践例として順番にお伝えしていきますので、参考にしてください。
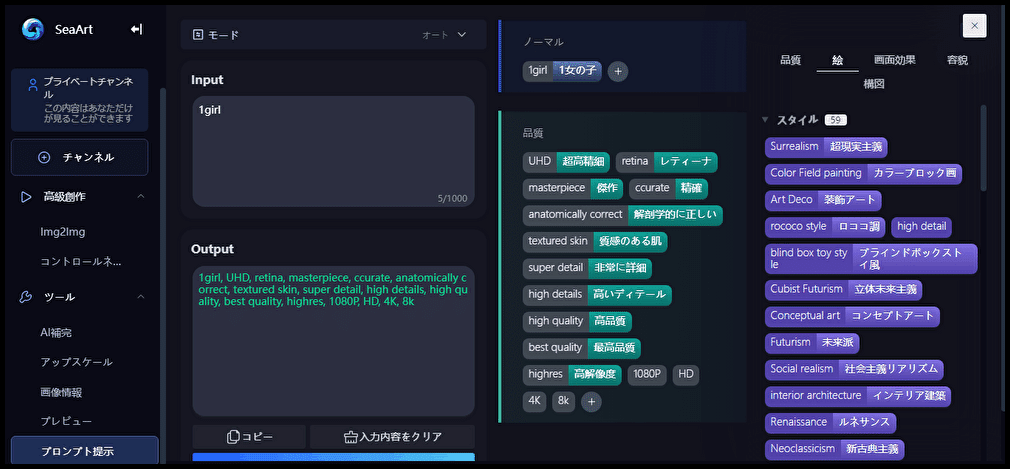
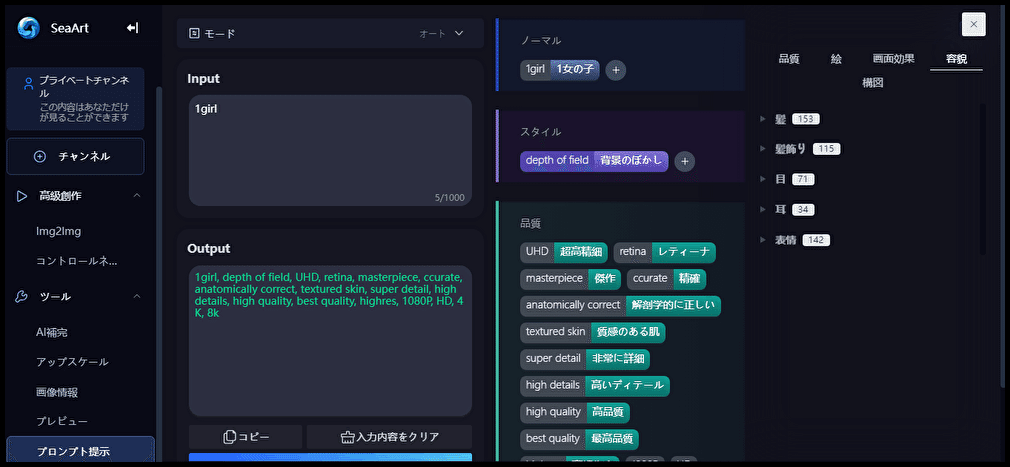
Input欄に「1girl」を書きます。

プロンプトのリスト
1 品質

「aword winning」と「16K」以外をクリックする

2 絵
「絵」については、特に設定しません。
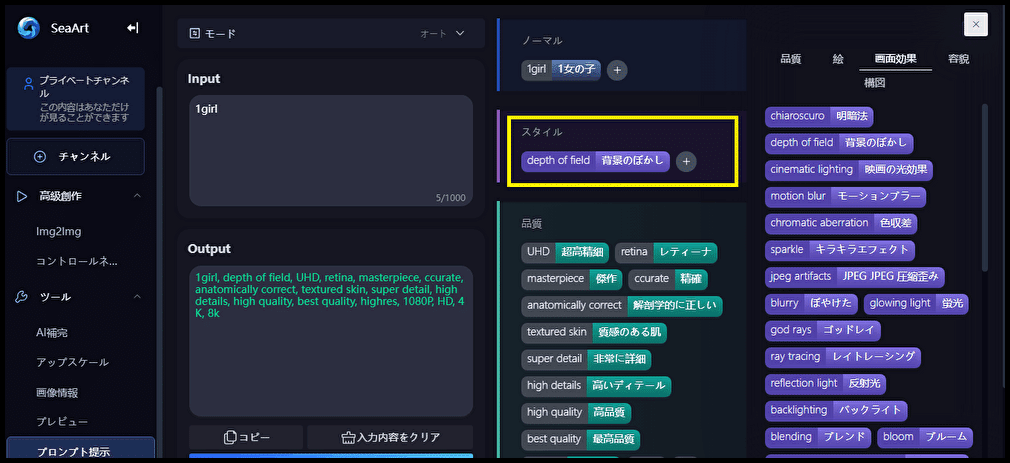
3 画像効果
背景をぼかし「depth of field」のみクリックする
4 容貌
容貌は、「髪」「髪飾り」「目」「耳」表情」などを選択することができますが、今回は何も設定しません。
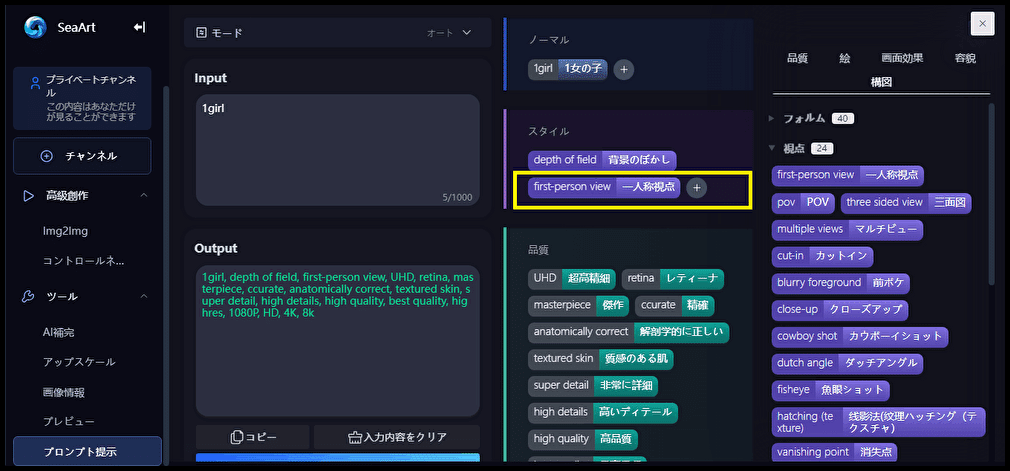
5 構図
構図は、「視点」の中の「furst-person view」を選択します。
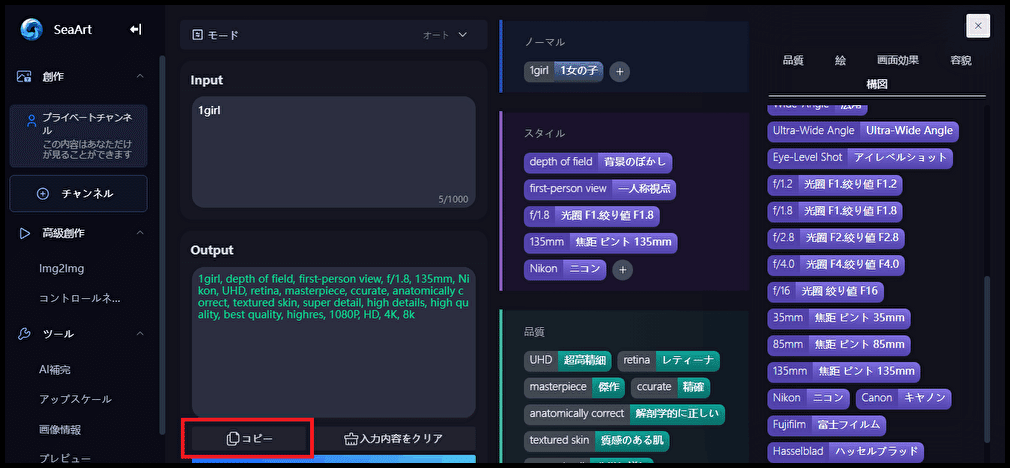
次に、「カメラ」について設定していきます。
綺麗なポーレート写真にしていくため、いくつか設定を追加します。
「f/1.8」「135mm」「Nikon」を追加します。

これで、この画面での設定は終了です。
プロンプトの抽出
「コピー」をクリックする。
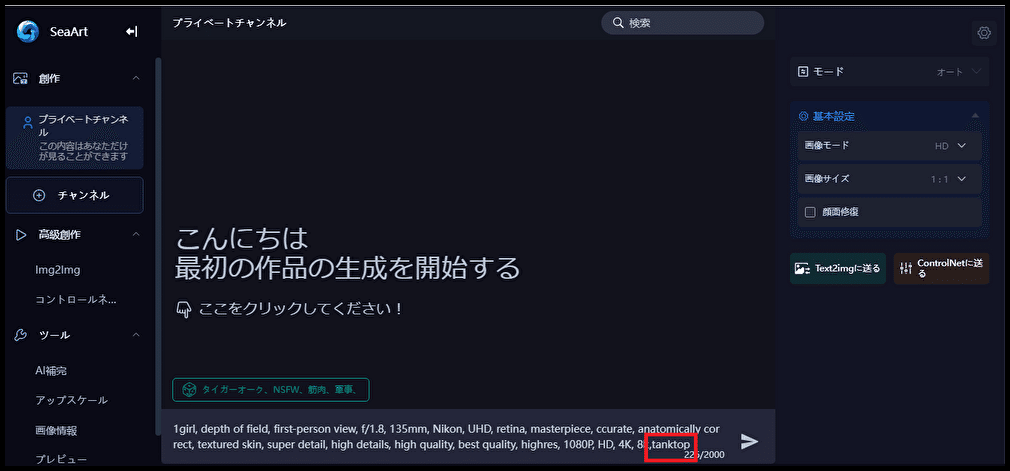
左サイドの「創作」⇒コピーしたプロンプトを下の枠にペーストします。

このままでも良いのですが、過激な写真になってしまわないように、プロンプトに服装のプレンプトを追加しておきましょう。今回は「tanktop」にしておきます。
追加するときは、カンマ「,」で区切ります。
画像生成のためのモデルの設定
右サイドの「モード」⇒「SesArt2.0」を選択します。
そうすると「モデル」を設定することができるようになります。

「モデル」⇒「もっと見る」をクリックする。

① モデルの検索窓に「Beautiful Realistic Asian」
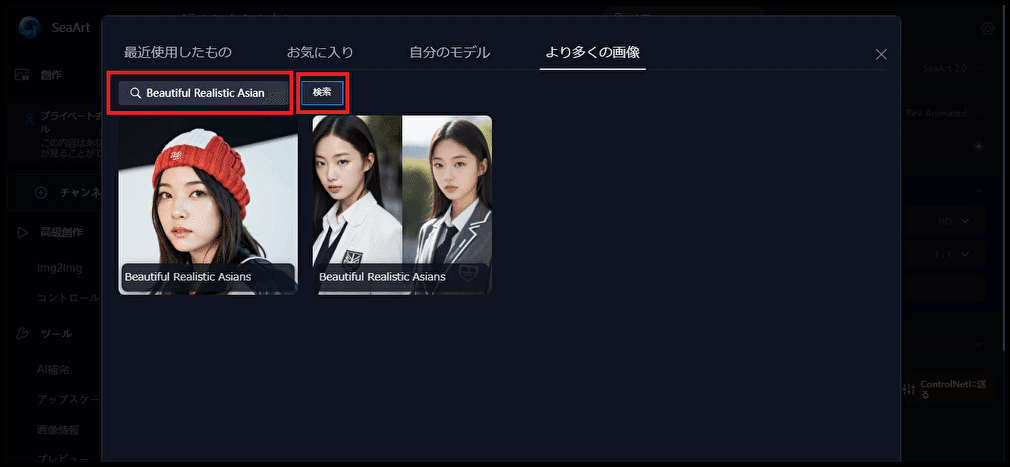
「Beautiful Realistic Asian」に一致するモデルが表示されますので、該当するモデルを選択して、「紙飛行機」をクリックして画像を生成します。

画像が生成されるまで、少し時間がかかりますが出来上がるまで待ちます。

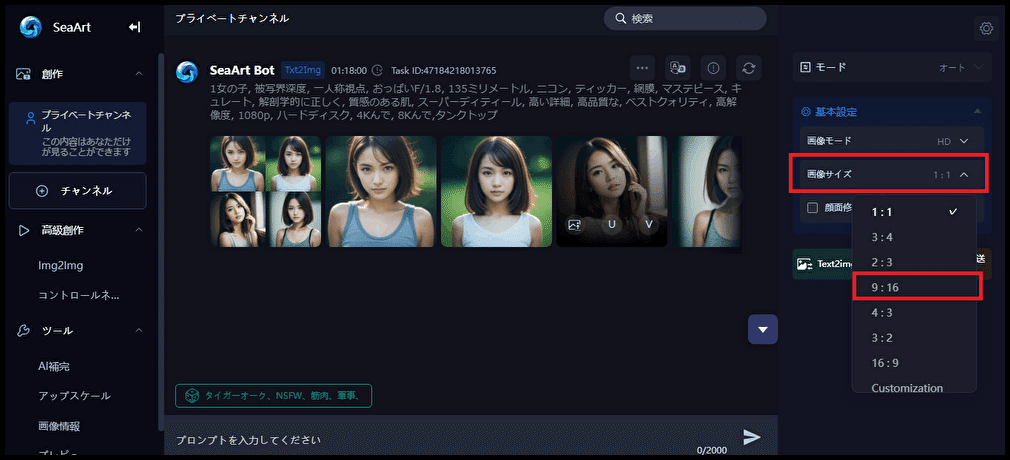
比較しやすいように「ポートレート風」に設定を変更します。
① 画像のサイズを縦長のサイズに変更する
今回は「9:16」に変更する
② サンプリングのステップ数を変更する
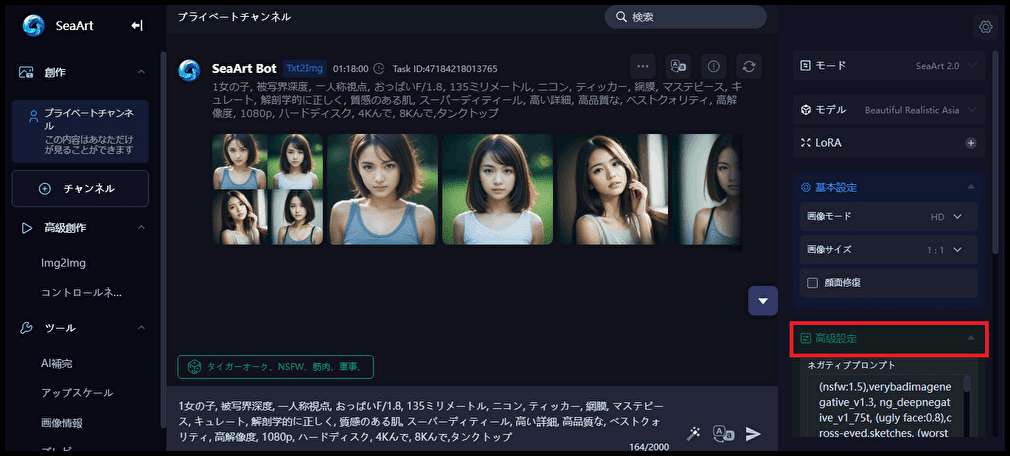
「高級設定」をクリックする。
下にスクロールして、「サンプリングステップ」を、できるだけ高画質になるように最大の「40」に変更する。

③ サンプリング方法を変更する
今回は「DPM++2M」にしておきます。

④「紙飛行機」をクリックして画像を再生成する

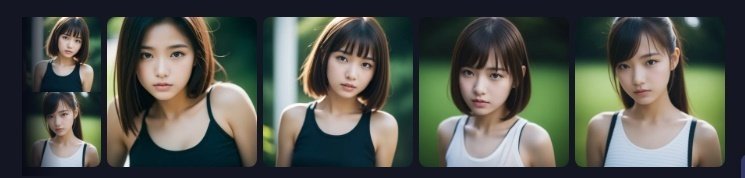
画像生成が完了しました(モデル「Beautiful Realistic Asian」)

モデル設定による出来上がり画像の比較
比較をするために同じ設定にするため、「更新ボタン」を押しておきます。

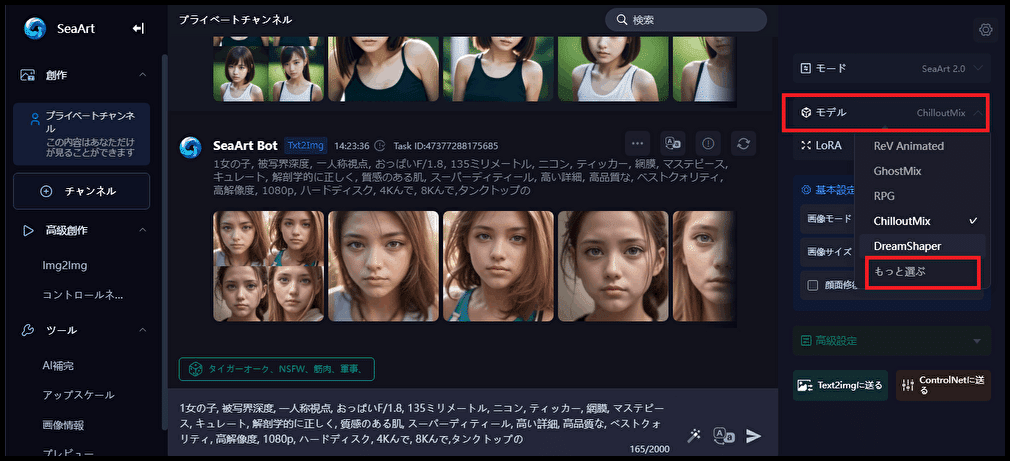
「モデル」⇒「ChilloutMx」をクリックする。

「紙飛行機」をクリックして画像を再生成する

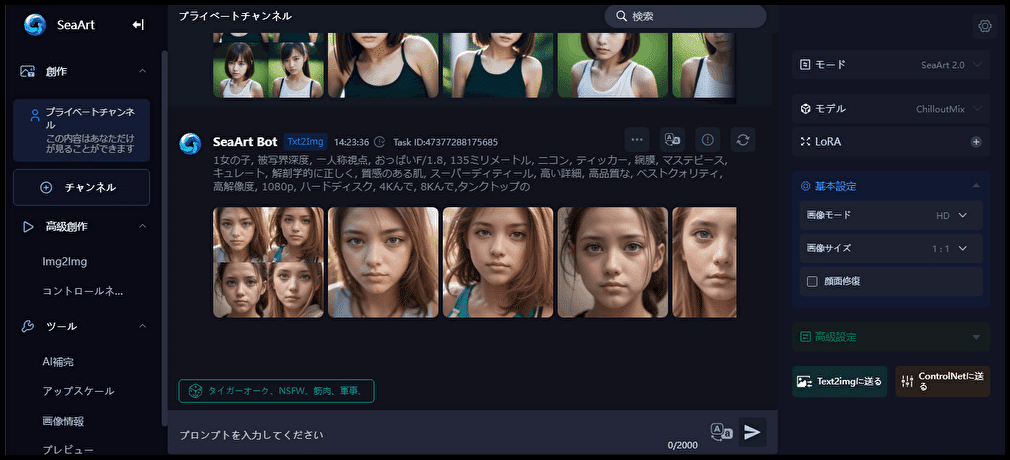
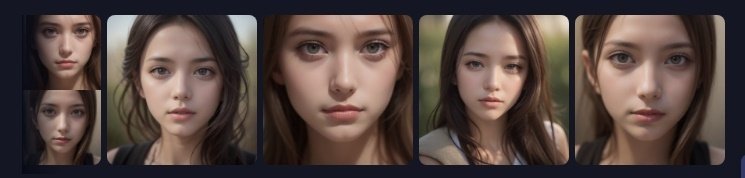
画像生成が完了しました(モデル「ChilloutMx」)
次は、「kisaragi_mix」です。
「モデル」⇒「もっと見る」をクリックする。
検索窓に「kisaragi_mix」を入力して、検索する

画像をクリックして、「紙飛行機」をクリックして画像を再生成する

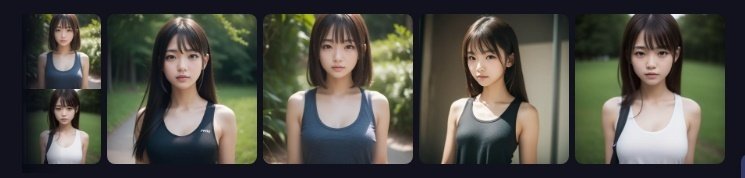
画像生成が完了しました(モデル「kisaragi_mix」)

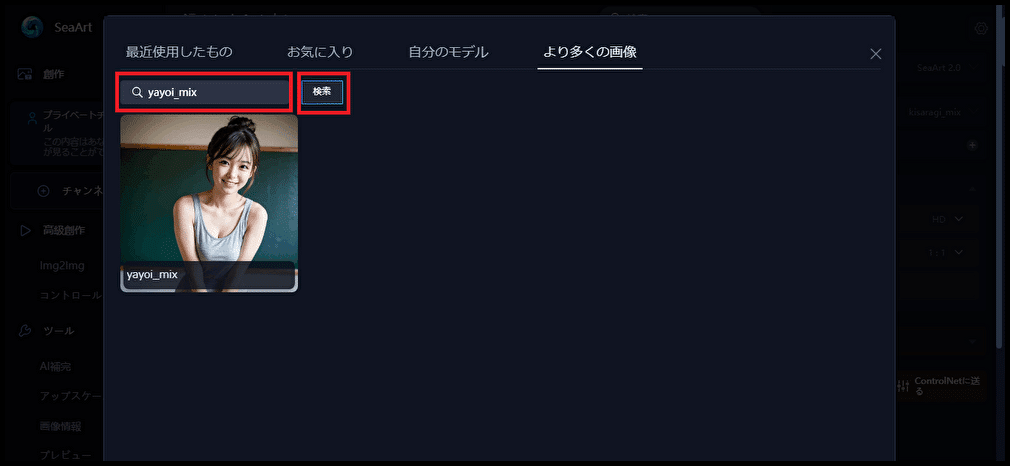
次は、「yayoi_mx」です。
「モデル」⇒「もっと見る」をクリックする。

検索窓に「yayoi_mix」を入力して、検索する
画像をクリックして、「紙飛行機」をクリックして画像を再生成する
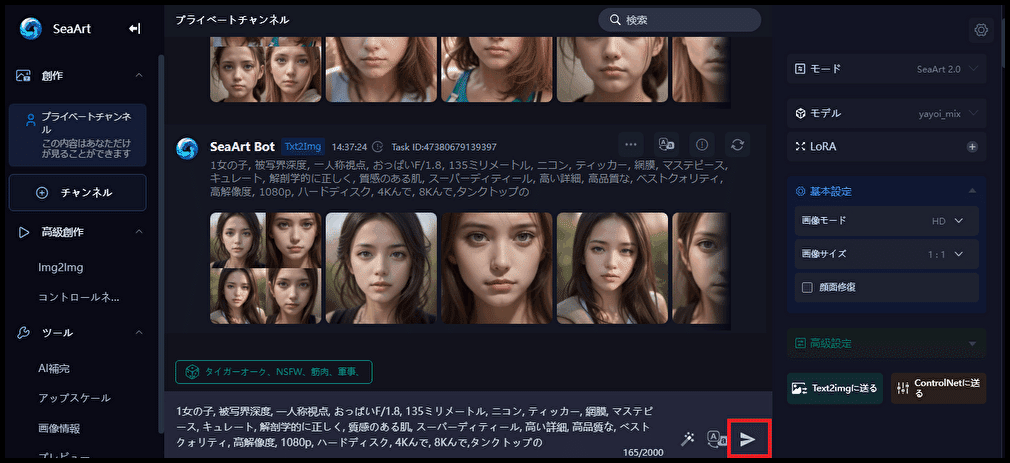
画像生成が完了しました(モデル「yayoi_mix」)

最後に「BracingEvoMix」です。
「モデル」⇒「もっと見る」をクリックする。

検索窓に「BracingEvoMix」を入力して、検索する

画像をクリックして、「紙飛行機」をクリックして画像を再生成する
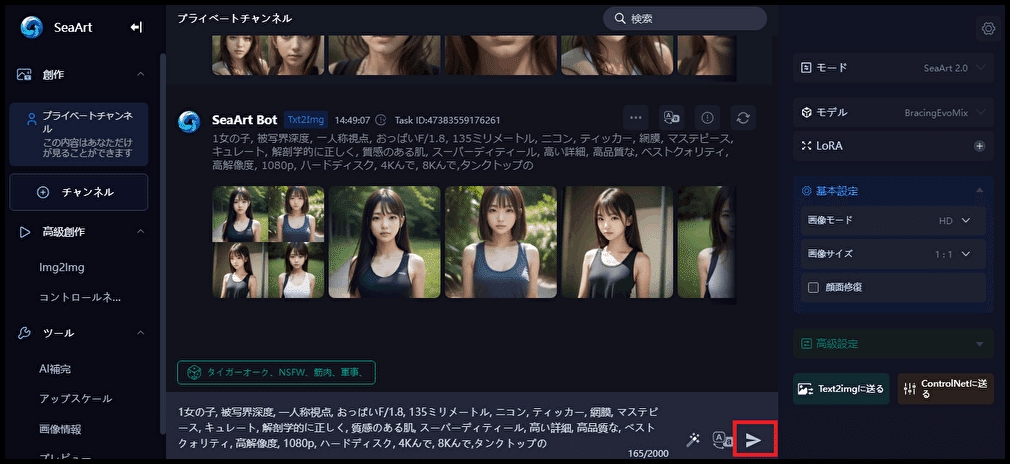
画像生成が完了しました(モデル「BracingEvoMix」)

検証用にすべての画像を生成することができました。
検証
Beautiful Realistic Asian
ChilloutMx

kisaragi_mix
yayoi_mix
BracingEvoMix

おわりに
どのタイプの女性モデルがあなたの好みでしたか?
ぜひ今回のアイデアを参考に、さまざまな女性モデルのパターンで画像作成を楽しんでください。