お手軽VR「A-Frame」

Web技術で、VRを実現しようとしたら…
昔々でしたら「VRML」とか最近でしたら「Flash」で実現してました。
「HTML5」だと、CSSで可能ですし、JavaScriptのCanvas API・WebGL、three.jsとかを使用すると可能ですね。
ただ初心者がお手軽にするには少々ハードルがあります。そこで思い出したのが「A-Frame」。2015年からMozillaさんが始めたもので、タグと属性を記述すればVRが楽しめるすぐれものです。
1.Webページのテンプレート作成
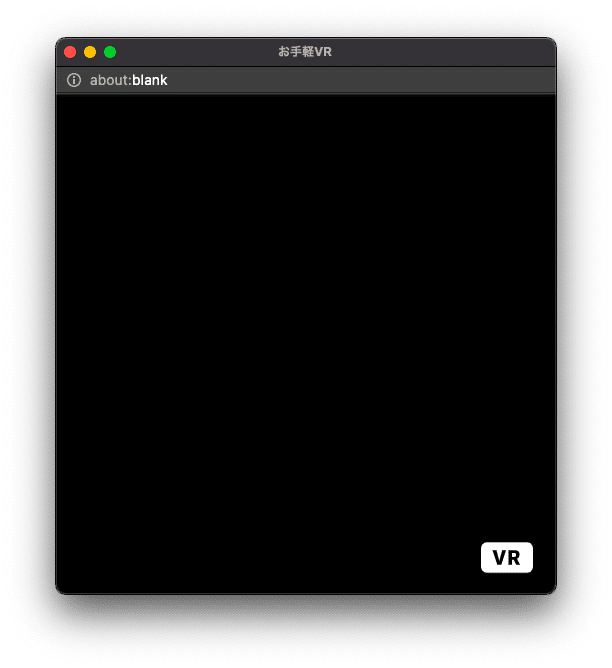
では、次の雛形を作成しましょう。
<!DOCTYPE html>
<html>
<head>
<meta charset="utf-8">
<title>お手軽VR</title>
<script src="https://aframe.io/releases/1.0.4/aframe.min.js"></script>
</head>
<body>
<!-- ① -->
</body>
</html>
A-FrameのJavaScriptライブラリを読み込みます。今回使用するバージョンは1.0.4です。A-Frameのバージョンによって機能が使えたり使えなかったりするので気をつけましょう。
ここからは「<!--①-->」から下に書き込んでいきましょう。
2.場所の確保
VRの場所を確保しましょう。<a-scene></a-scene>を用います。
<body>
<!-- ① -->
<a-scene background="color:black">
<!-- ② -->
</a-scene>
</body>
・background属性:背景色を指定(color:white)
sceneの中の「<!--②-->」から下に光源・それぞれの単純な形「プリミティブ」を記述します。
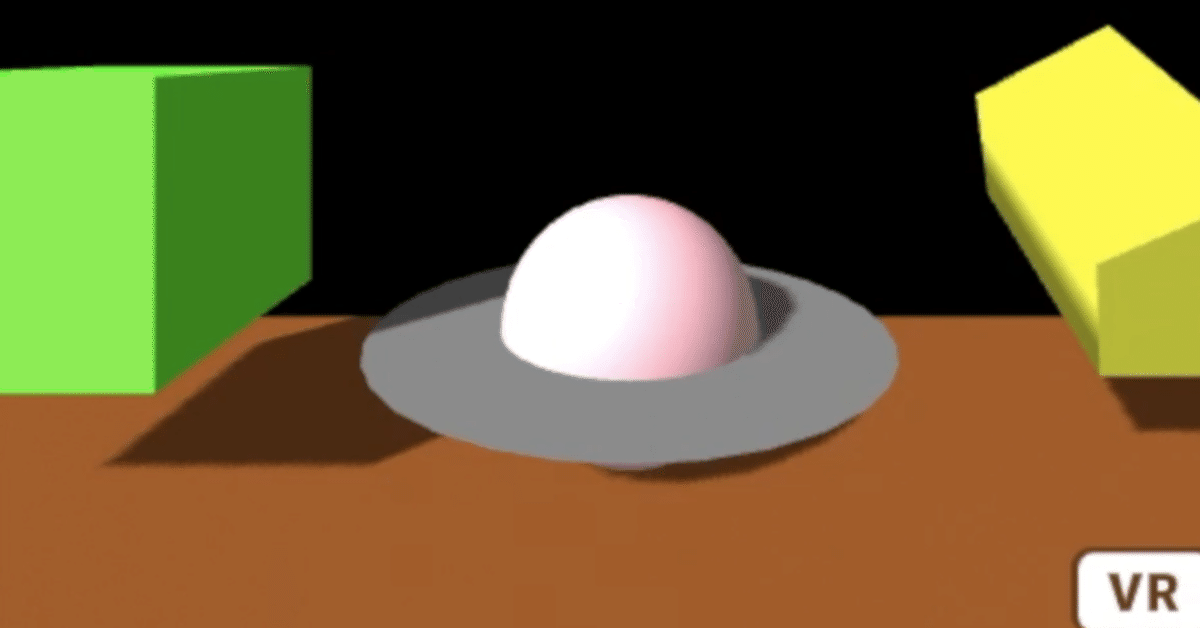
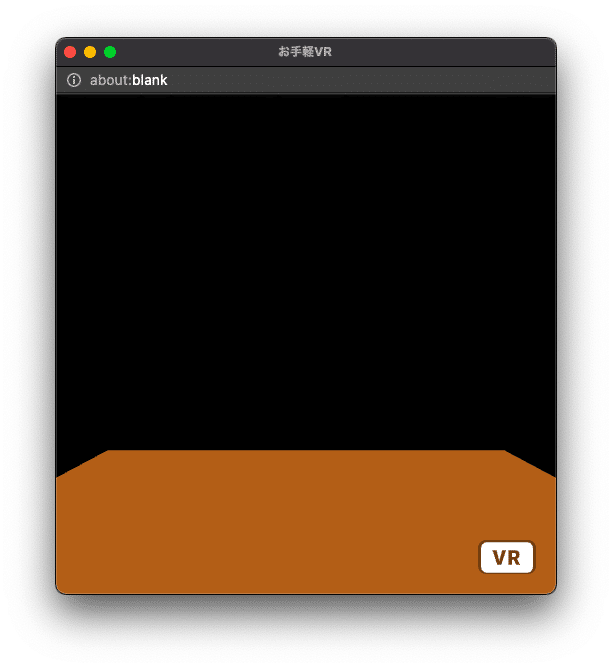
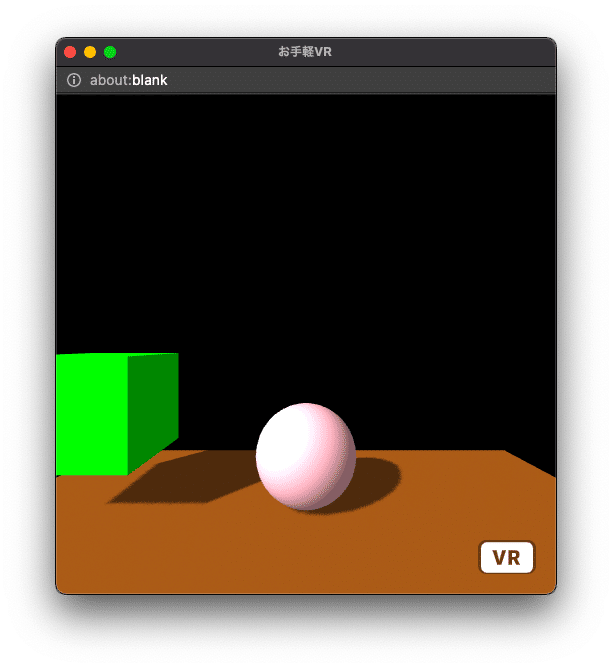
3.平面
床は平面「<a-plane></a-plane>」で表しましょう
<!--床-->
<a-plane
position="0 0 -3"
rotation="-90 0 0"
width="6"
height="3"
color="#955629"
shadow
></a-plane>
・position:x,y,zの位置("0 0 -3")
・rotation:x,y,z回転("-90 0 0")
・width:幅、height:高さ
・color:色(#〜はカラーコード。16進数で色を表す)
・shadow:影を表示
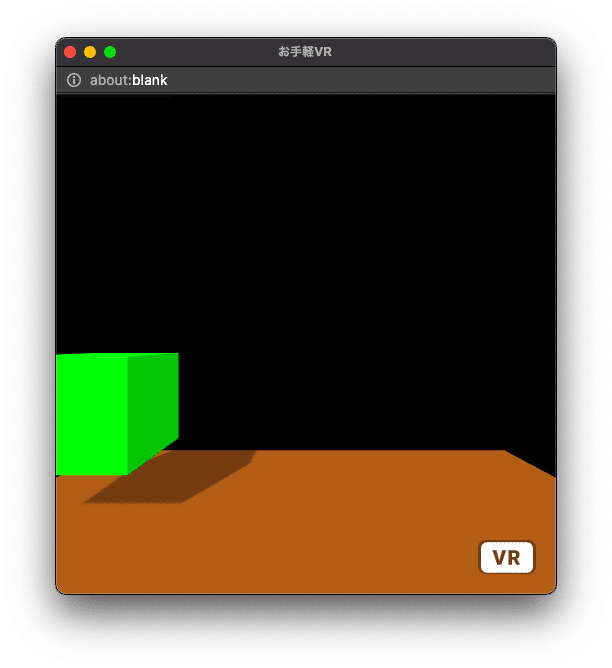
4.立方体
立方体は「<a-box></a-box>」です。
<!--立方体-->
<a-box
position="-2 1 -3"
rotation="0 0 0"
color="lime"
width="1"
height="1"
depth="1"
shadow
></a-box>
・width:幅、height:高さ、depth:奥行き
5.光源
光(<a-entity light="〜">)の向きや色を初期値から変更しましょう。
<!--光-->
<a-entity
light="
type:directional;
castShadow:true;
color:white;"
position="-1 1 1"
></a-entity>
<!--反射光-->
<a-entity
light="
type:ambient;
color:gray;"
></a-entity>
・type:directional;:光源、type:ambient;:反射光
・castShadow:true;:光を影に影響させる

6.球体
球体は「<a-sphere></a-sphere>」です
<!--球体-->
<a-sphere
position="0 0.5 -3"
radius="0.5"
color="pink"
shadow
></a-sphere>
・radius:半径
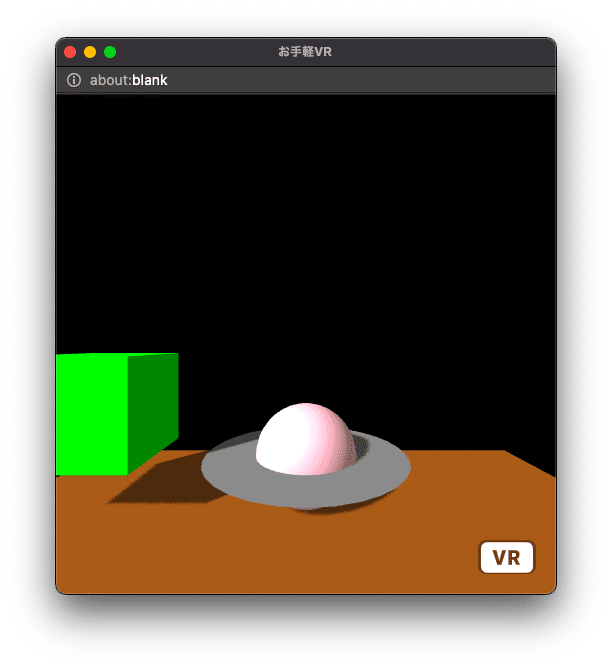
7.円形
円形は「<a-circle></a-circle>」です。
<!--円形-->
<a-circle
position="0 0.5 -3"
rotation="-90 0 0"
radius="1"
color="gray"
shadow
></a-circle>
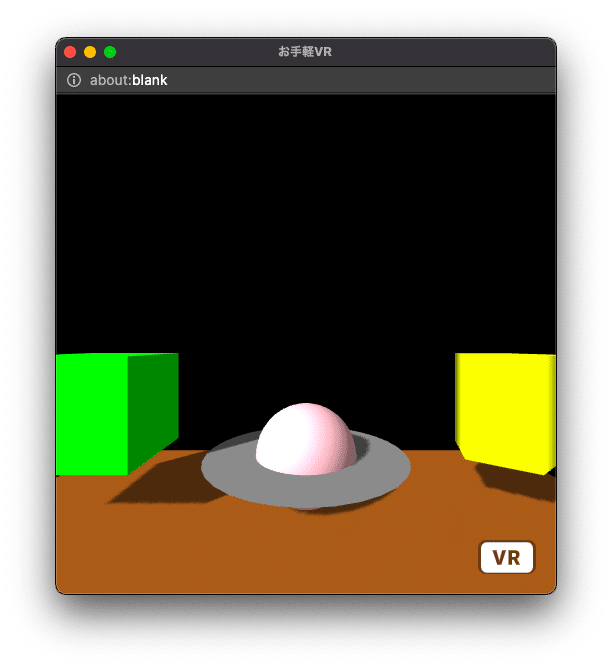
8.角柱
角柱は「<a-cylinder></a-cylinder>」です。
<!--円柱-->
<a-cylinder
position="2 1 -3"
rotation="0 0 0"
radius="0.5"
height="1"
segments-radial="5"
color="yellow"
shadow
></a-cylinder>
・segments-radial:角形(ここでは五角形) 数を増やすと円柱になる
9.アニメーション
それぞれのプリミティブを動かしてみましょう。animation属性(animation="〜")を使います
<!--立方体-->
<a-box
position="-2 1 -3"
rotation="0 0 0"
color="lime"
width="1"
height="1"
depth="1"
shadow
animation="
property: depth;
to:2;
dur: 1000;
easing:linear;
loop: true;
dir:alternate;"
></a-box>
・property:アニメーションしたい属性(depth属性:奥行き)
・to:その属性の変化値(1→2)
・dur:アニメーションの周期(ミリ秒。1000は1秒)
・easing:アニメーションのスタイル(linear:等速)
・loop:繰り返し(true:繰り返す)
・dir:方向(alternate:交互に繰り返す)
<!--球体-->
<a-sphere
position="0 0.5 -3"
radius="0.5"
color="pink"
shadow
animation="
property: position;
to:0 1.5 -3;
dur: 2000;
easing:easeInQuad;
loop: true;
dir:alternate;"
></a-sphere>
・property:(position属性:位置)
・to:その属性の変化値("0 0.5 -3"→0 1.5 -3)
・easing:(easeInQuad:自然な状態でゆっくり始まり、加速してゆっくり終わる)
<!--円形-->
<a-circle
position="0 0.5 -3"
rotation="-90 0 0"
radius="1"
color="gray"
shadow
animation="
property: position;
to:0 1.5 -3;
dur: 2000;
easing:easeInQuad;
loop: true;
dir:alternate;"
></a-circle>
・to:その属性の変化値("0 0.5 -3"→0 1.5 -3)球体とともに移動
<!--円柱-->
<a-cylinder
position="2 1 -3"
rotation="0 0 0"
radius="0.5"
height="1"
segments-radial="5"
color="yellow"
shadow
animation="
property:rotation;
to:360 0 0;
dur: 1000;
easing:linear;
loop: true;
dir:normal;"
></a-cylinder>
・property:(rotation属性:回転)
・to:その属性の変化値("0 0 0"→360 0 0)
・dir:(normal:順方向)
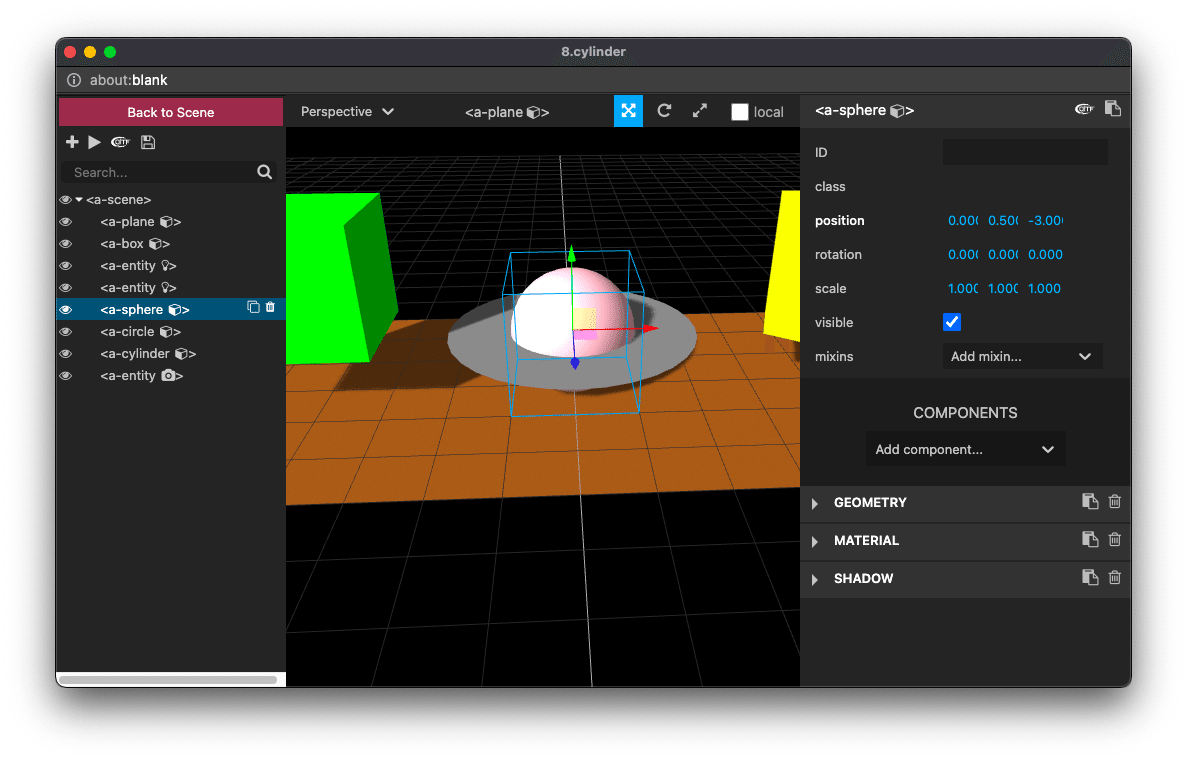
10.インスペクタ
Macだと「control+option+i」、Windowsだと「Ctrl+Alt+i」で、インスペクタ(グラフィカル空間で編集できる仕組み)を表示させることができます。検証用に利用ください。(左側:要素リスト、右側:各種値、Back To Scene:VR画面に戻る)
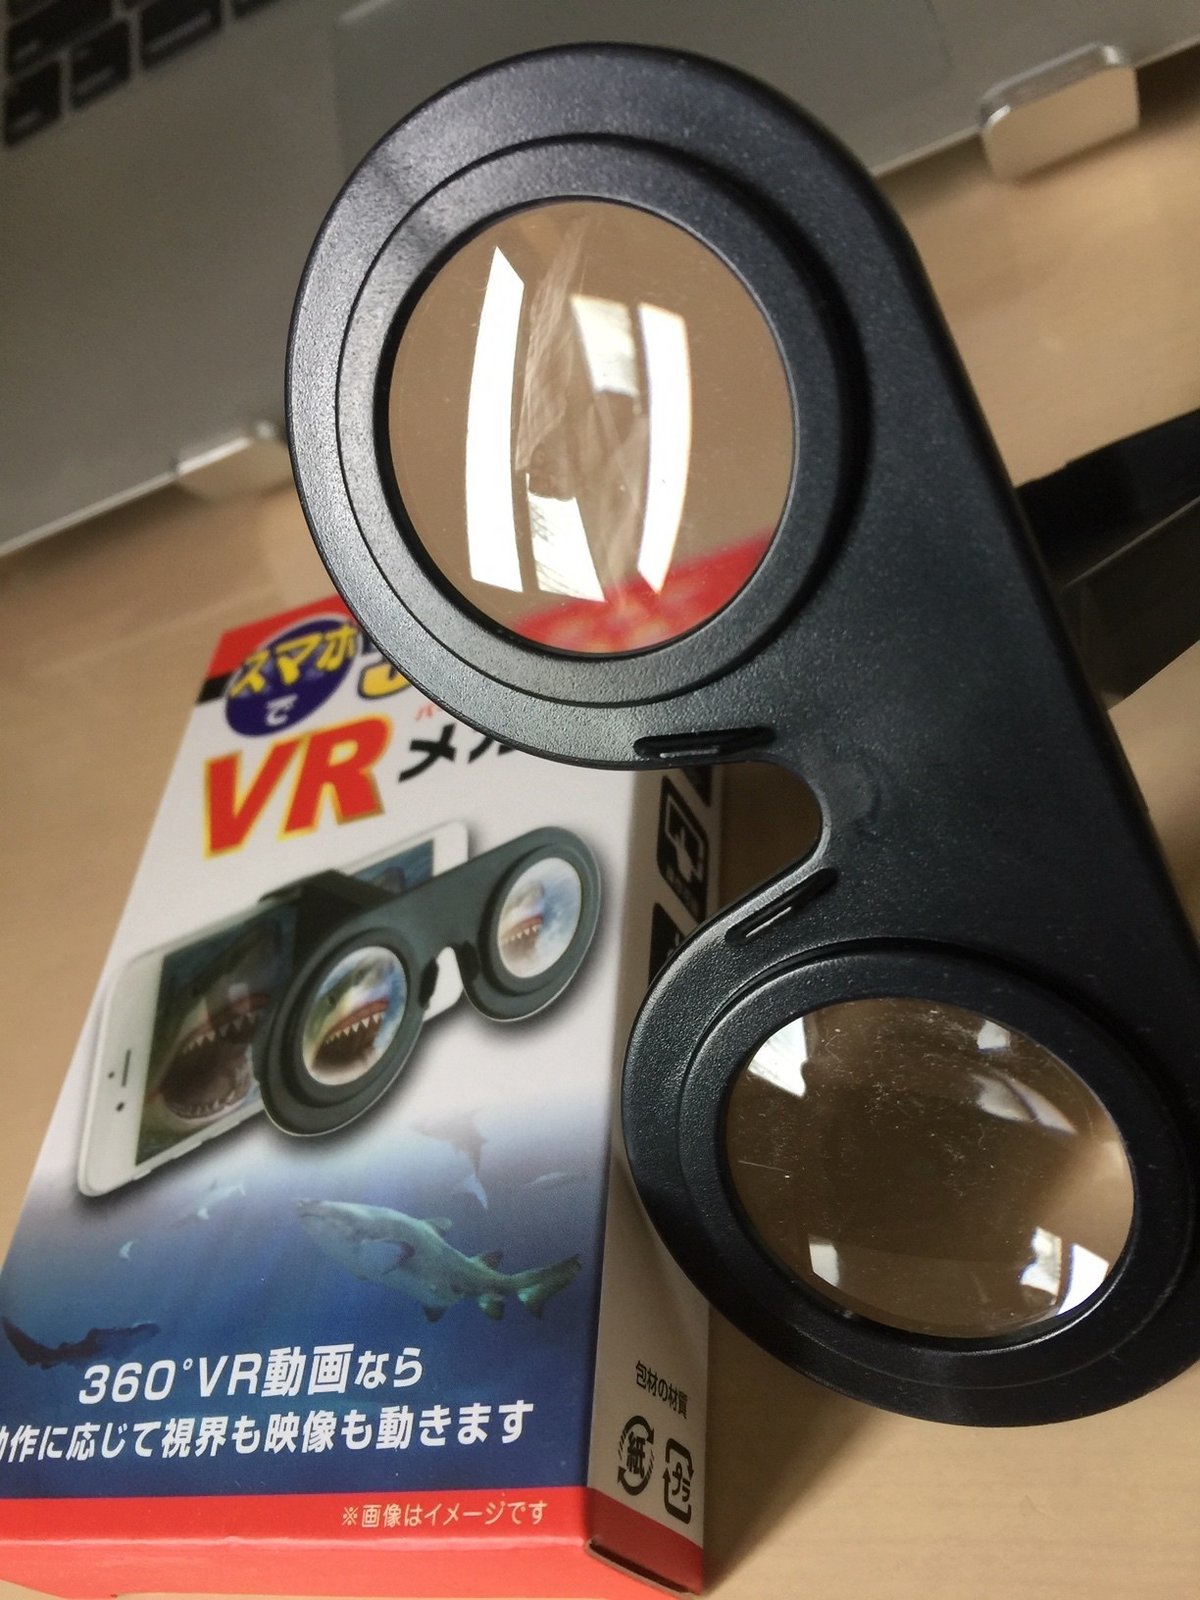
11.スマホで閲覧
VRメガネを取り付けて、スマホを横長にして、「VR」をクリックすれば、素敵なことが起こります。
さらに興味のある方はオフィシャルページへどうぞ。
【PR】
①初心者向けHTML5対面教室(東京・大阪)
②HTML5の検定にチャレンジ!(オンライン)